Jack Pads#
This modification makes it easier to put my car on jack stands in my garage. It adds a second set of jacking points to the car so I don’t have to jack up the car from the opposite side when rotating my tires. It was really easy to install too. In fact I installed this kit without needing to jack up the car at all and removing the old trim pieces was really effortless.
Items used:
Pick tool to pull out old covers and push in tabs, you can probably also use a flathead screwdriver.
Instructions:
Pictures:
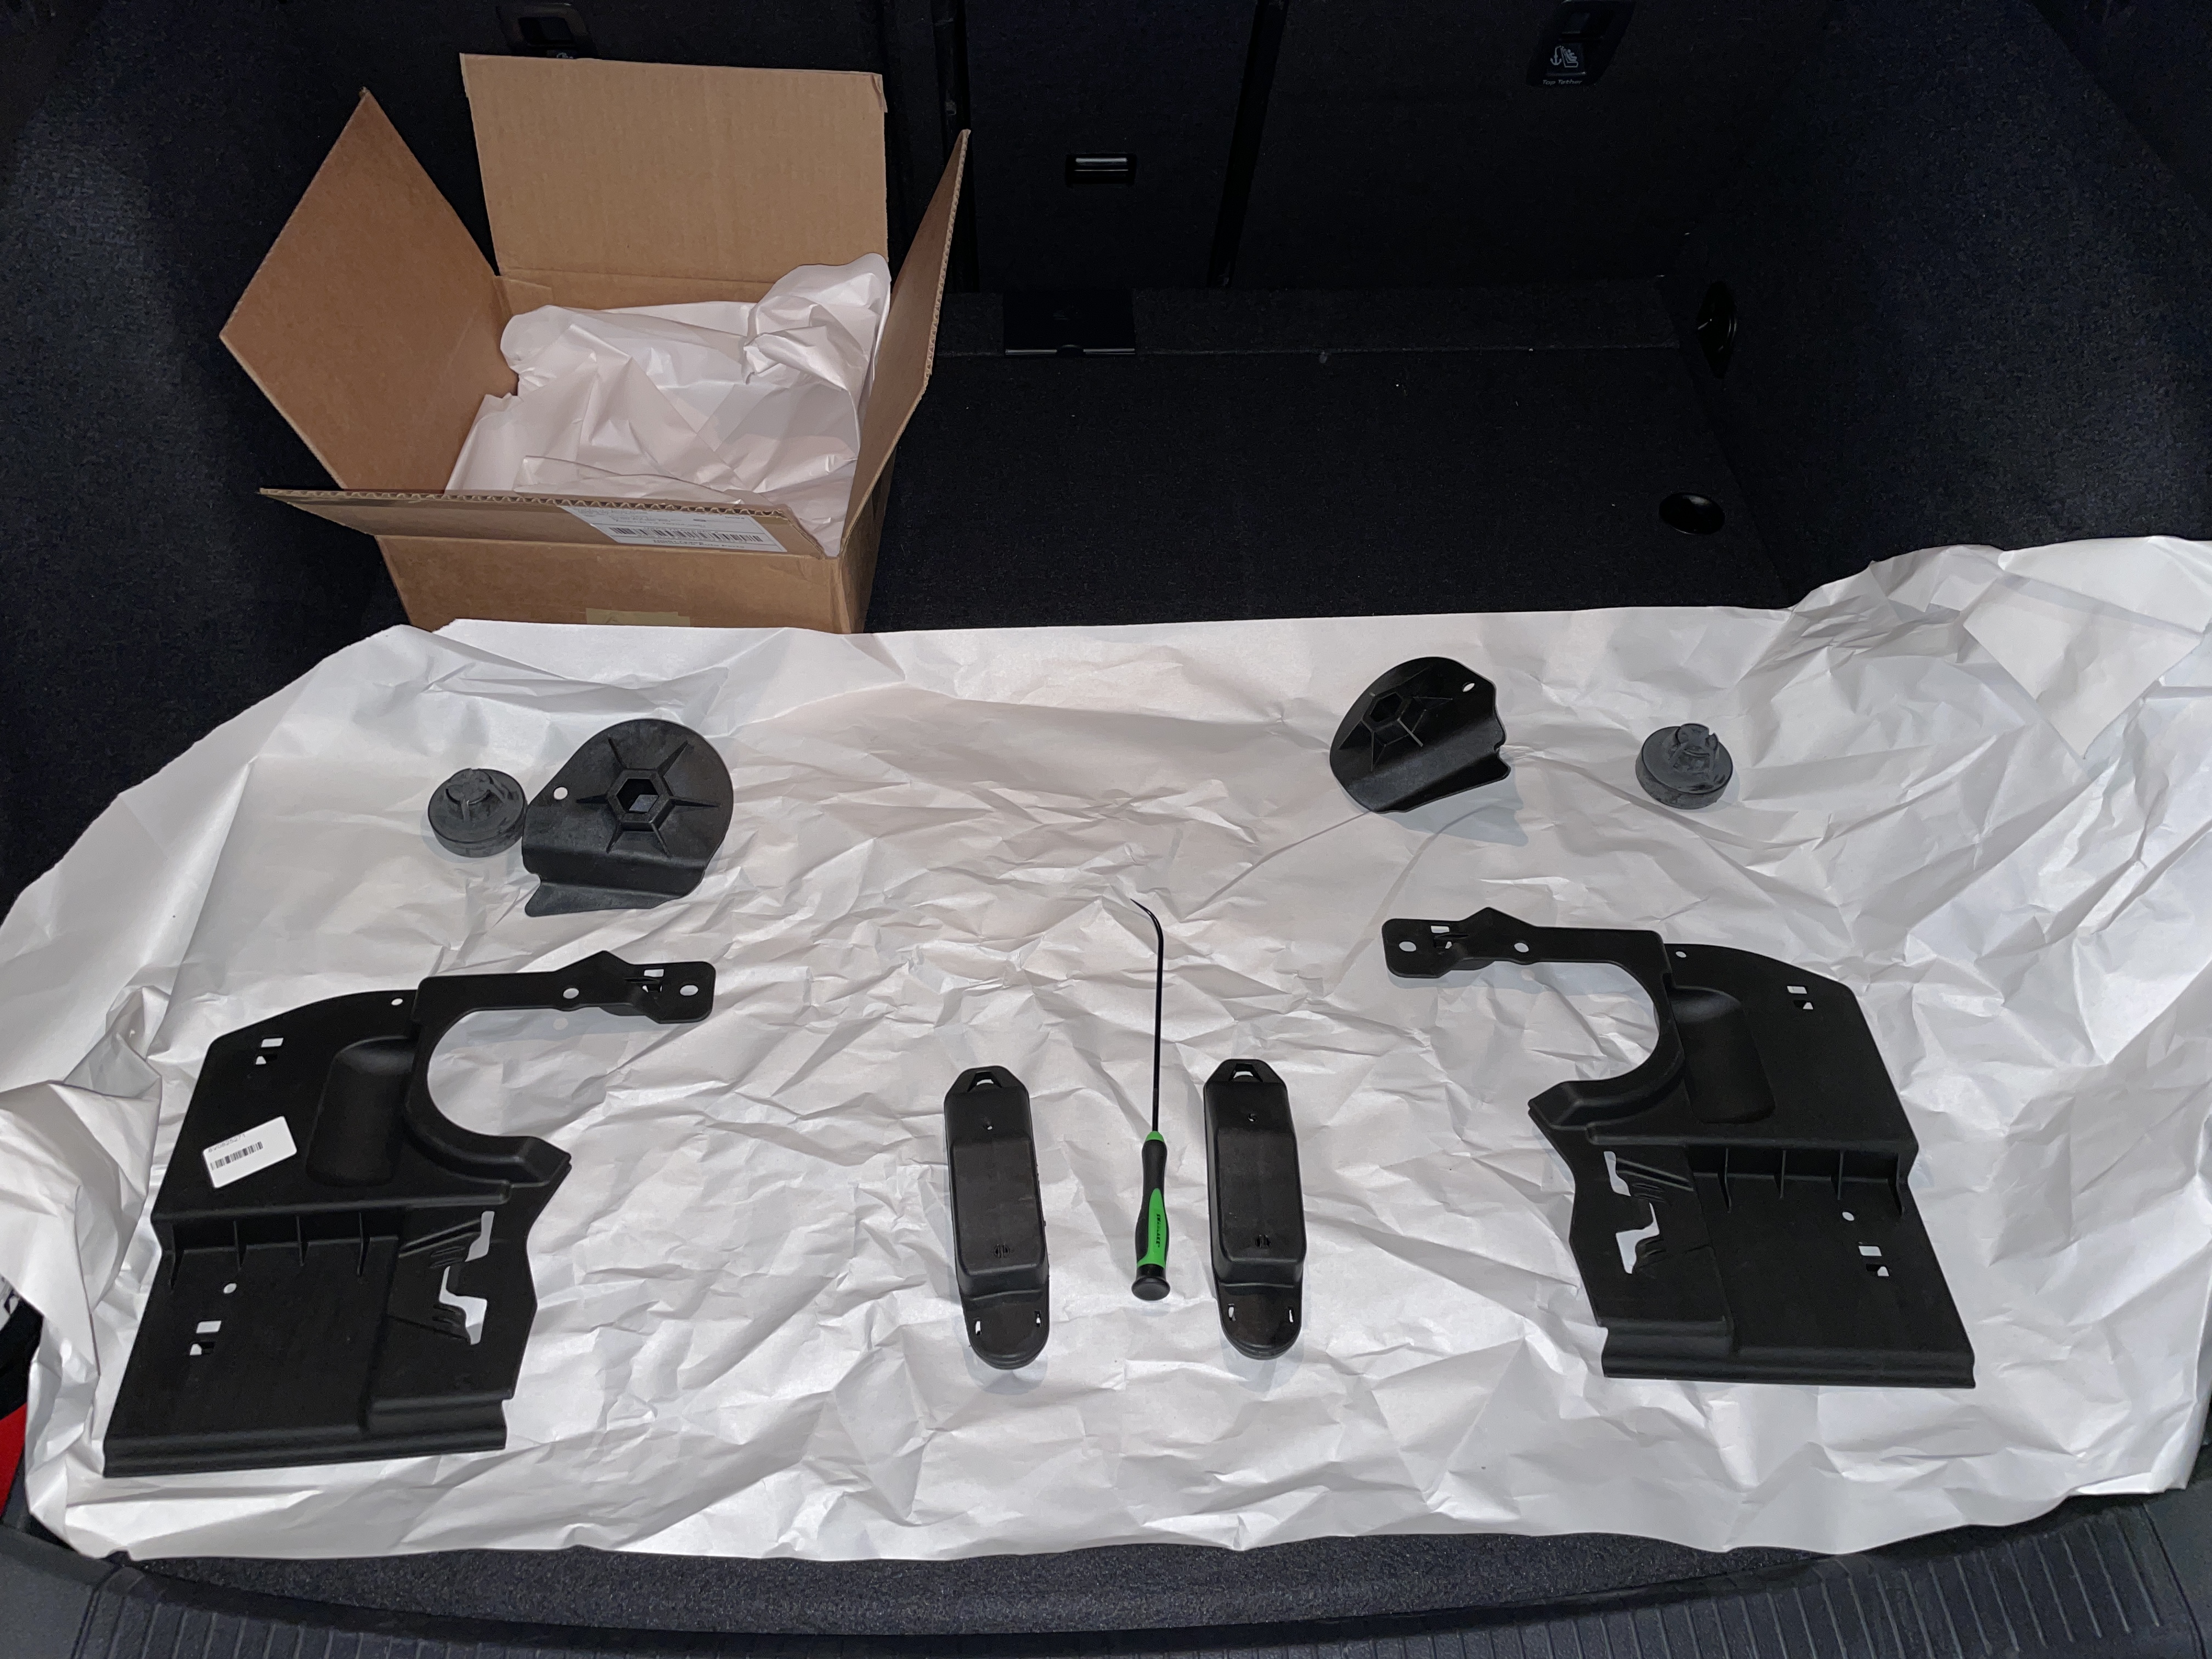
Parts included in the kit I bought from ShopDAP (excluding the pick which I got from Amazon). |
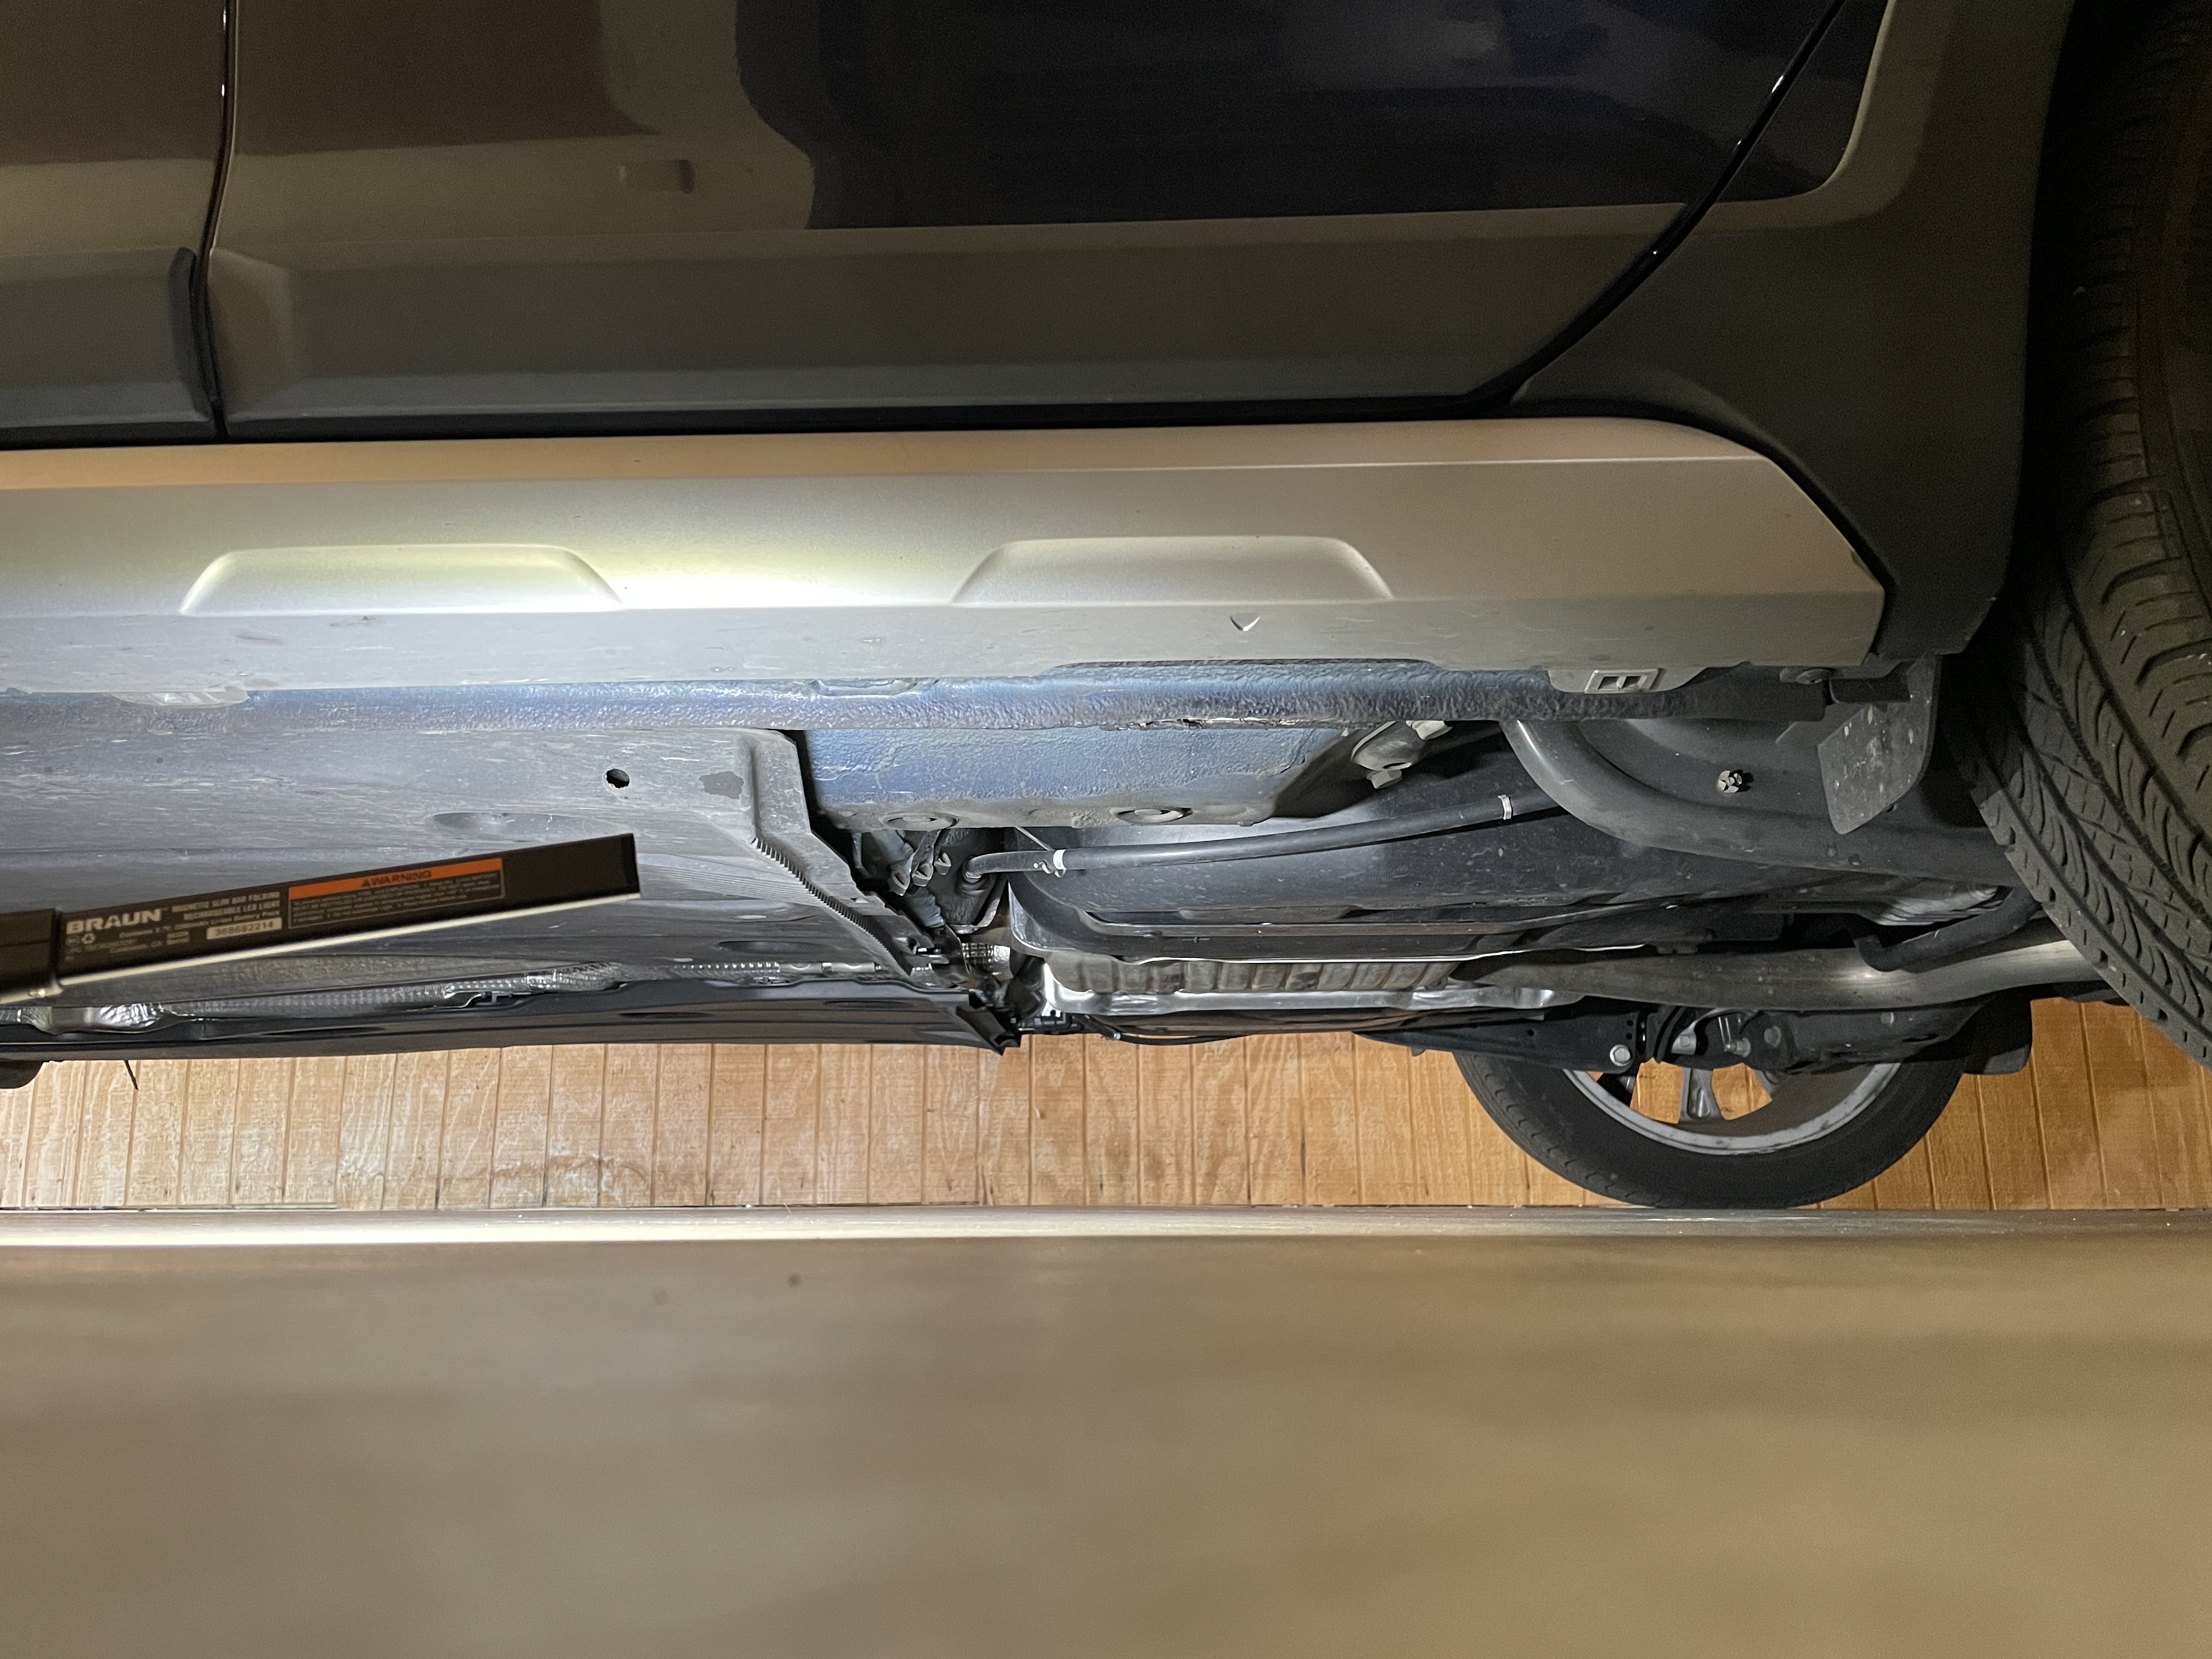
Rear (Driver Side) Before# I started with the rear. This is how it originally looked like. I used the pick tool to stab and yank out the two plastic covers. |
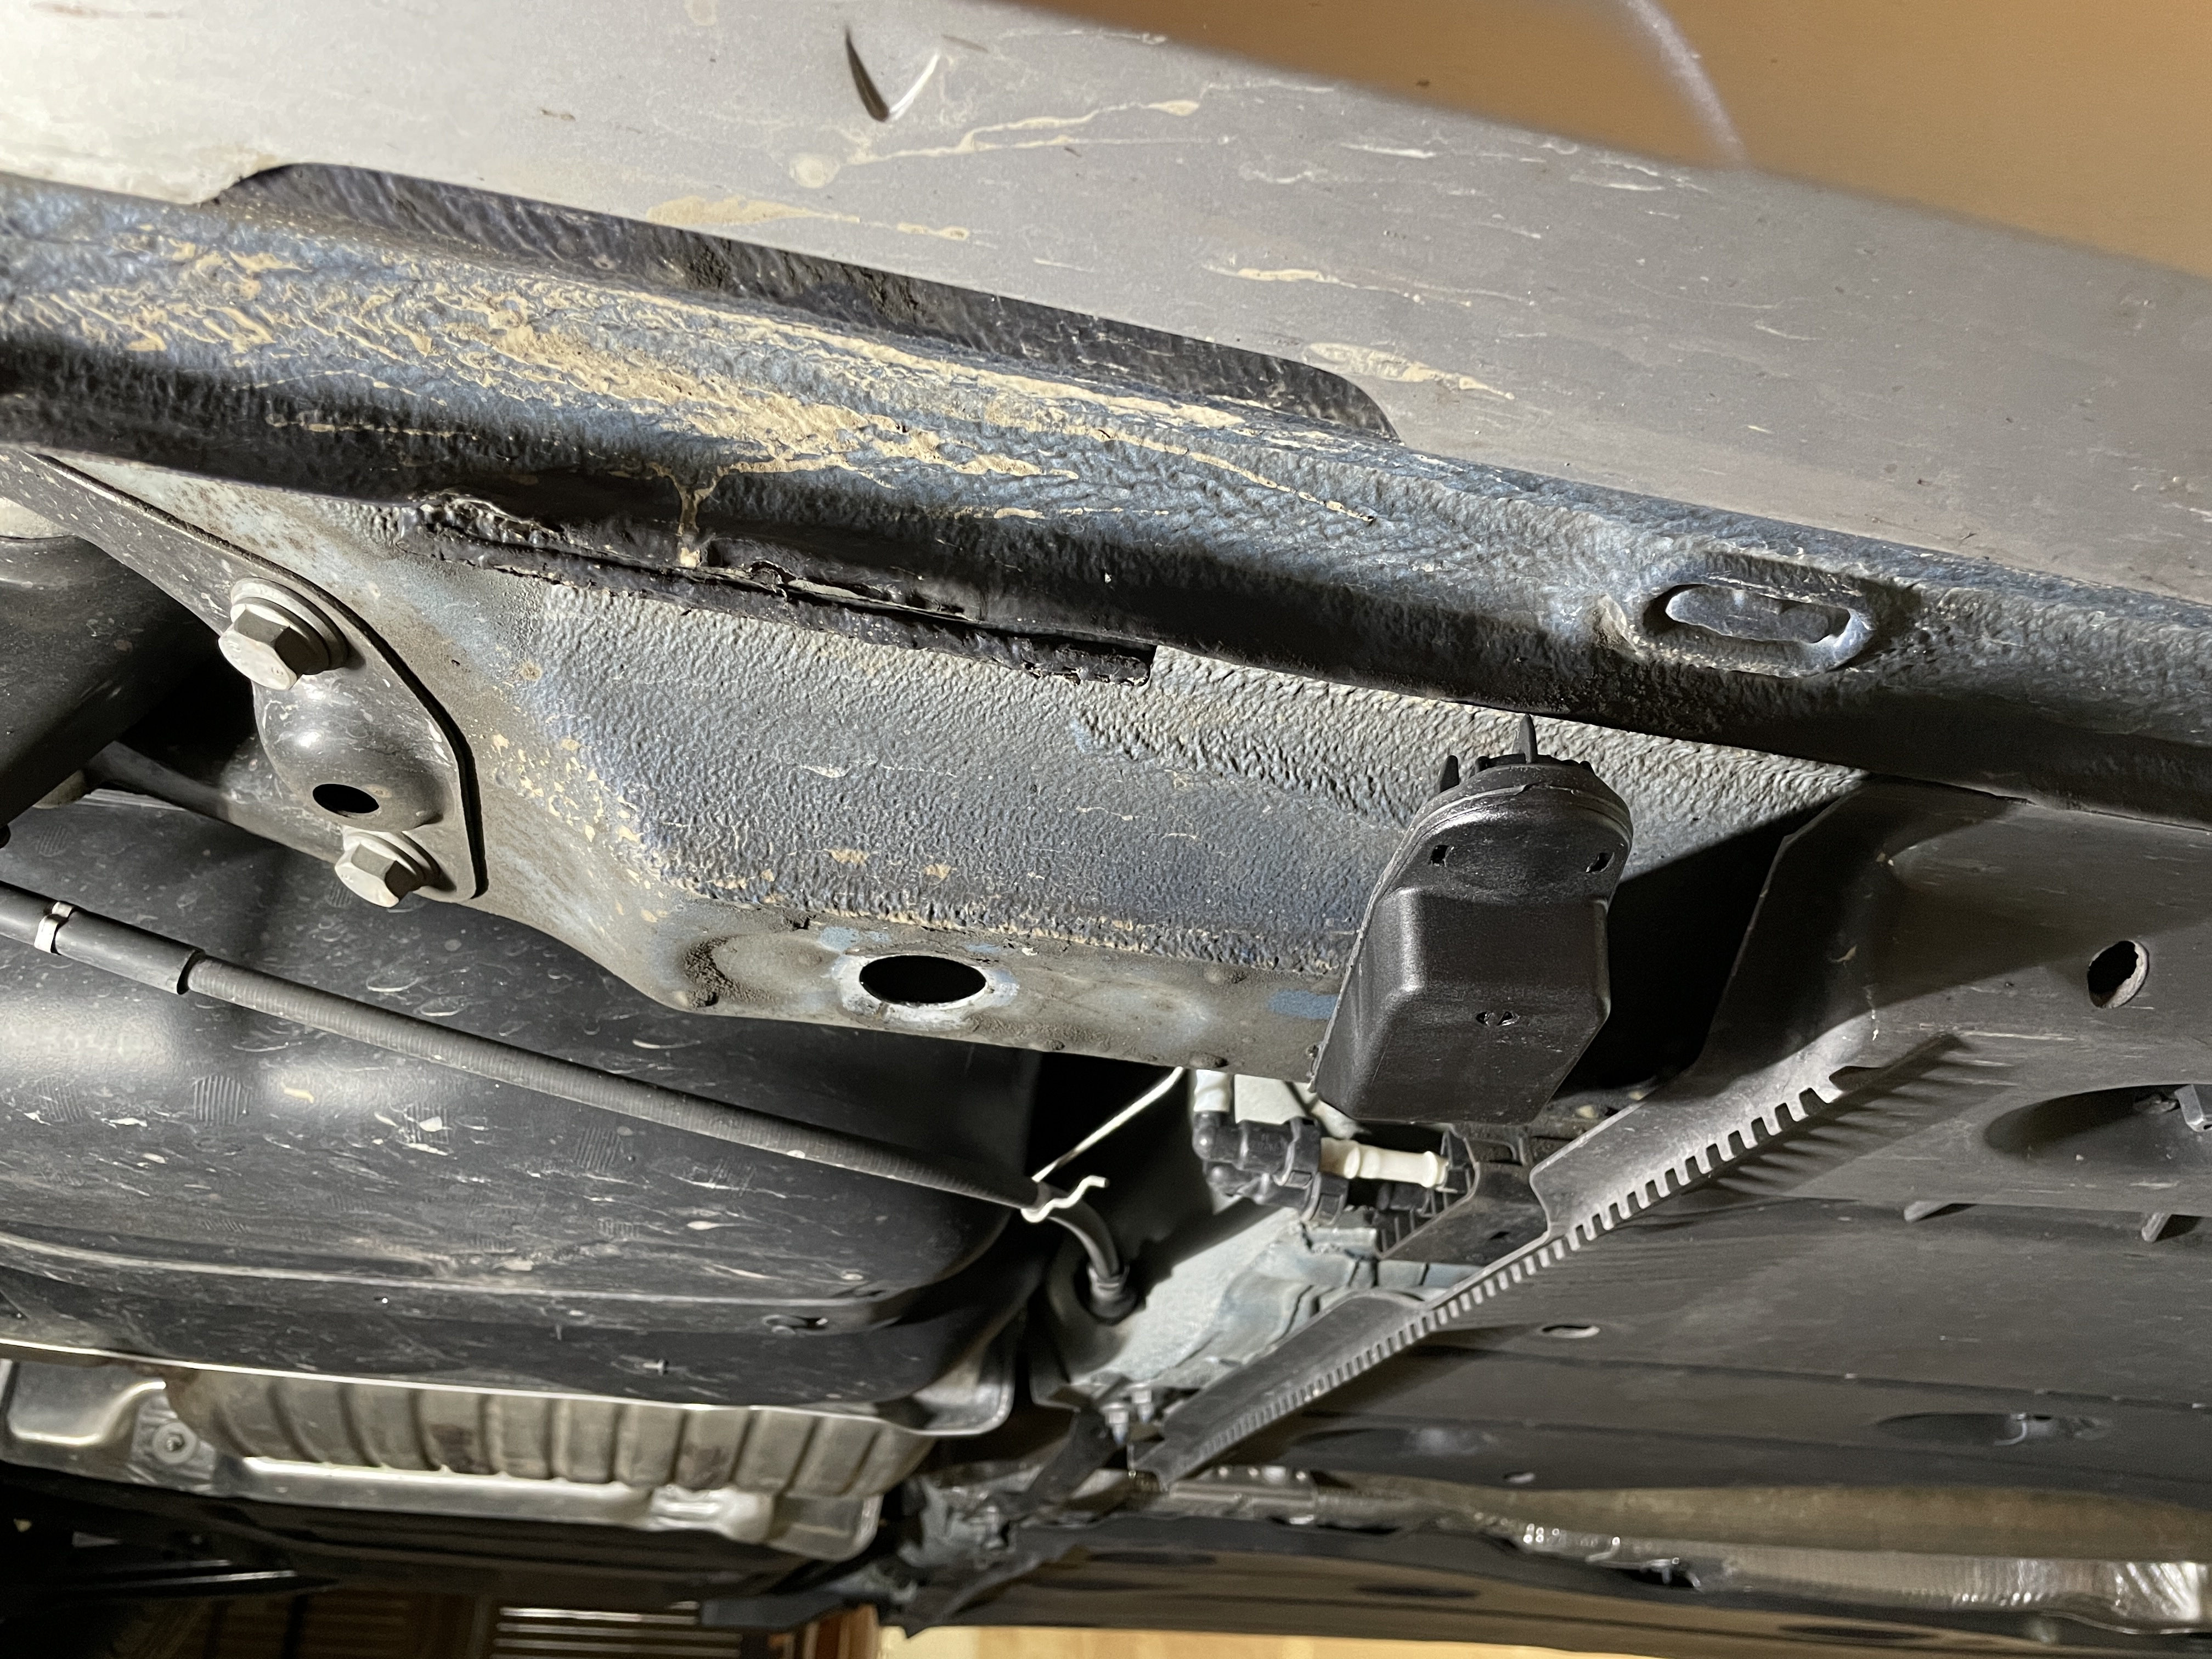
Rear (Passenger Side) Installation# I installed the rear pad by pressing it into the front hole first until it snapped into place. I then rotated the pad and the rear side snapped in easily. I didn’t need to use any type of grease either. |
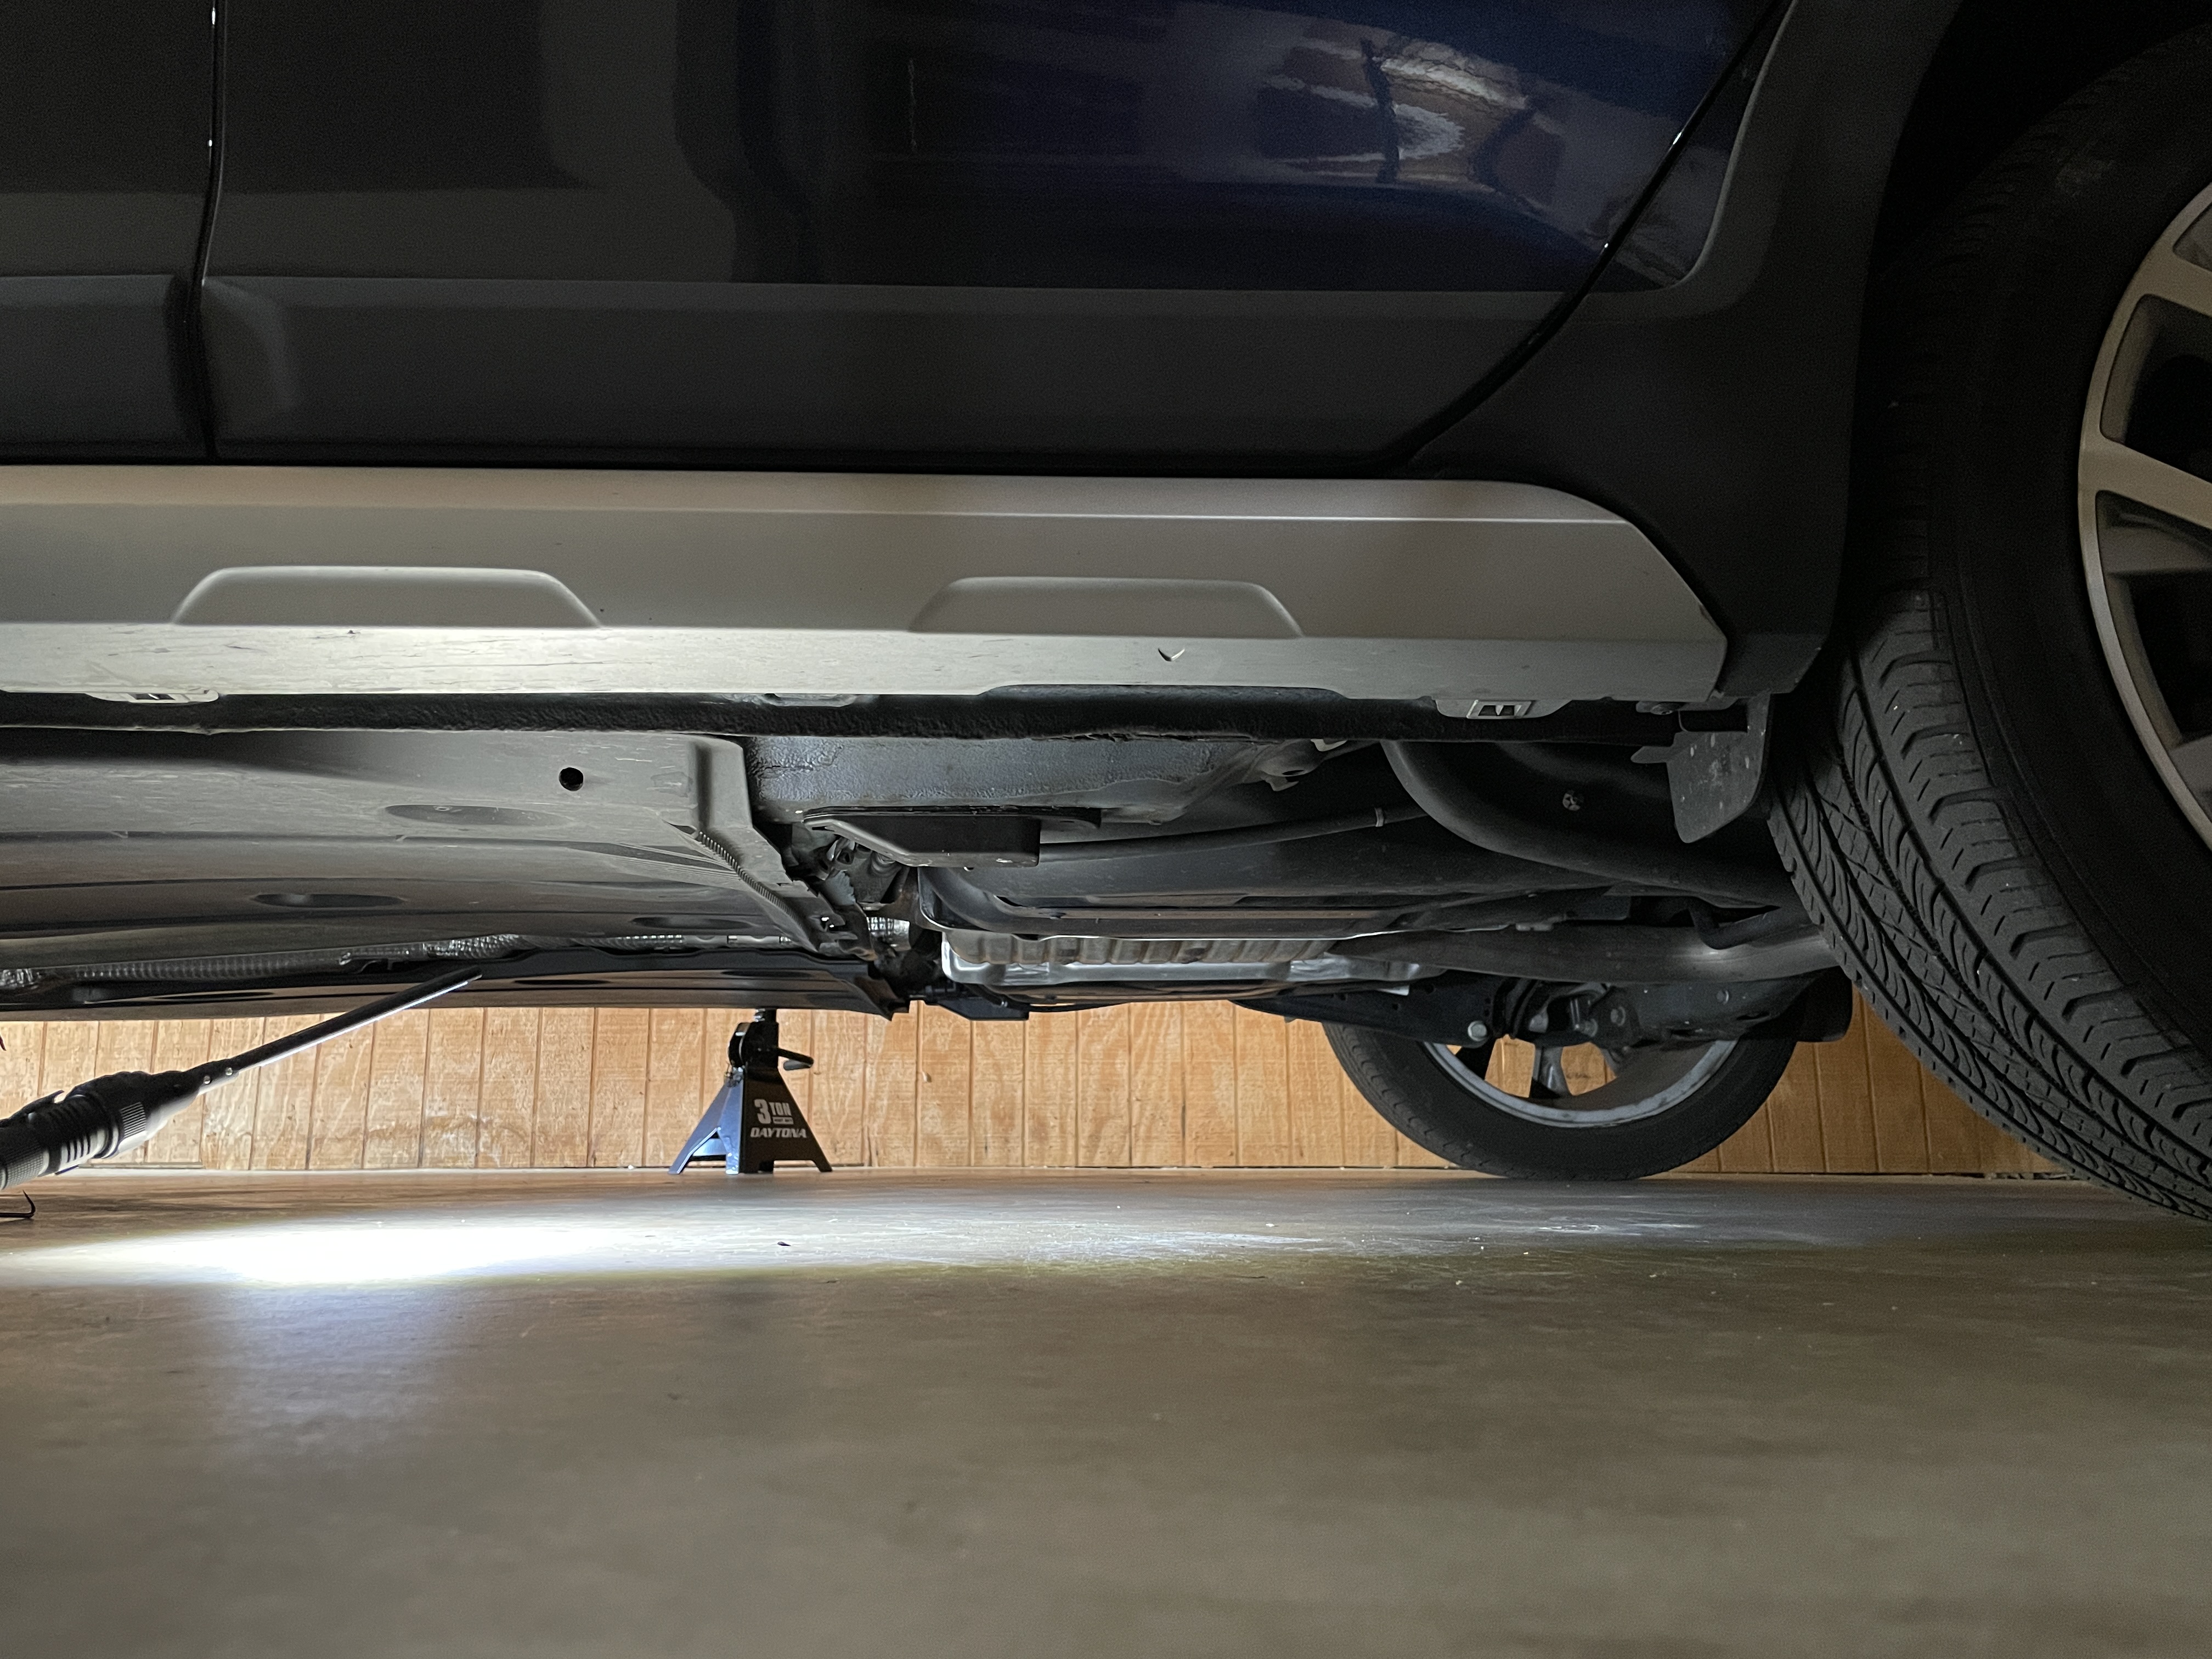
Done with both rears. |
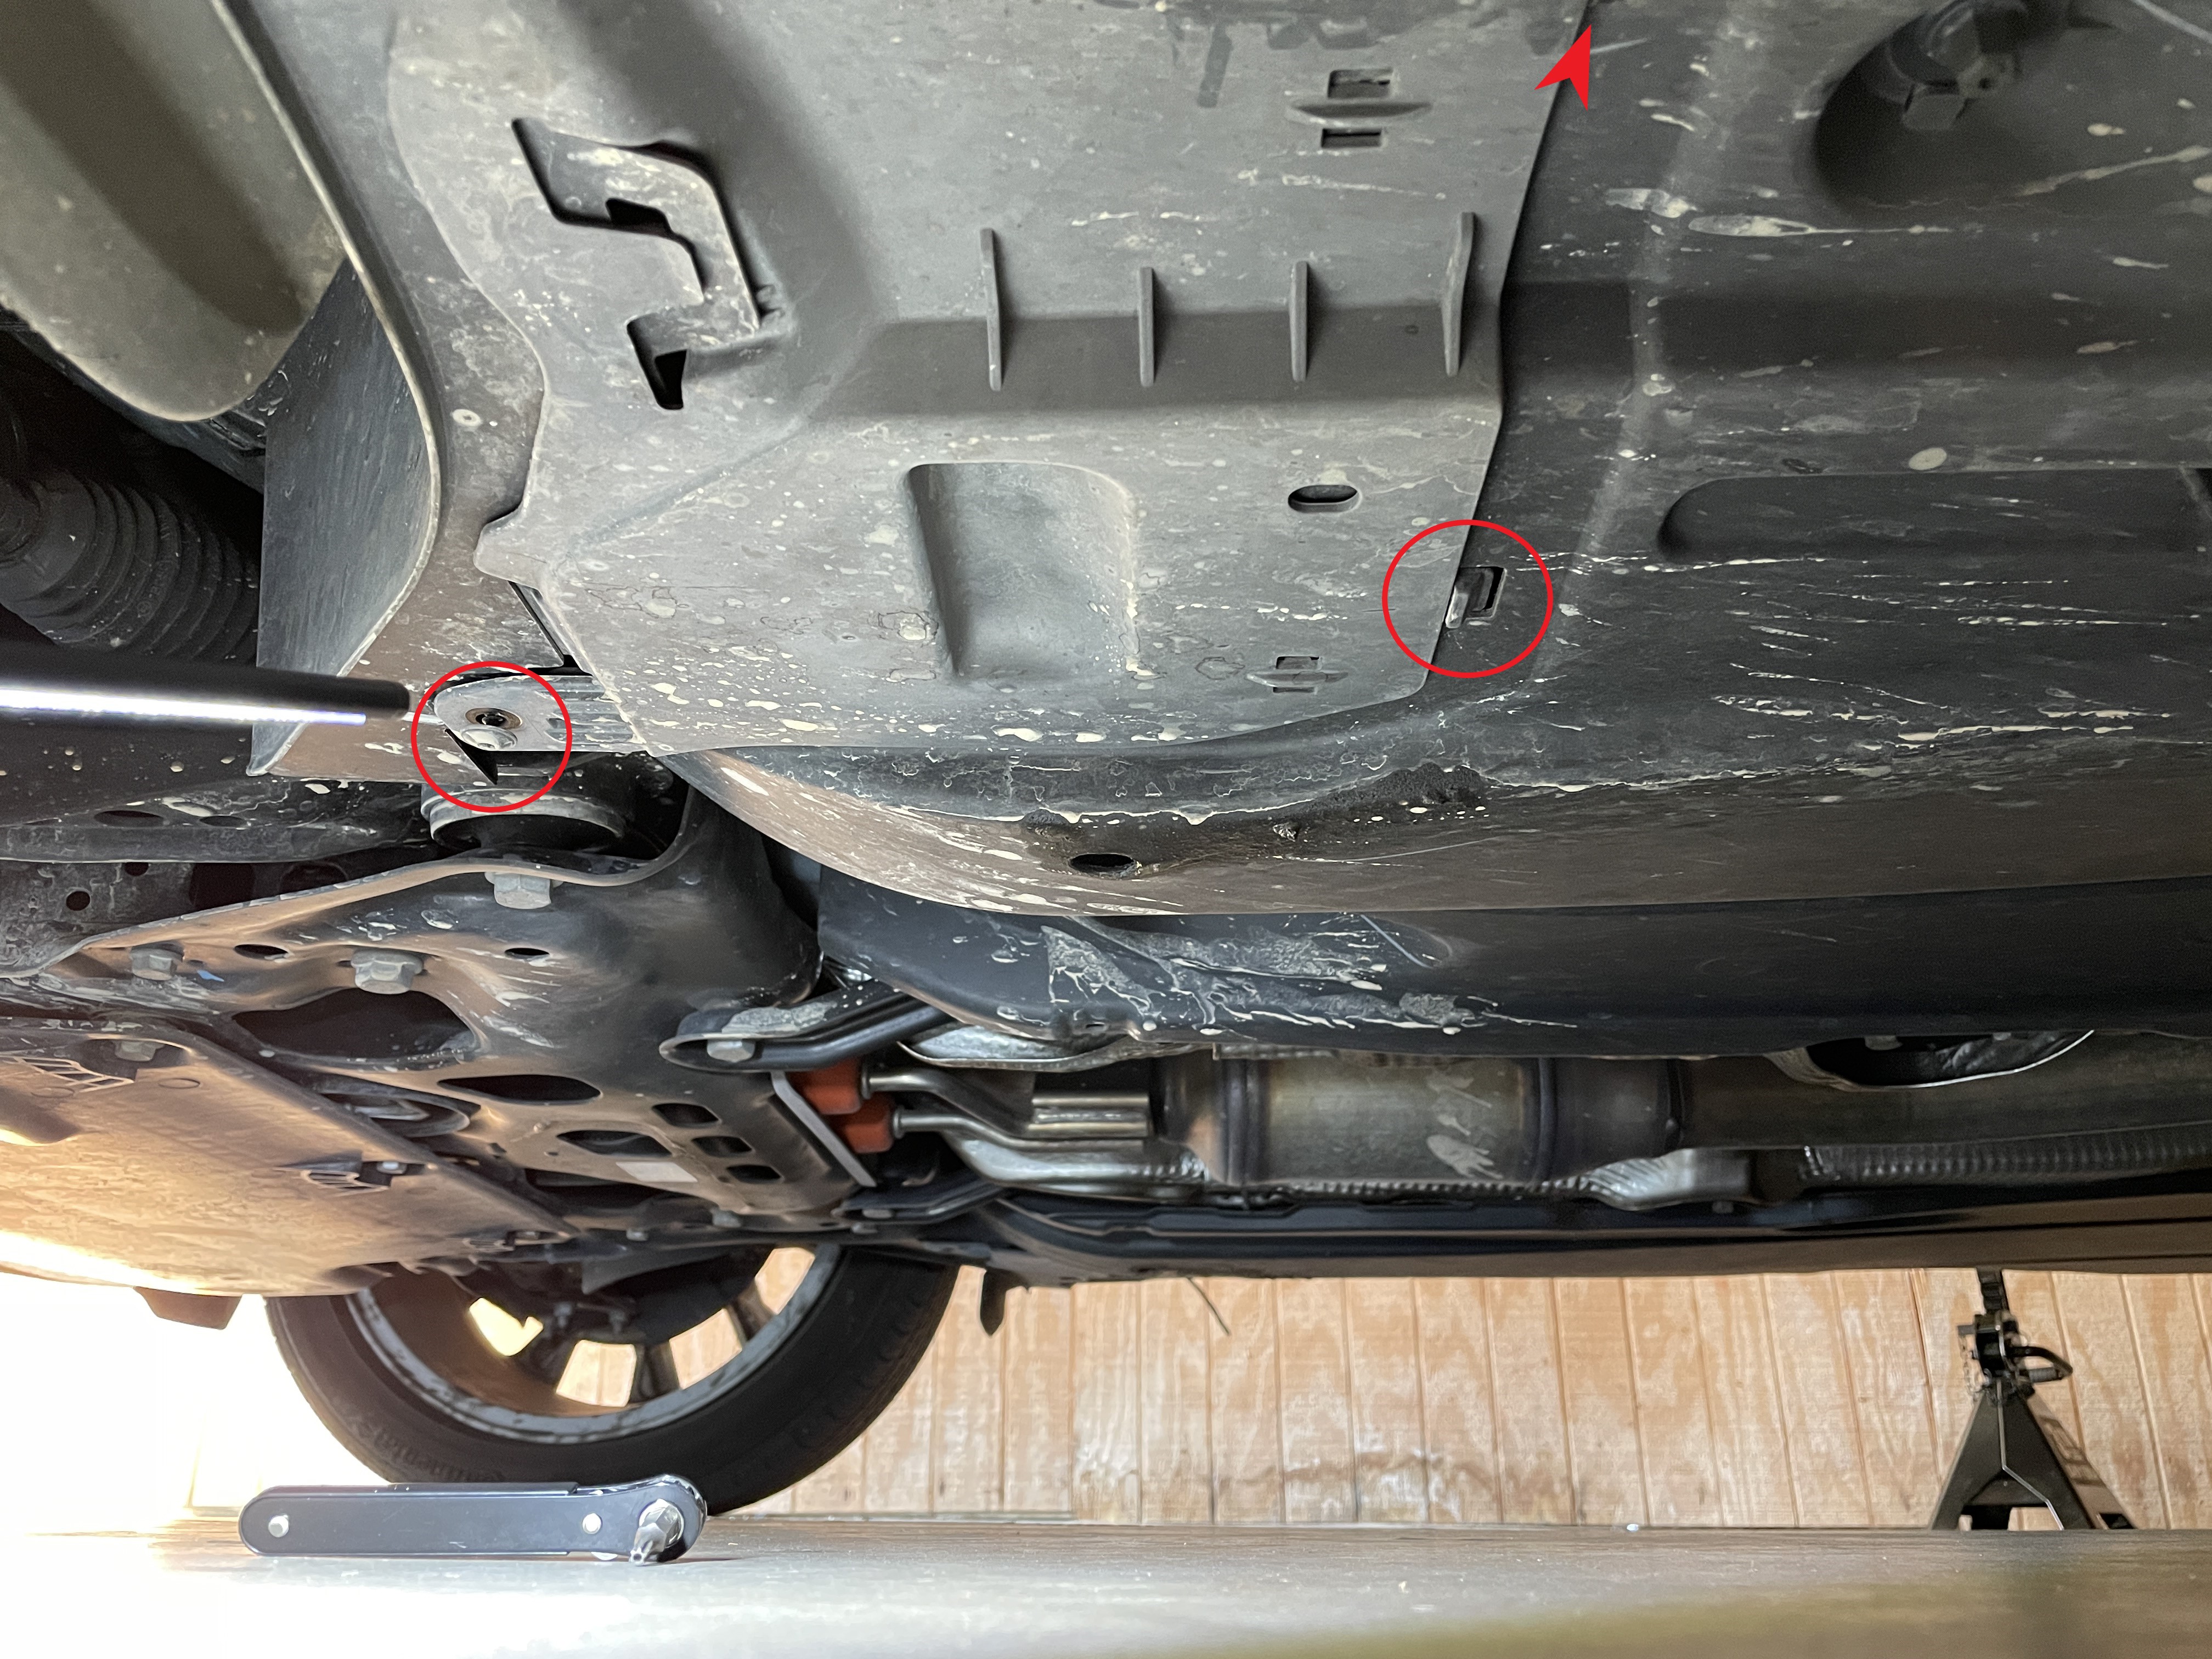
Front Before# Remove the Torx screw first. Then push in the two tabs on the other side and slide the trim piece towards the rear. |
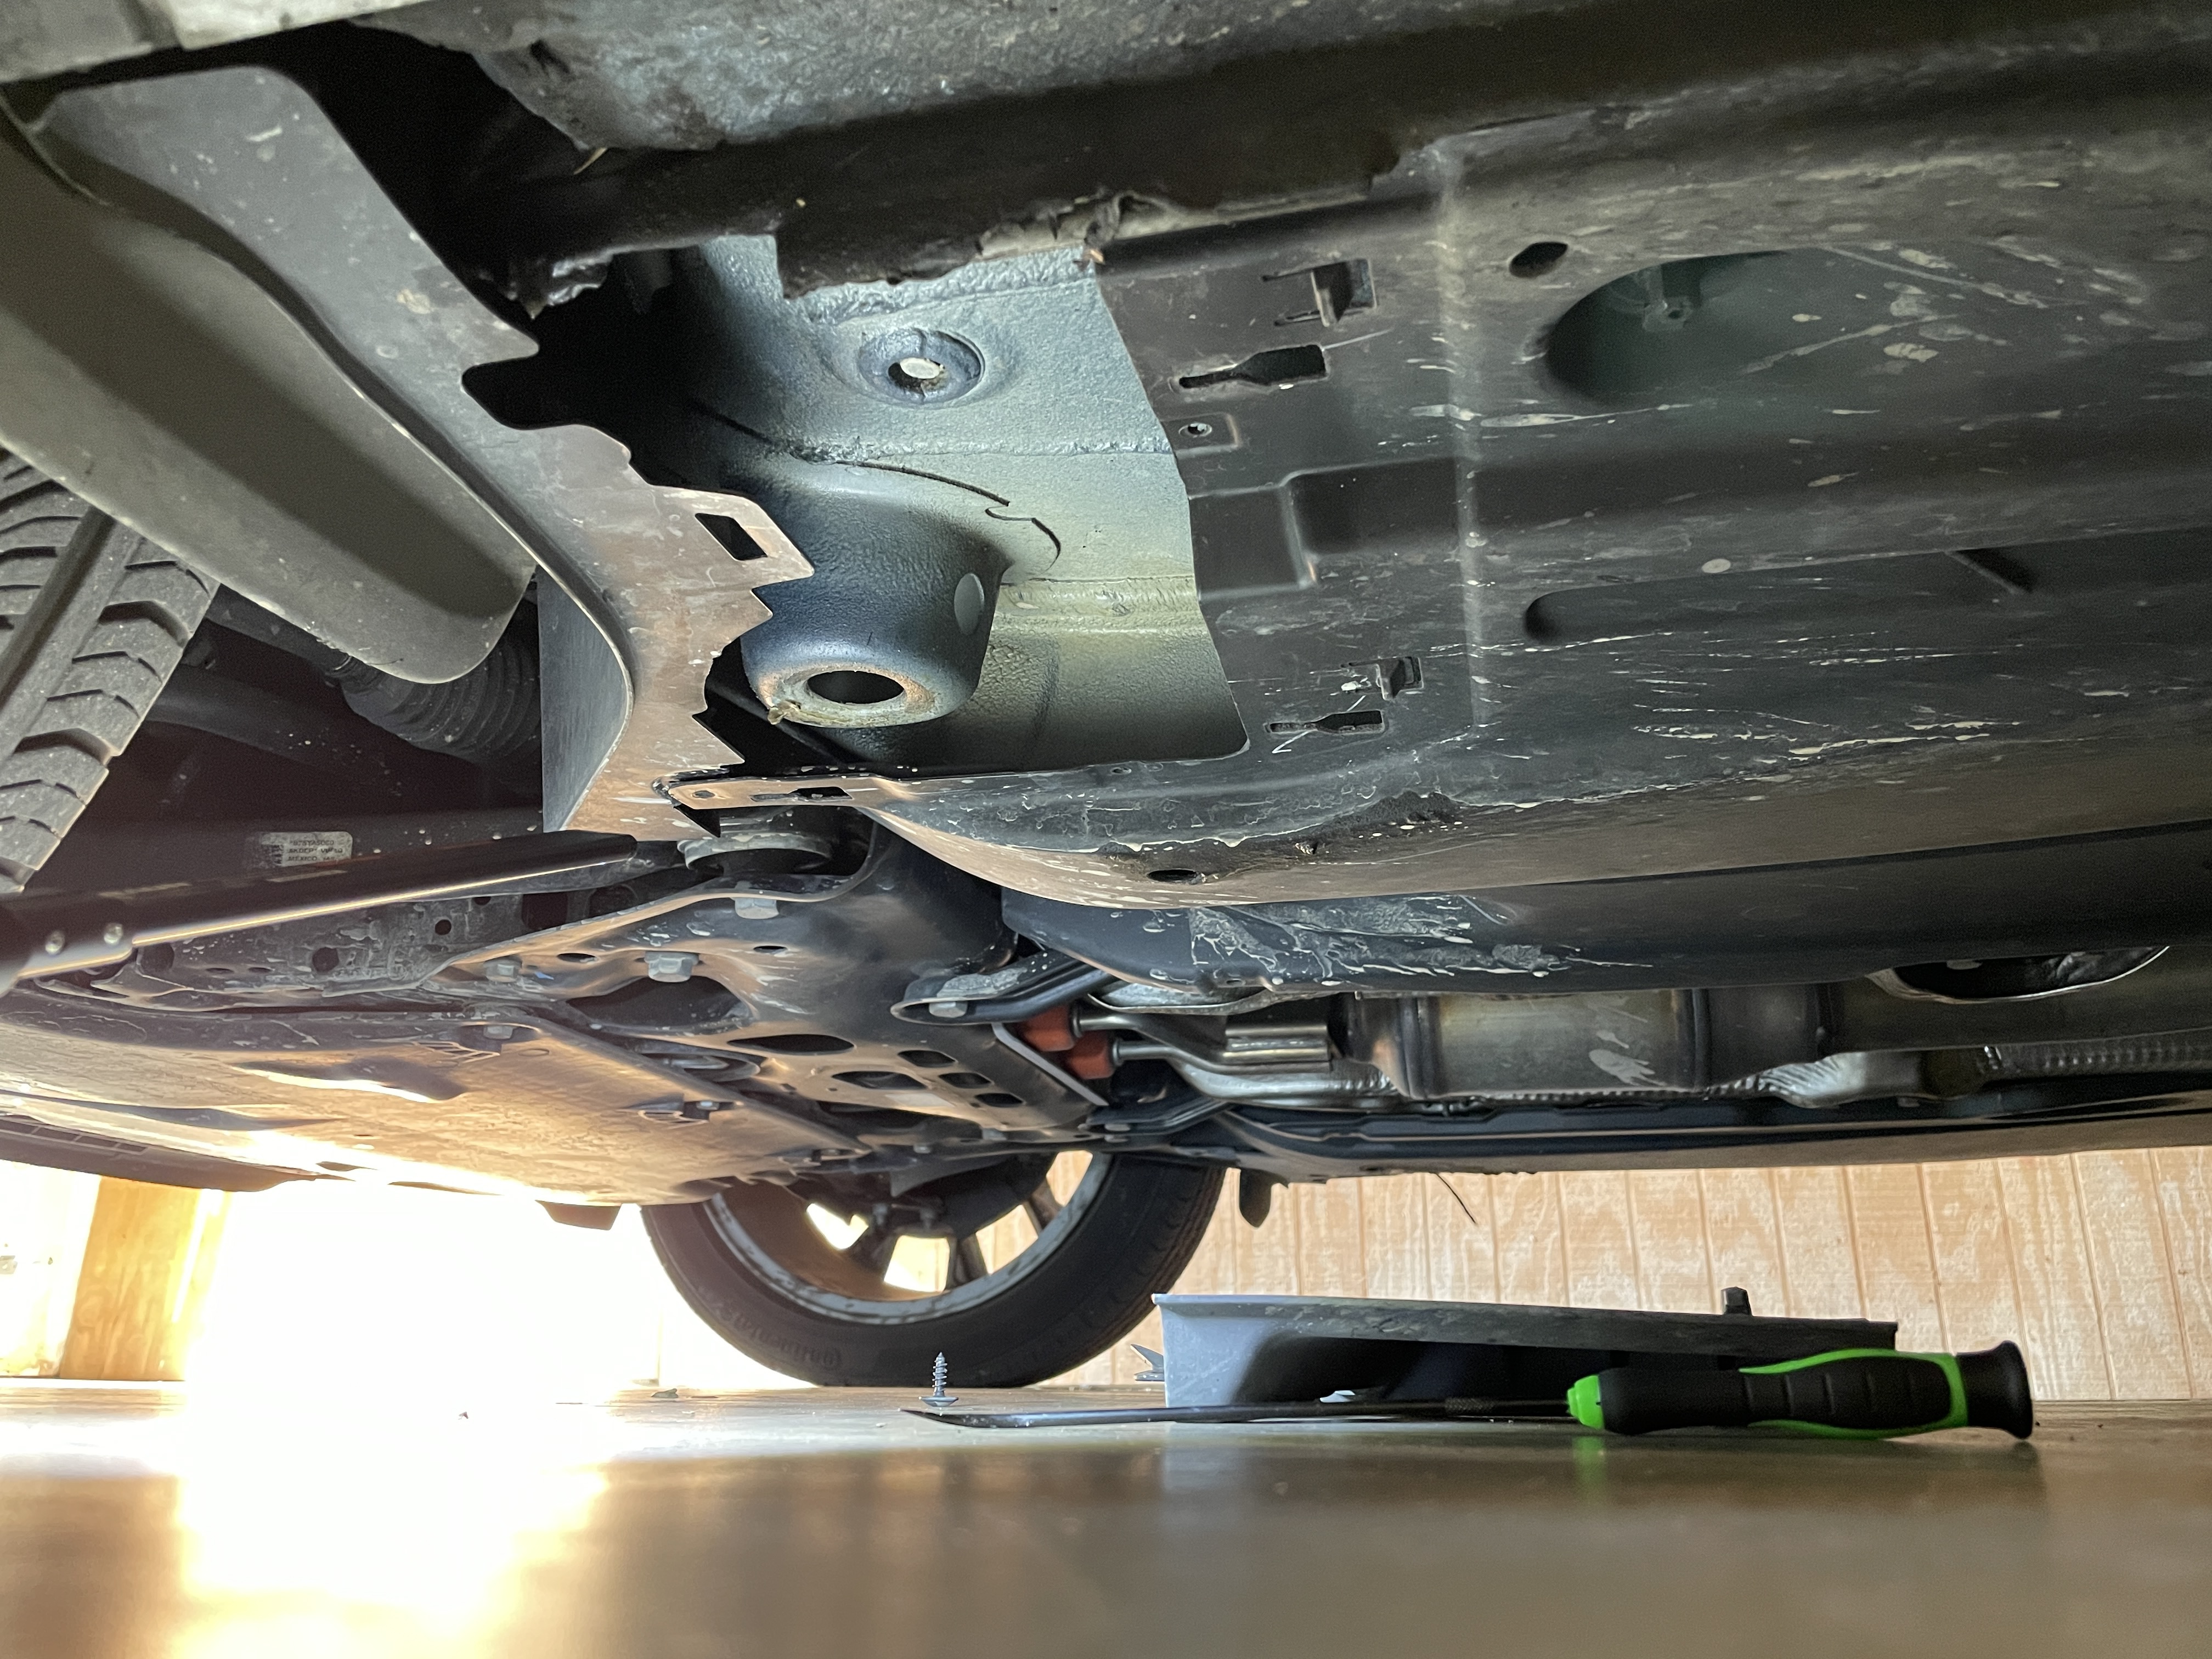
This is what it looks like with the trim piece removed. |
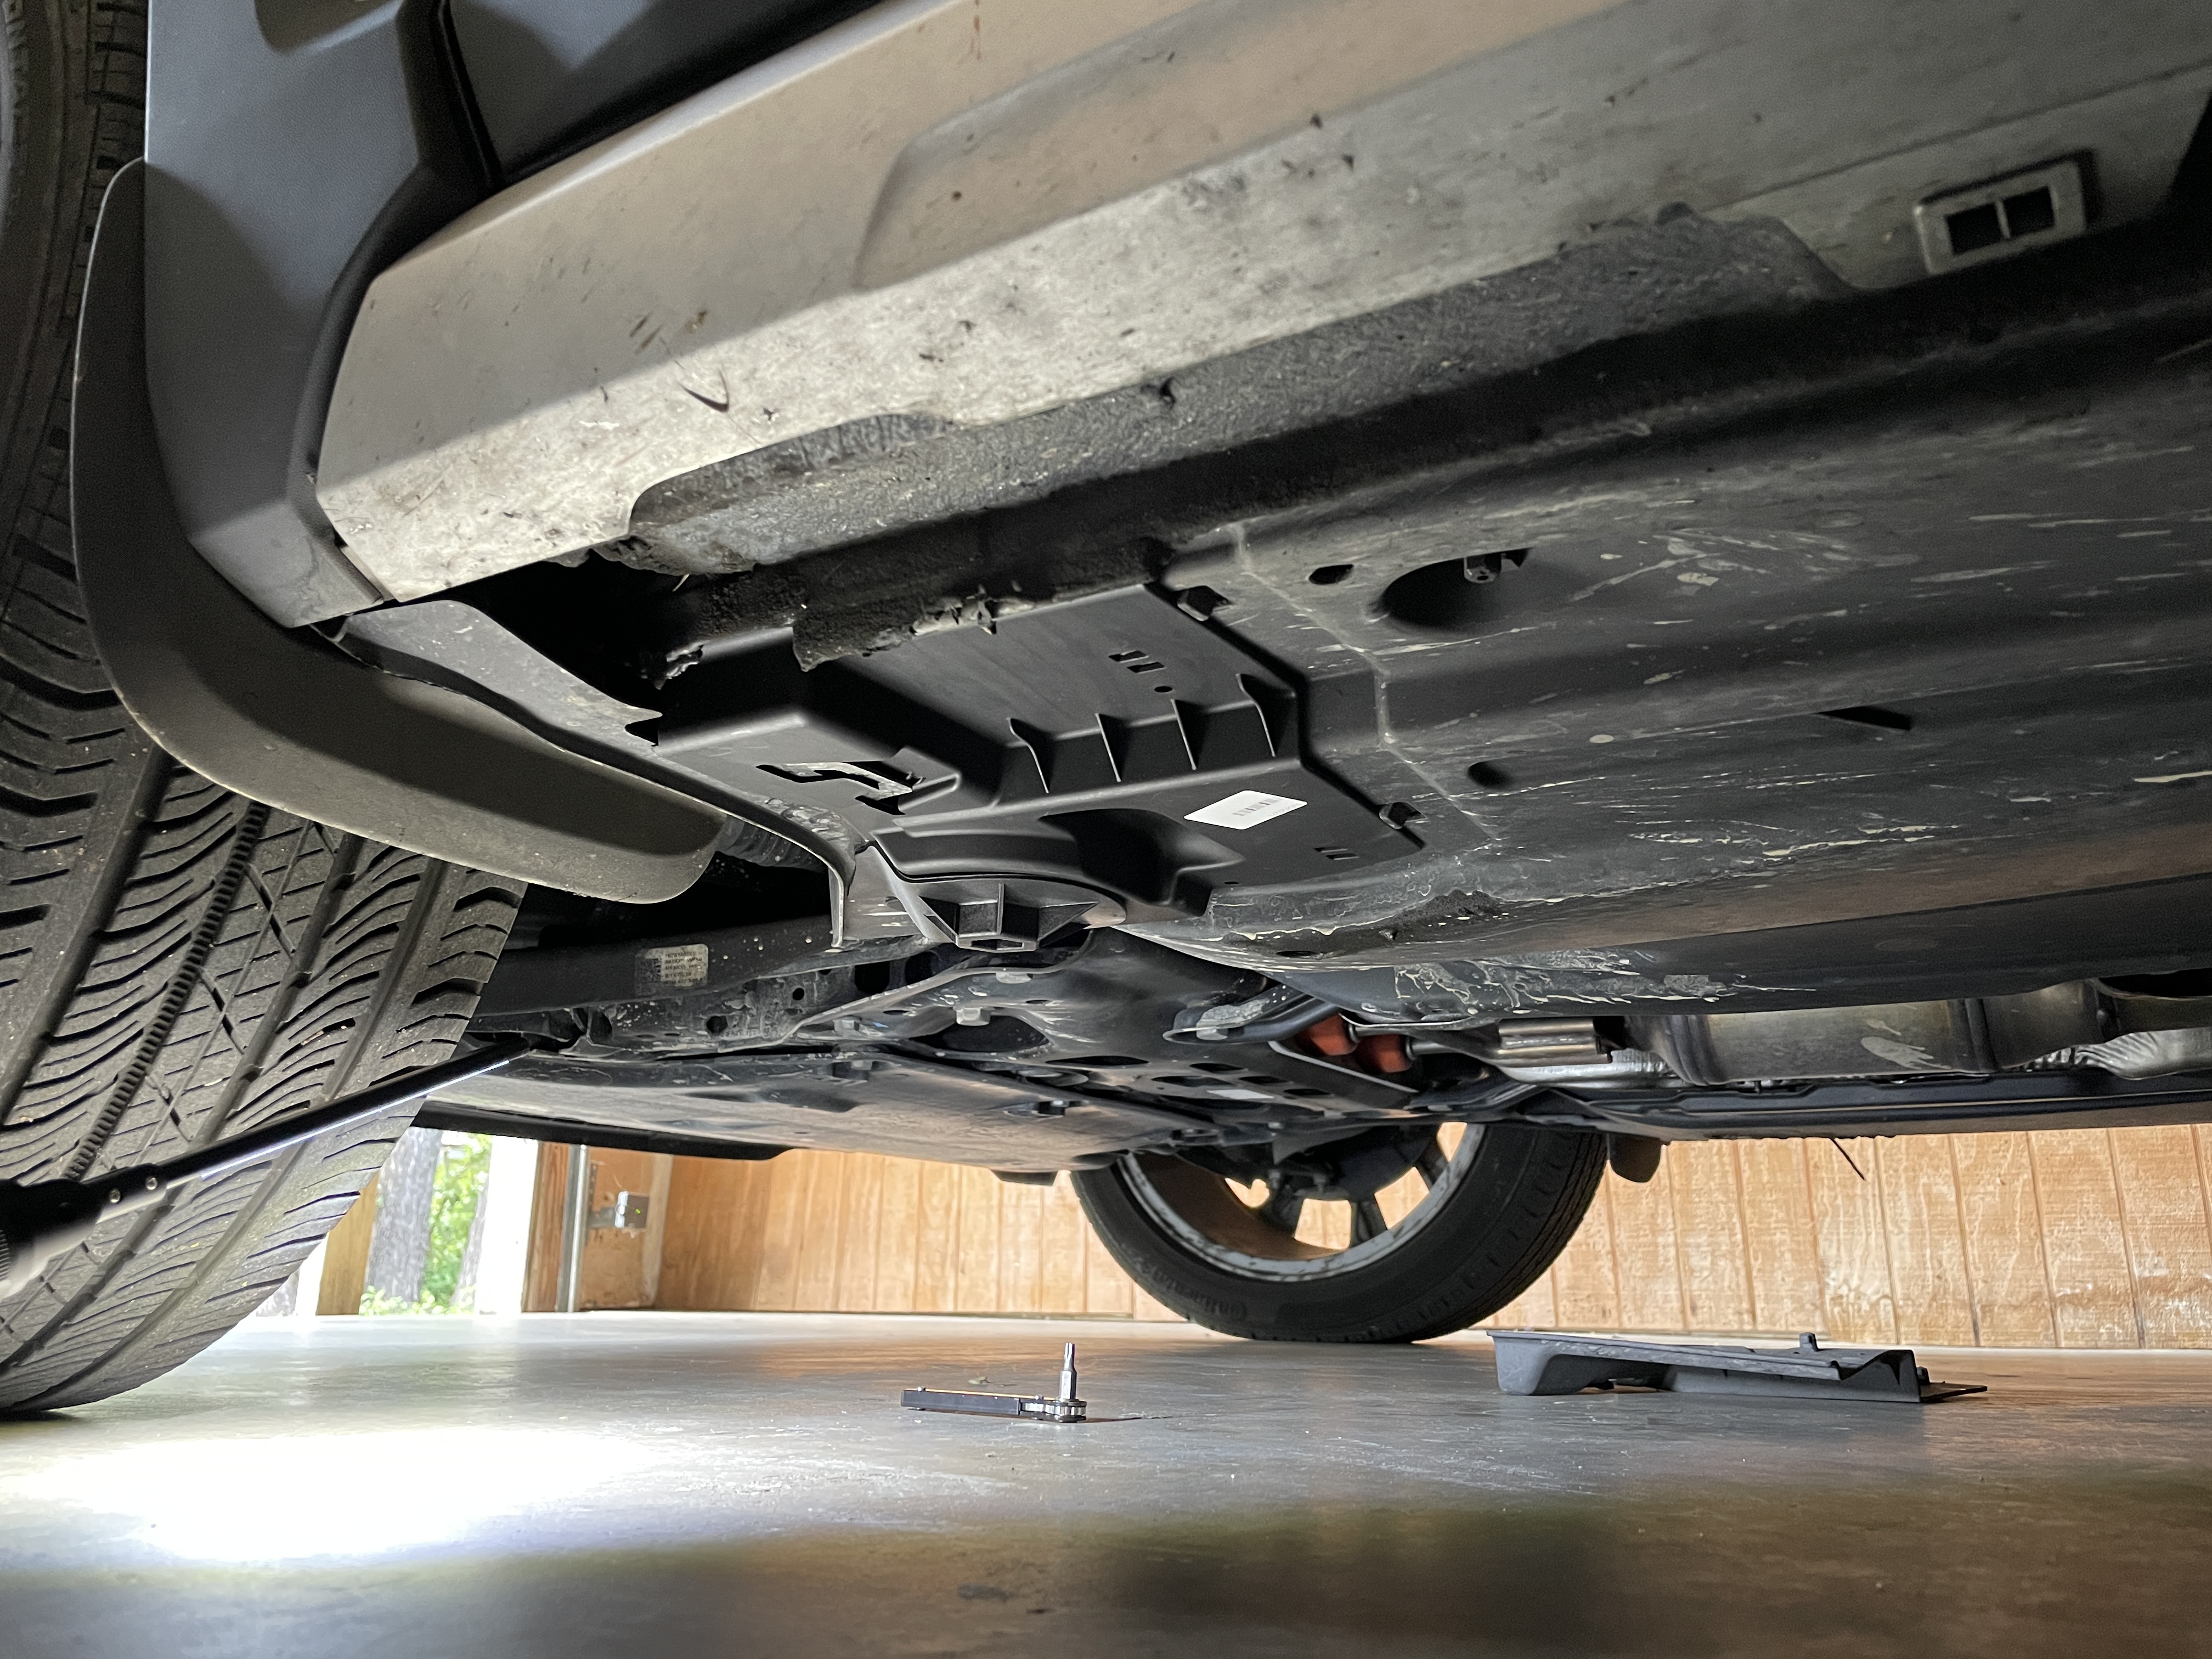
Install the rubber piece first (not visible here). Then slide in the new trim piece (there are three guides that should hold the corners of the trim piece in place as you slide it). It should click into place. Screw in the Torx screw and then install the final cover piece (I used my floor jack to press it into the rubber piece). Again I didn’t need to use any grease. |
Comments
comments powered by Disqus