Rear Dashcam Pair#
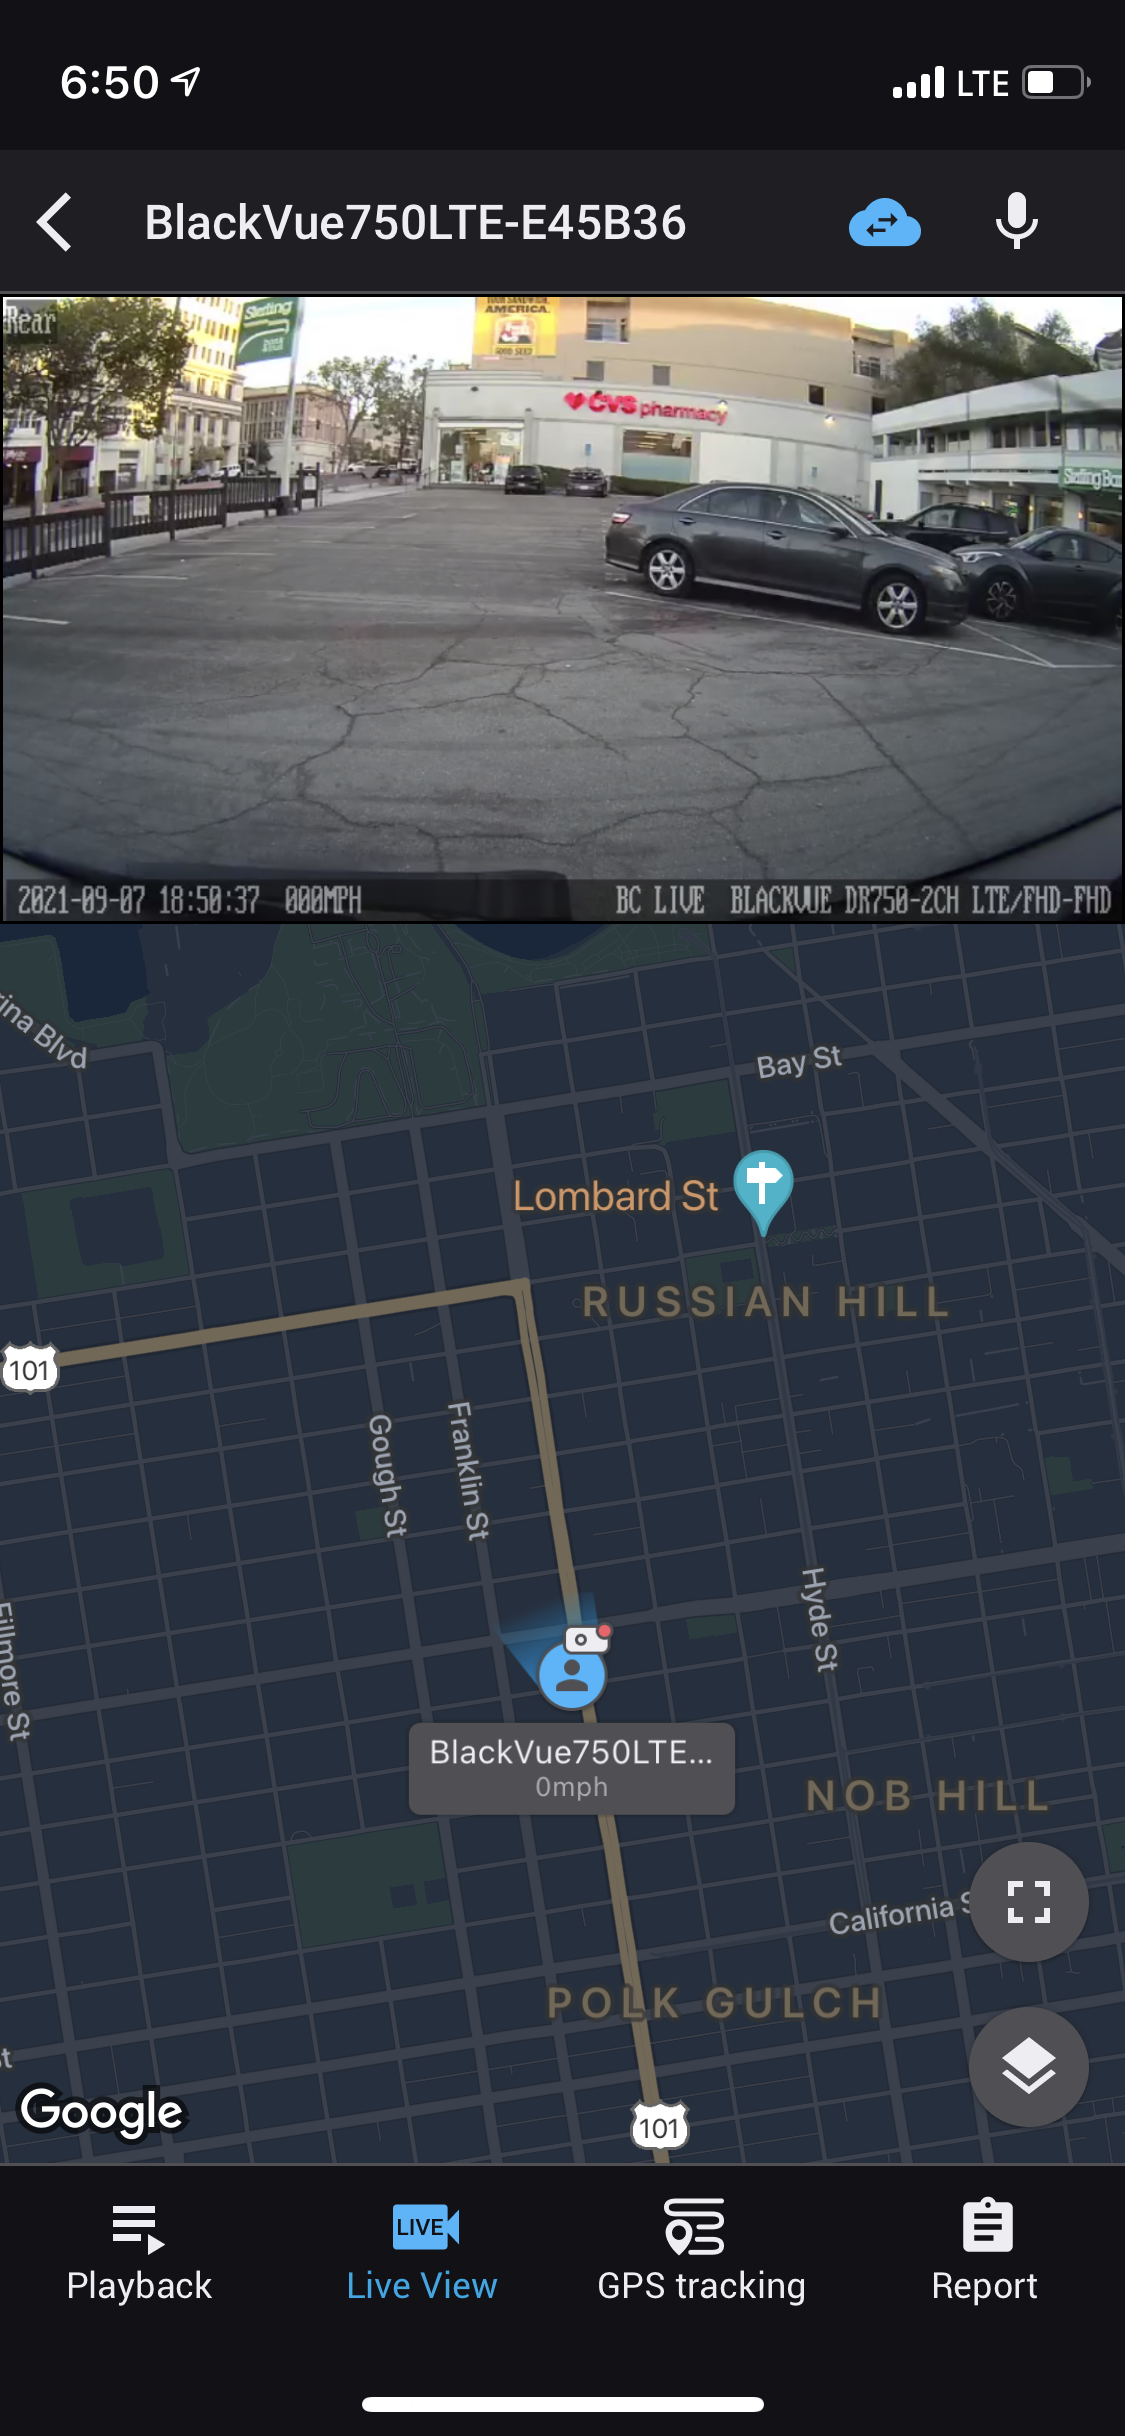
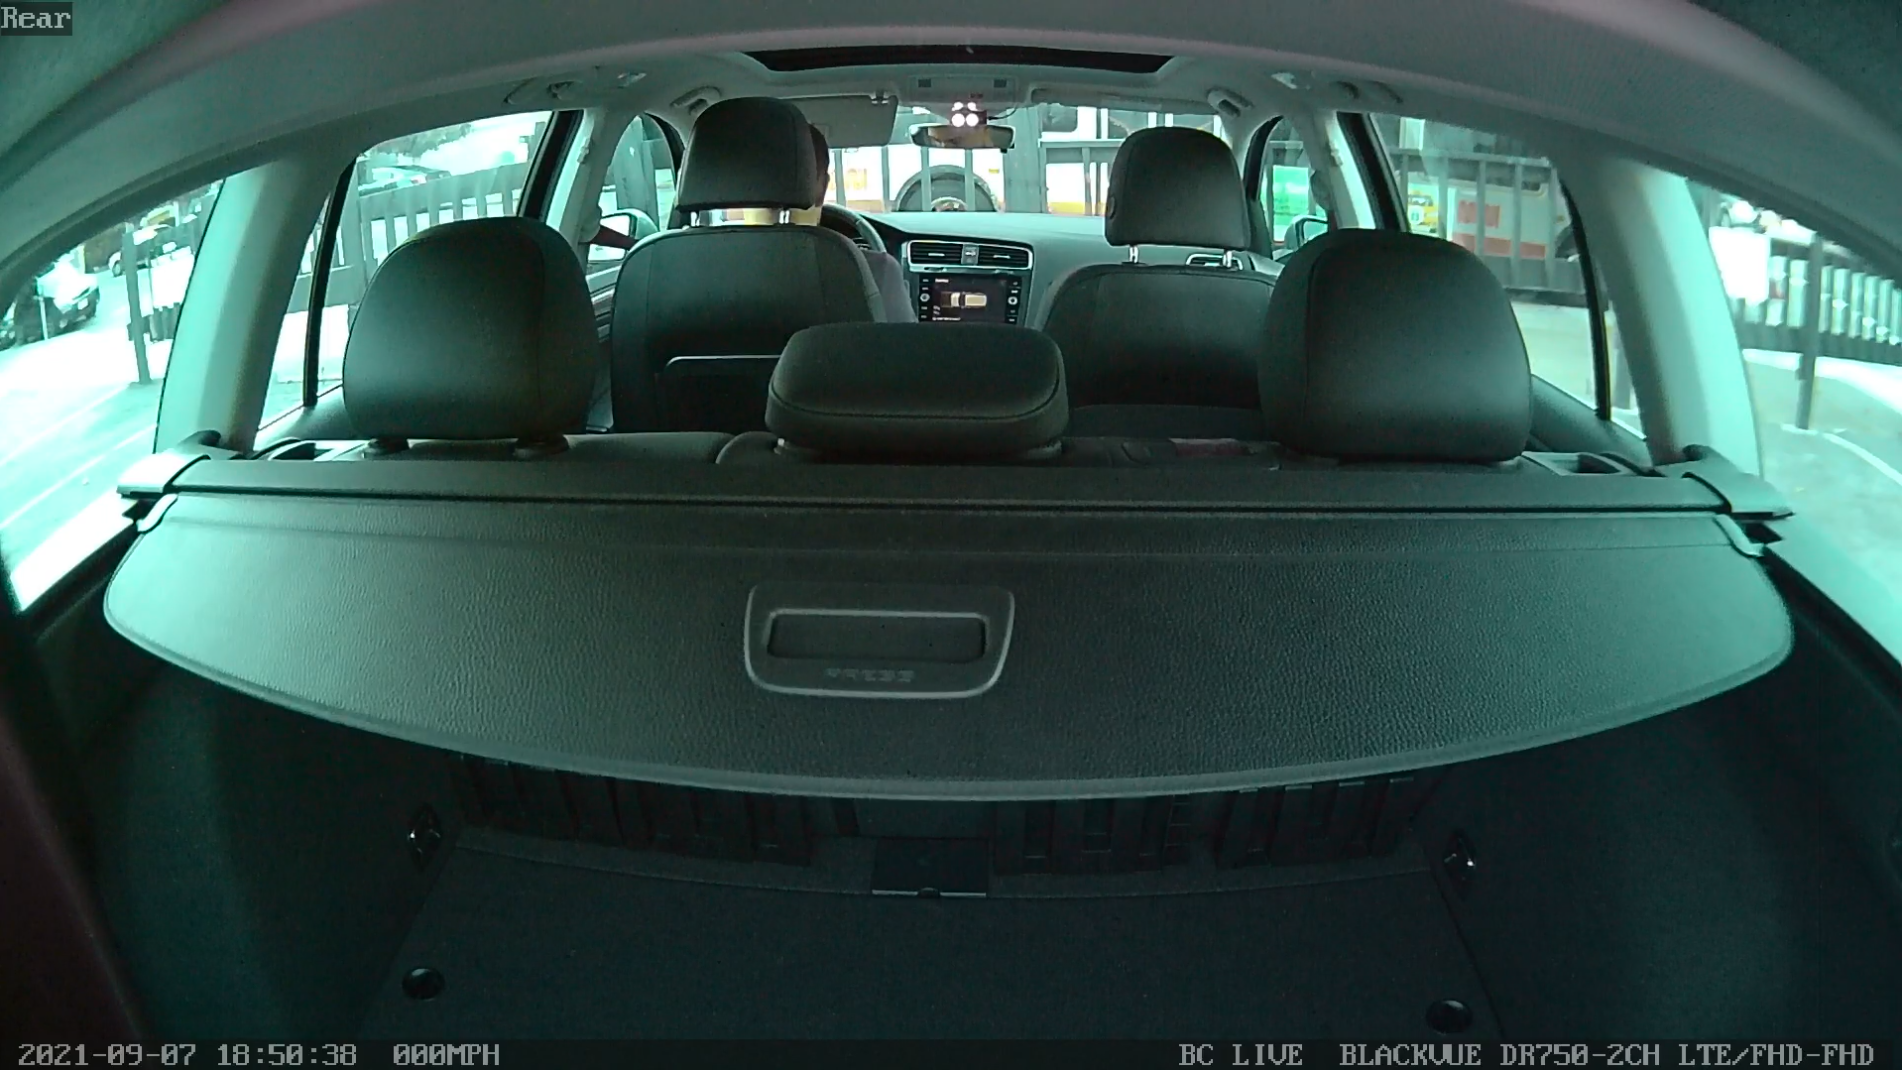
Installed a second pair of cameras to get a better view out of the rear of my car for read-end crashes as well as another IR camera pointed towards the front of the car. This way I have a sort of 360 view from both inside-pointing cameras. Like the front camera I also bought a tamper-proof case for the rear one. Similarly I also use BlackVue batteries to keep the camera powered overnight.
Items Purchased#
- BlackVue DR750-2CH IR LTE Dashcam
$450
1080p main camera
1080p infrared second camera
LTE, WiFi, GPS, microSD slot
LTE seems to only use about 6 MiB a day on average
- Blackvue B-124X Power Magic Ultra Battery Pack
$330
Installed in the cargo area
- BlackVue B-124E Power Magic Ultra Battery Expansion
$269
Photos#
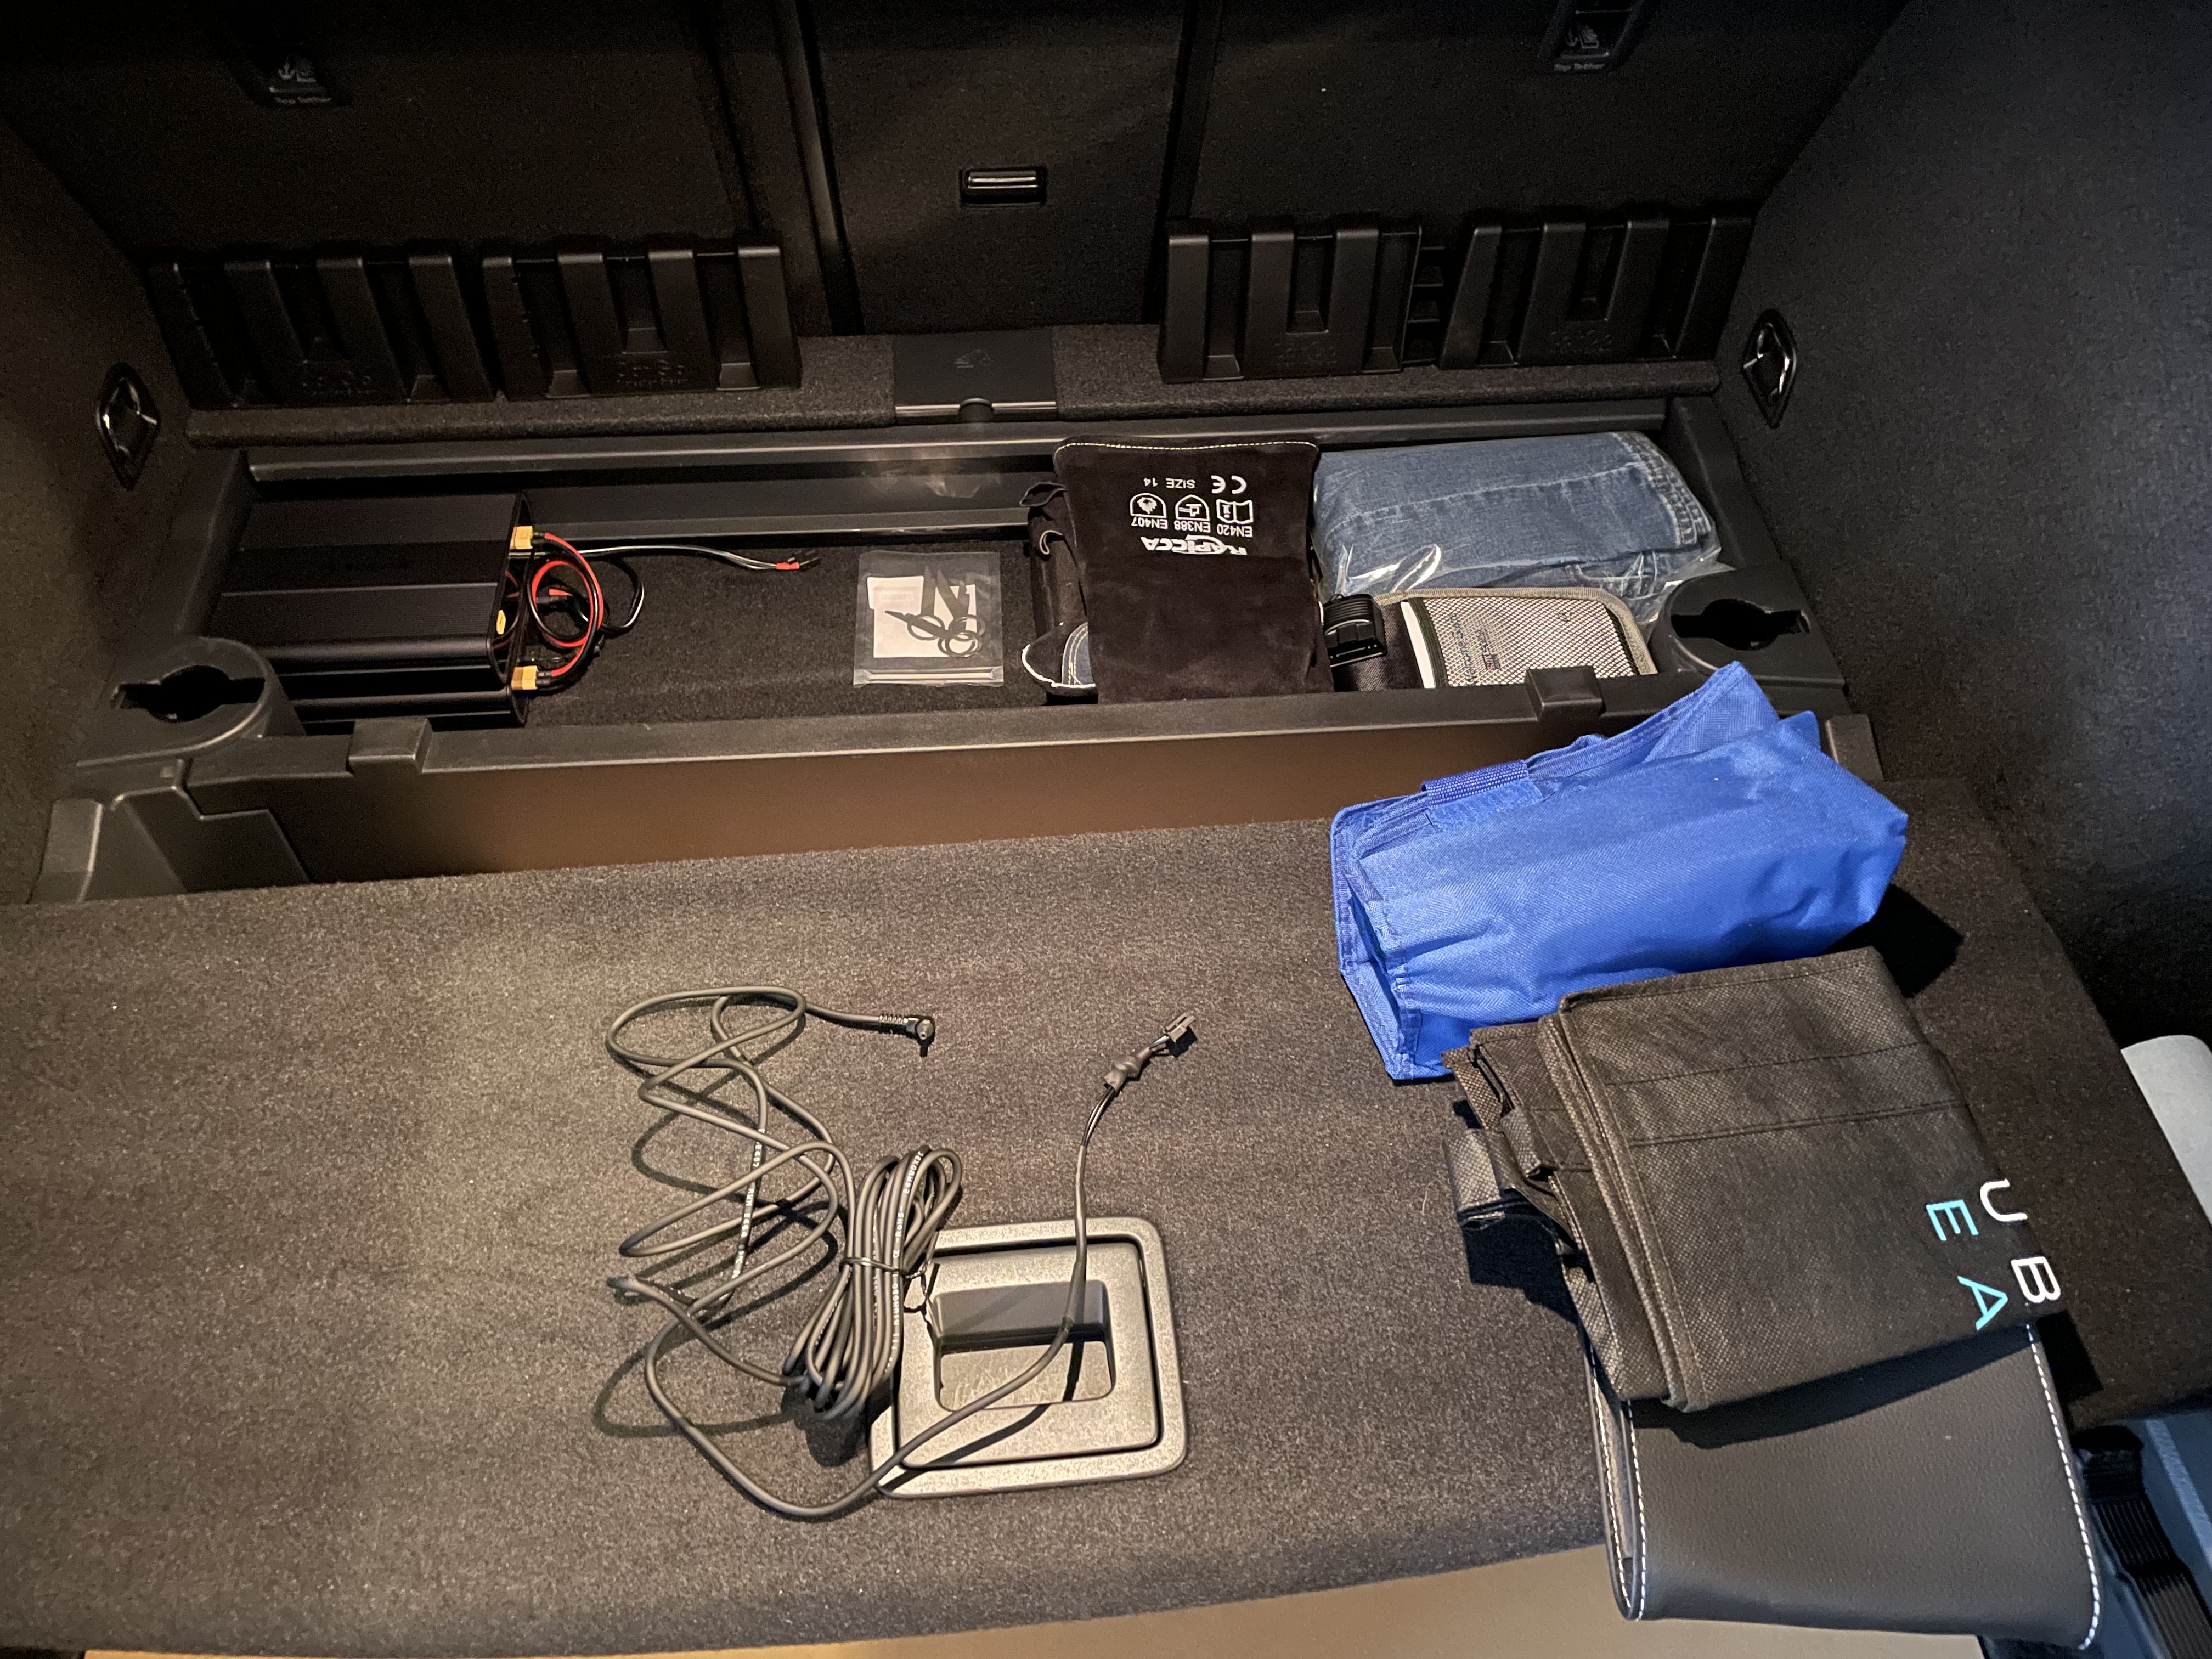
I spliced together the long male cigarette lighter cable that came with the camera with the short female cigarette lighter adapter that came with the battery so that everything will fit underneath my cargo liner.# |
I used a coat hanger to help fish the cable.# |
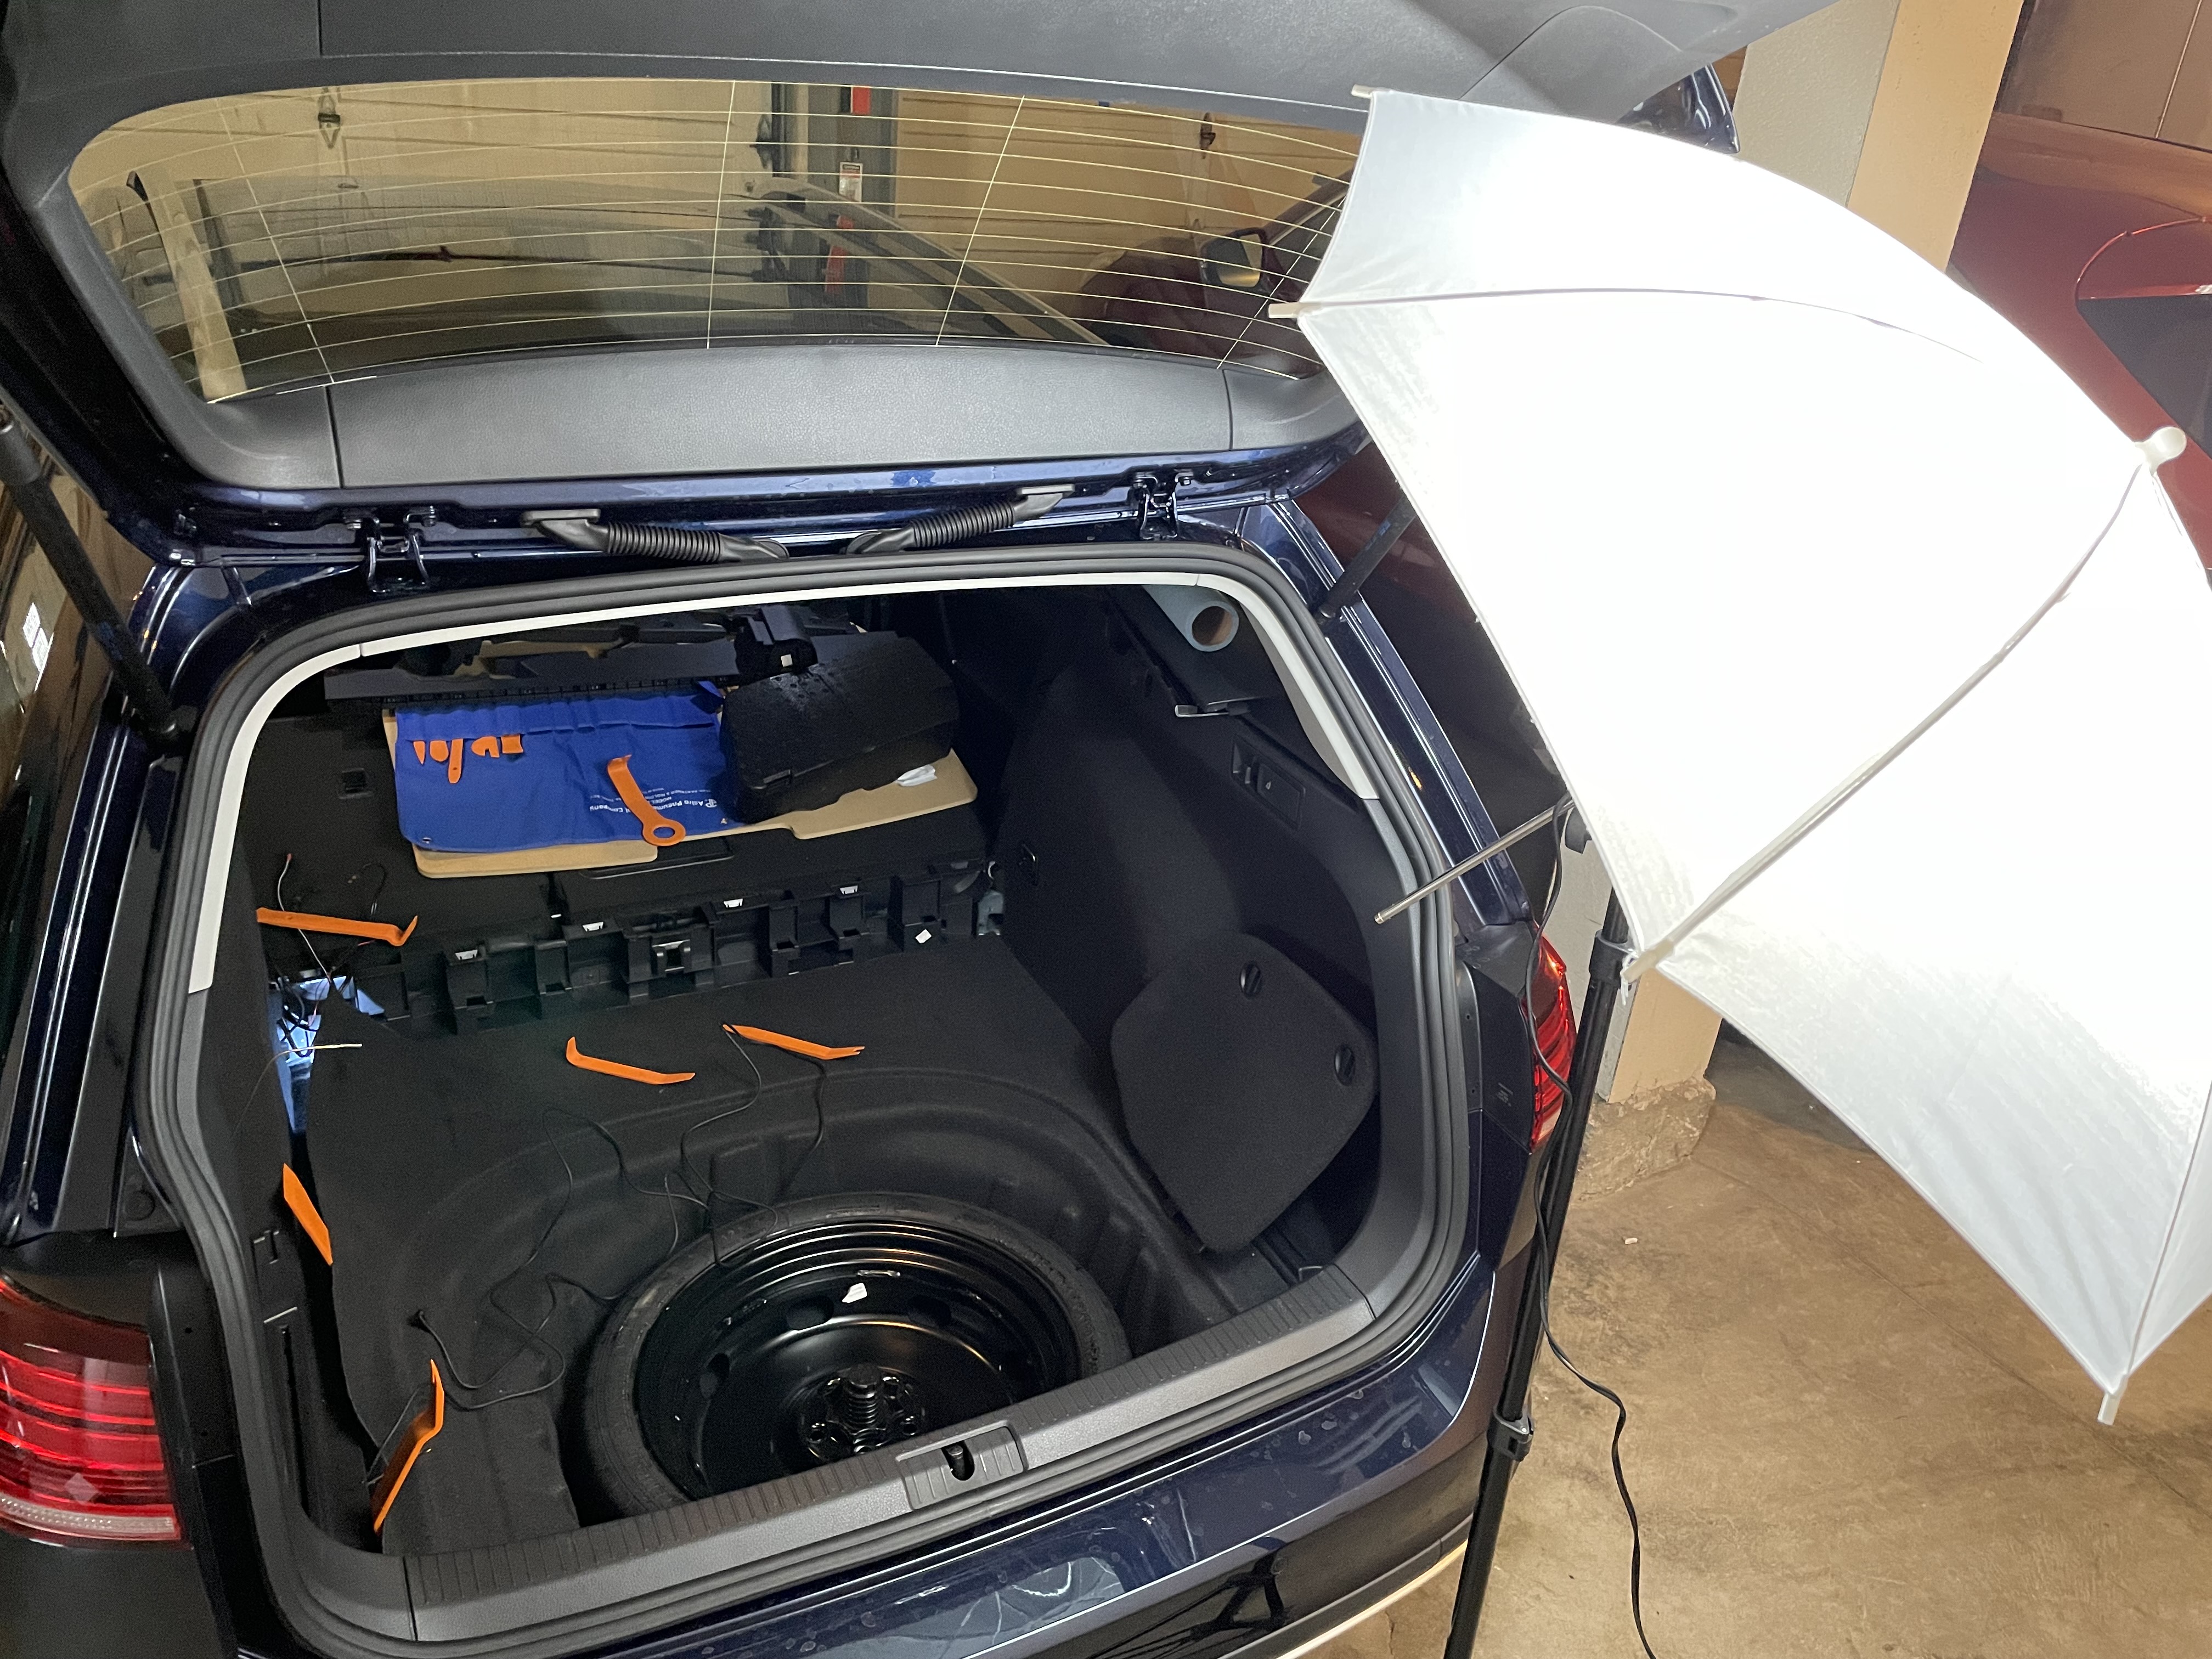
This made things way easier to see in my garage.# |
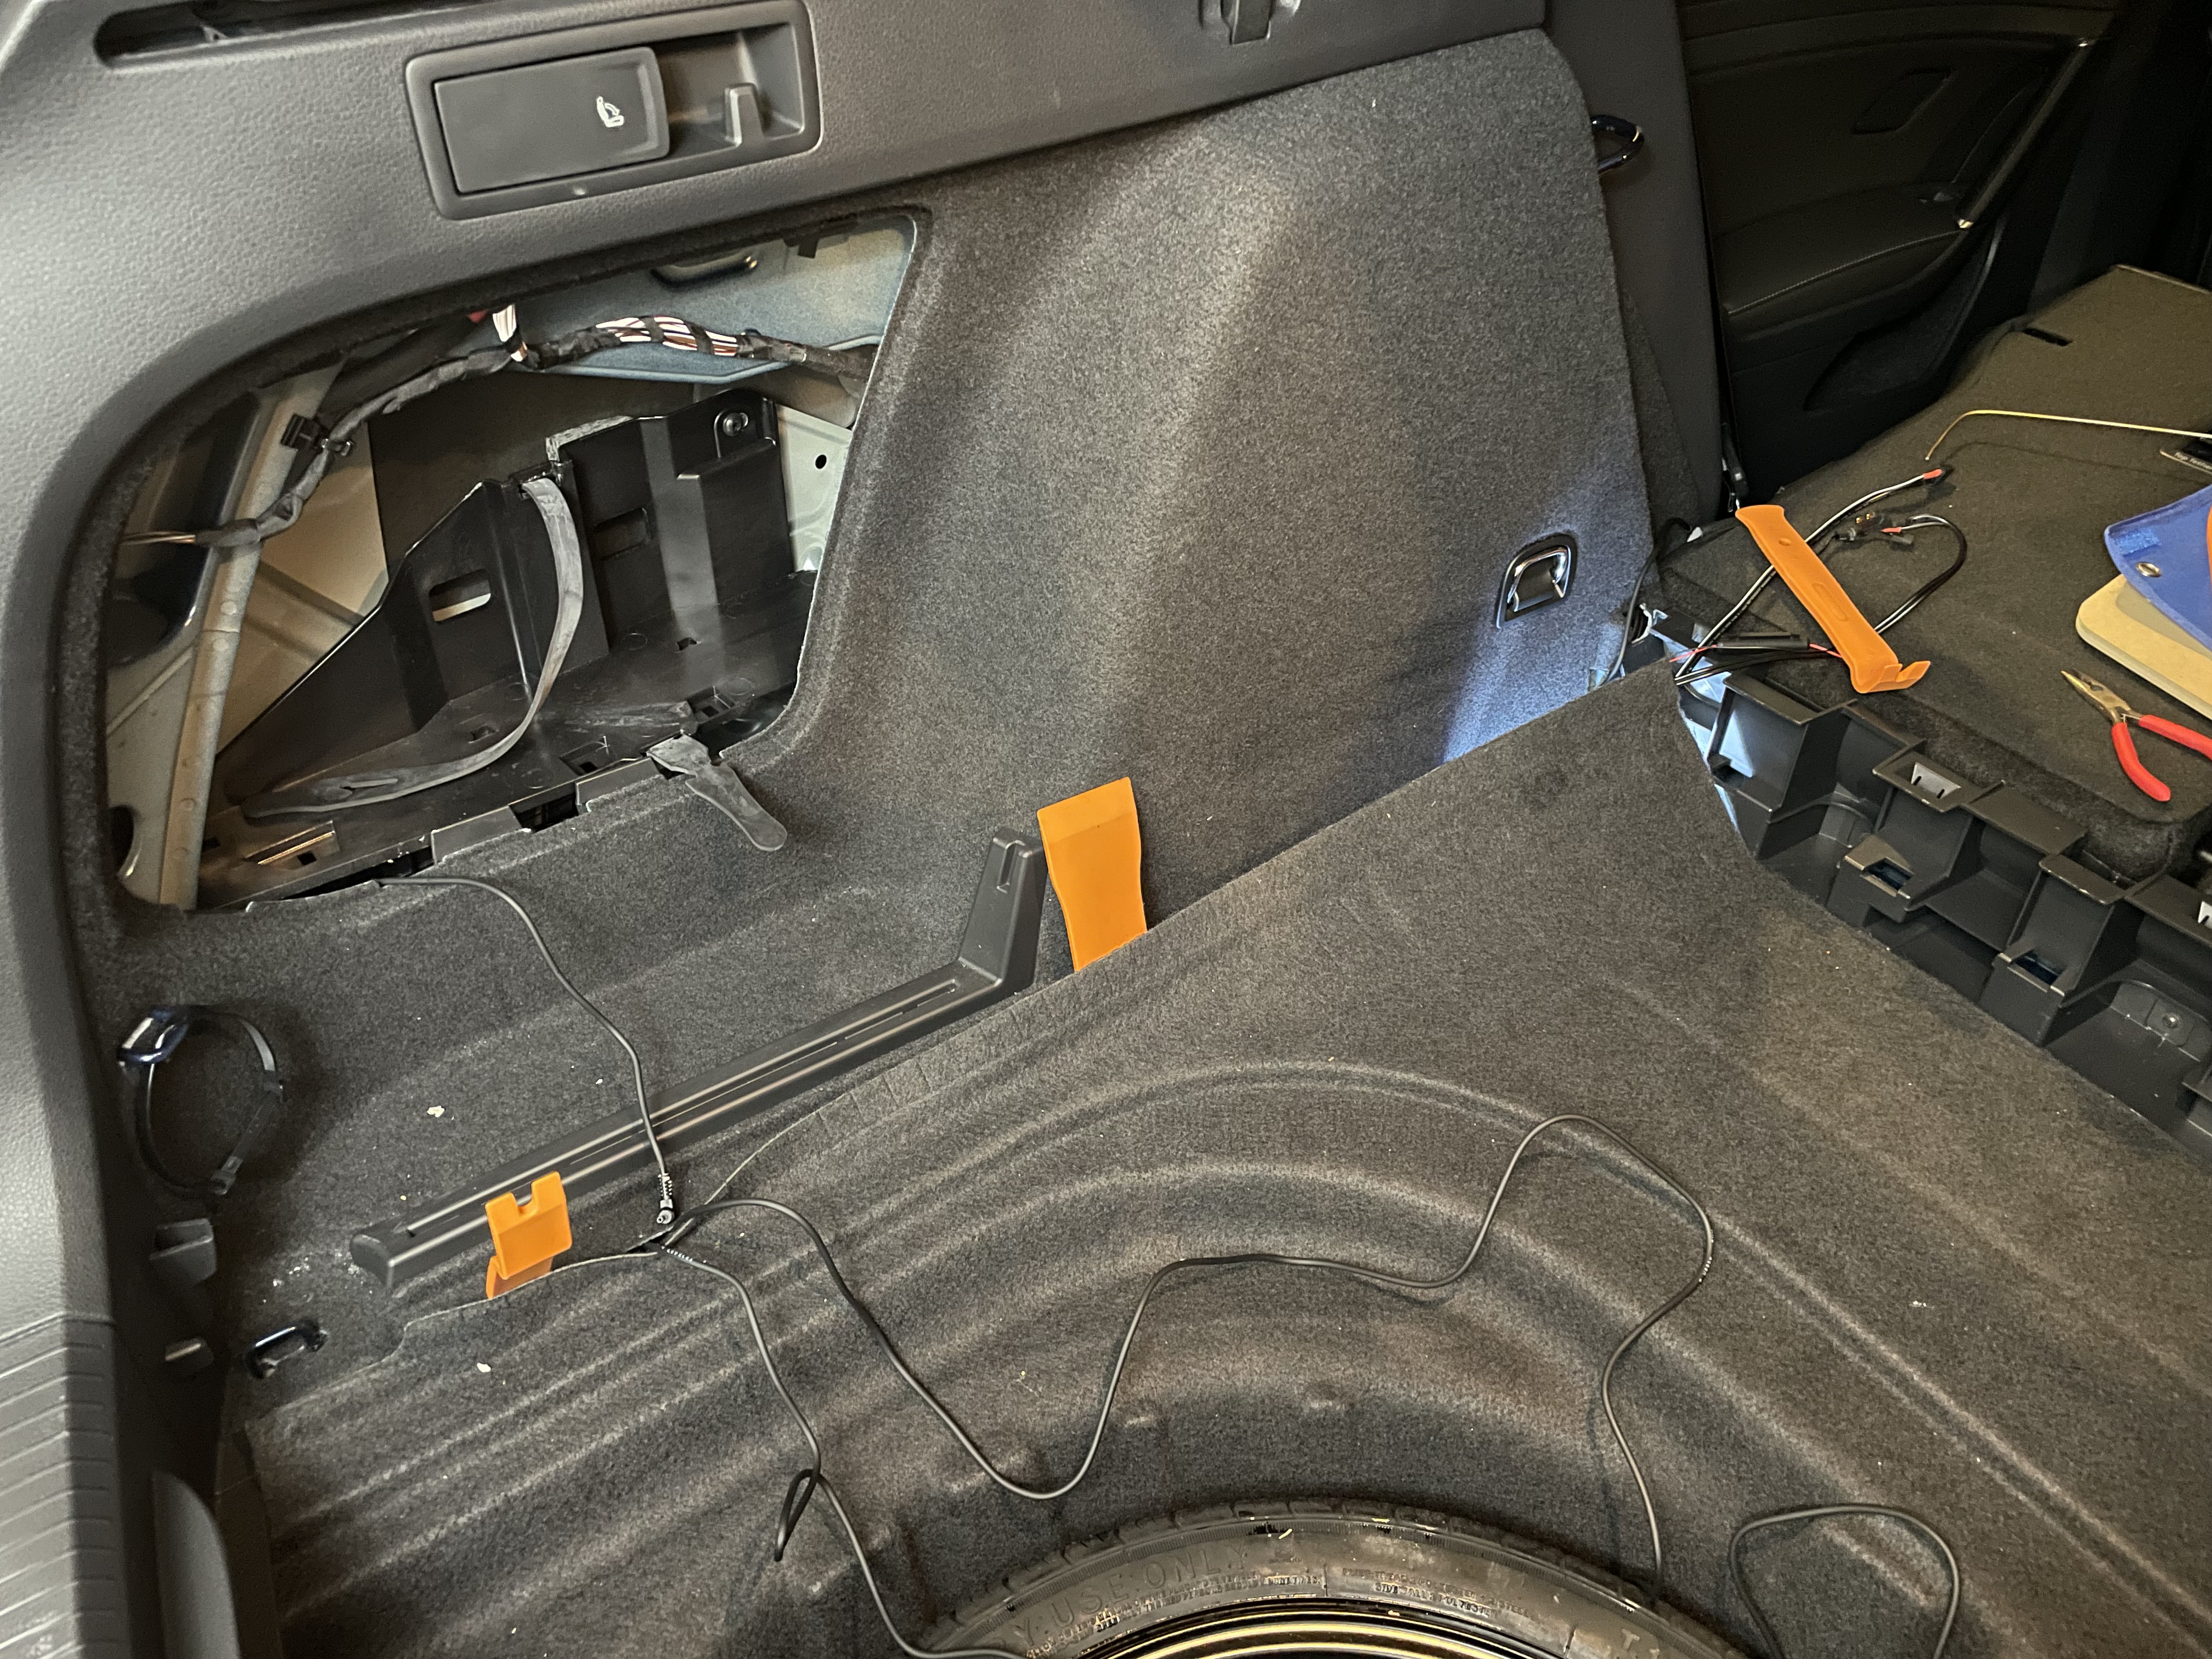
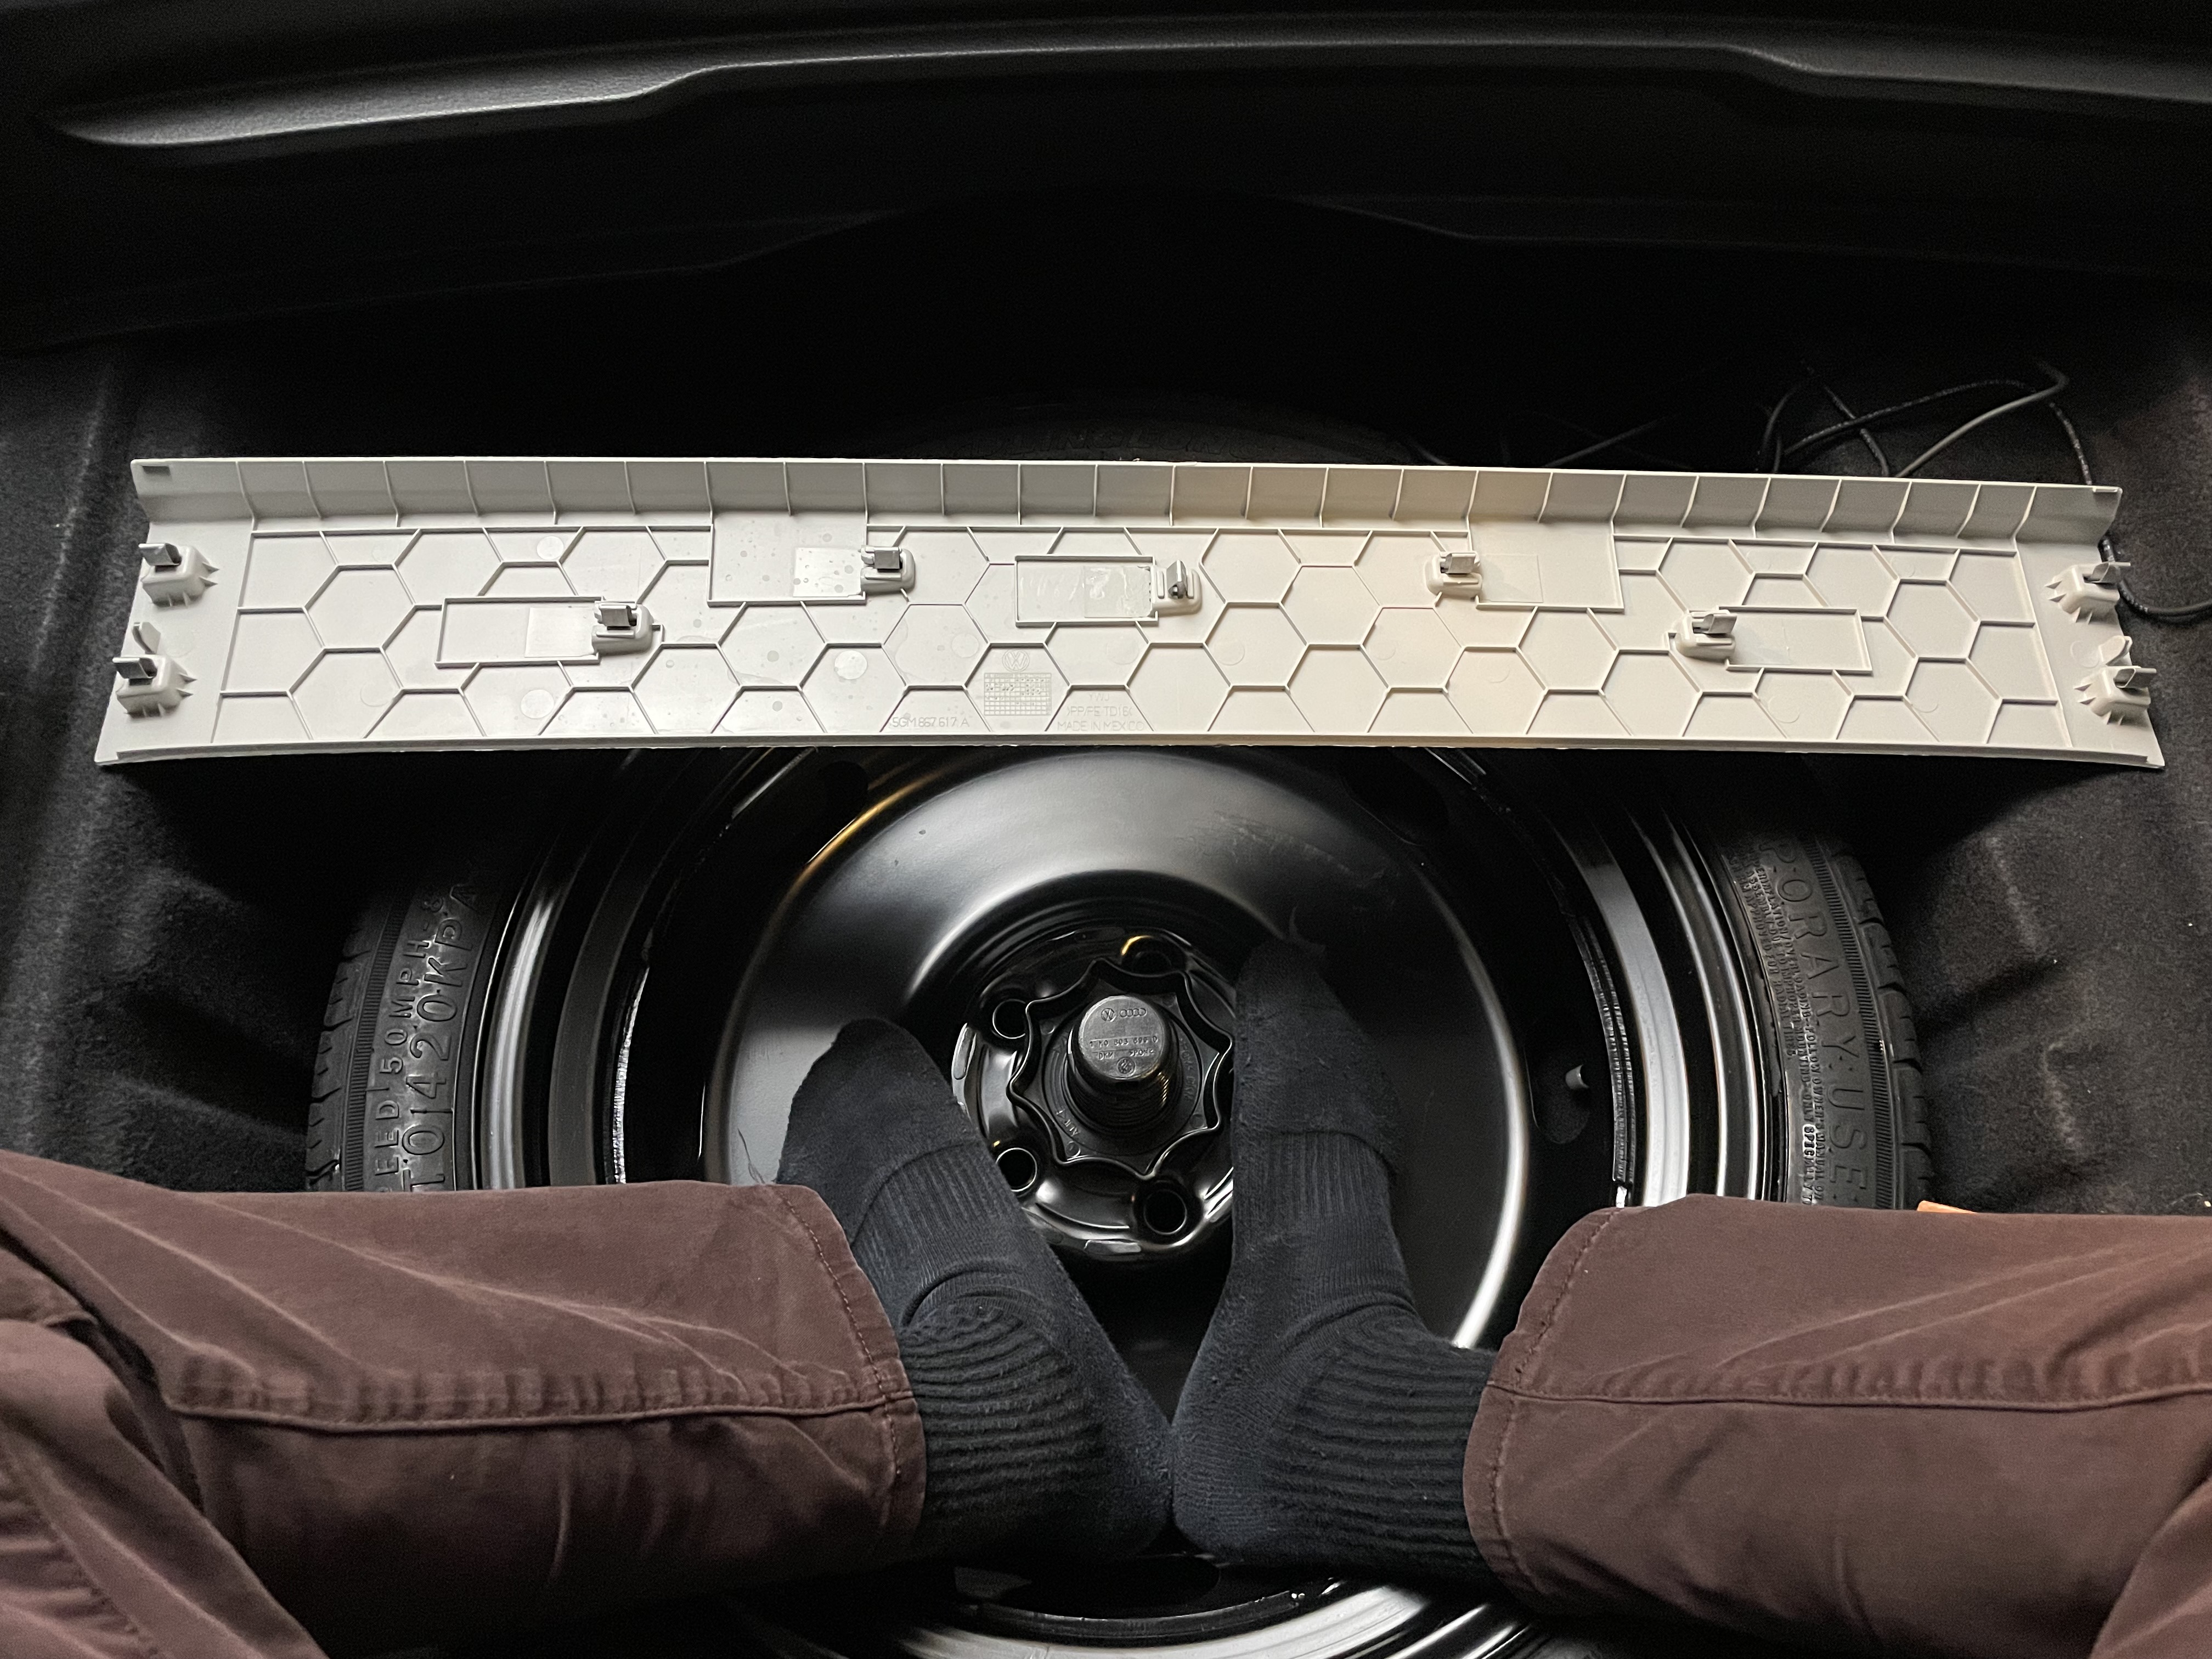
After fishing the cable under the cargo liner I tucked the rest of the cable towards the battery. There seemed to be some glue half way there that I had to get through by prying the liner wall towards me.# |
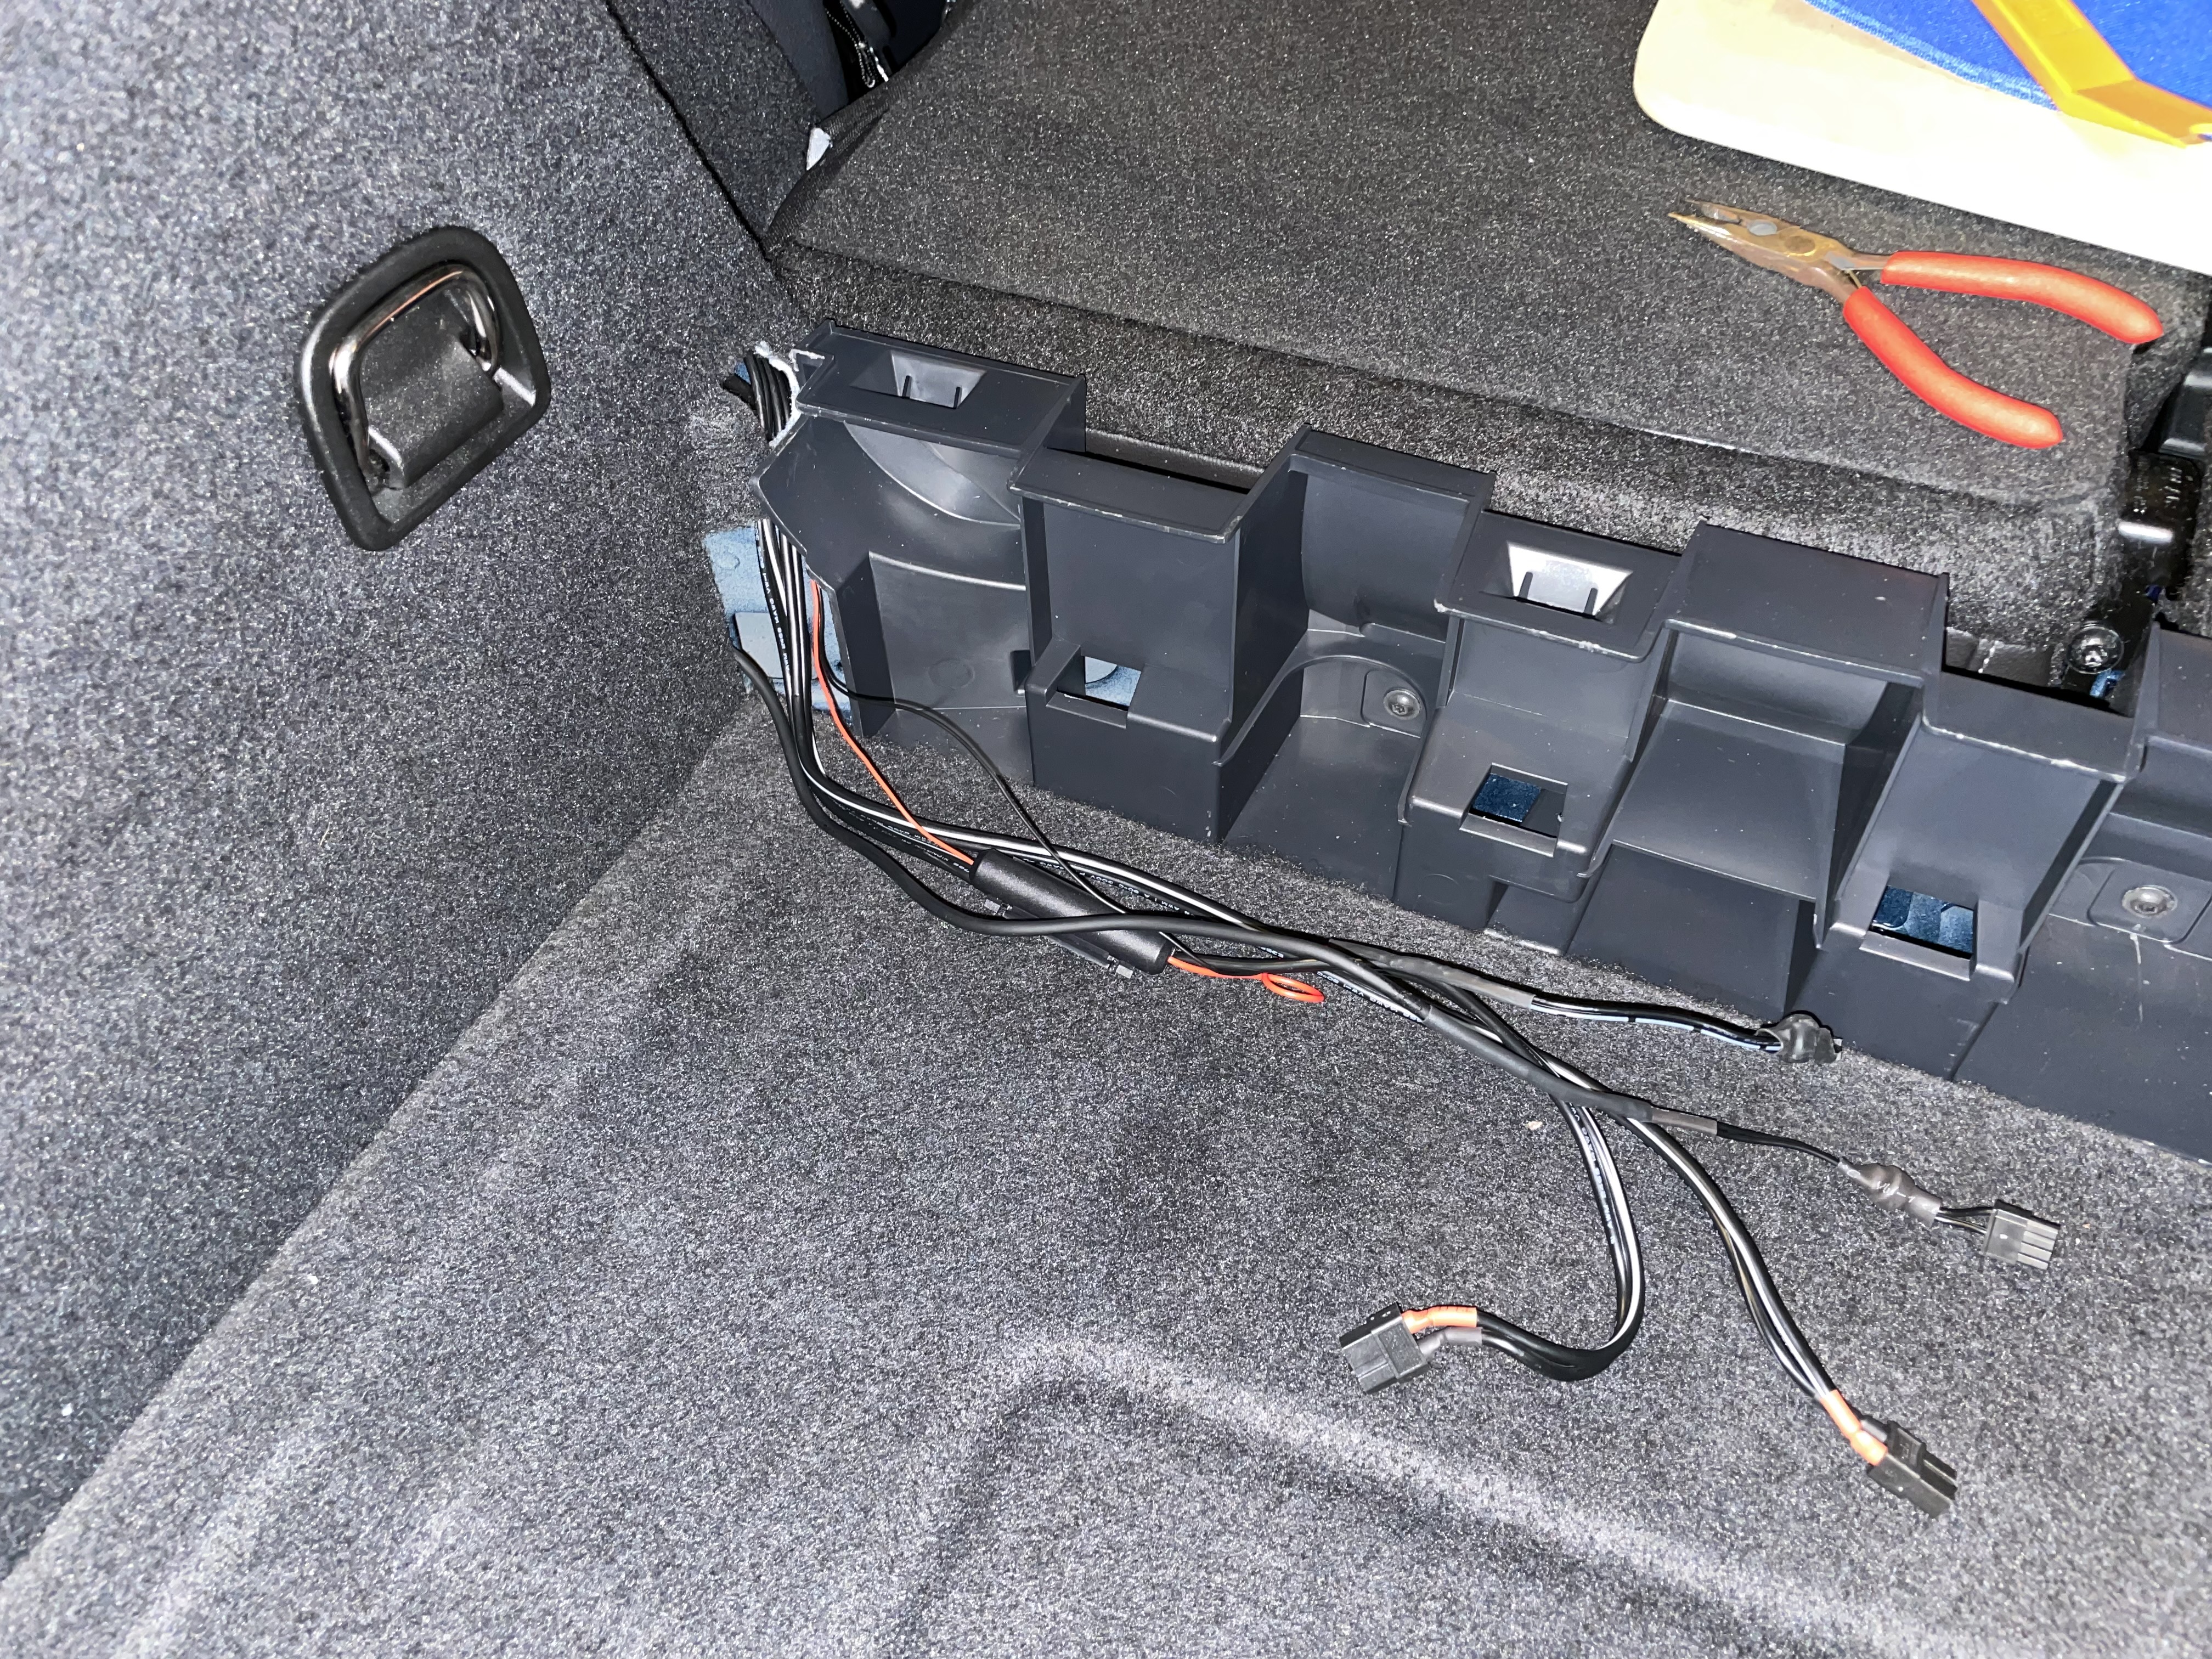
Finished running the cable at the battery side.# |
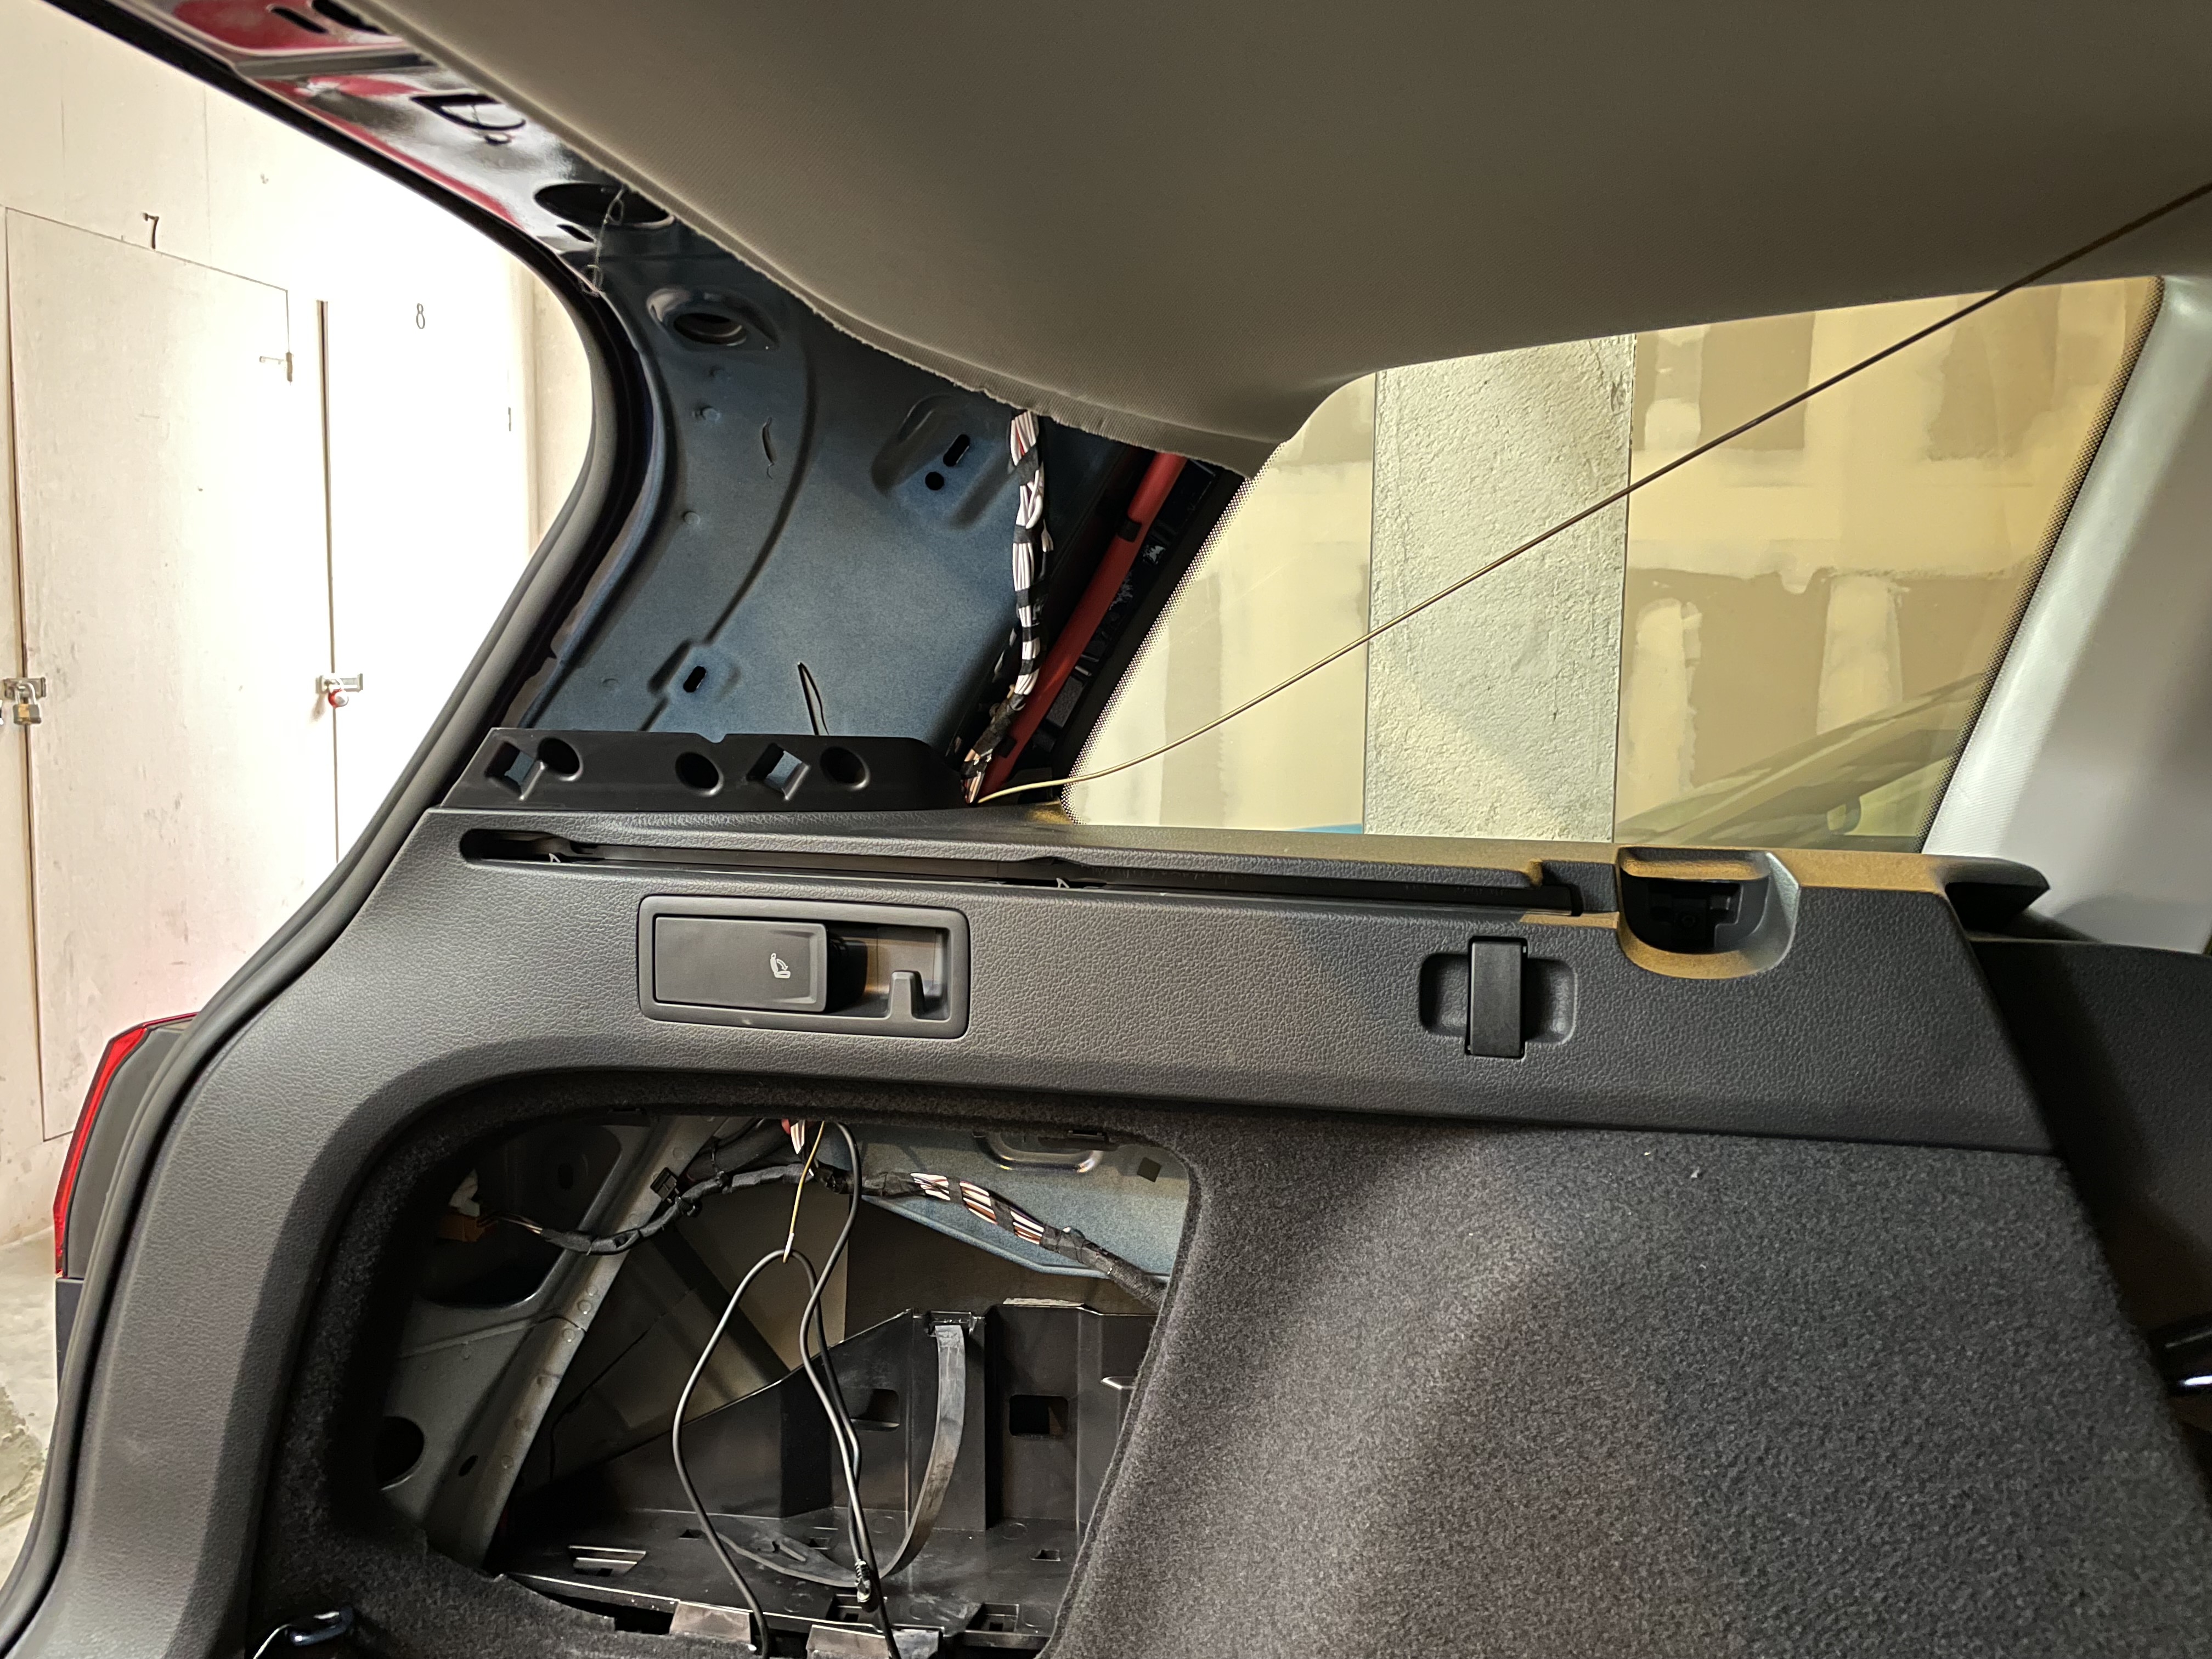
Pulled off the trim on the ceiling holding the headliner in place.# |
|
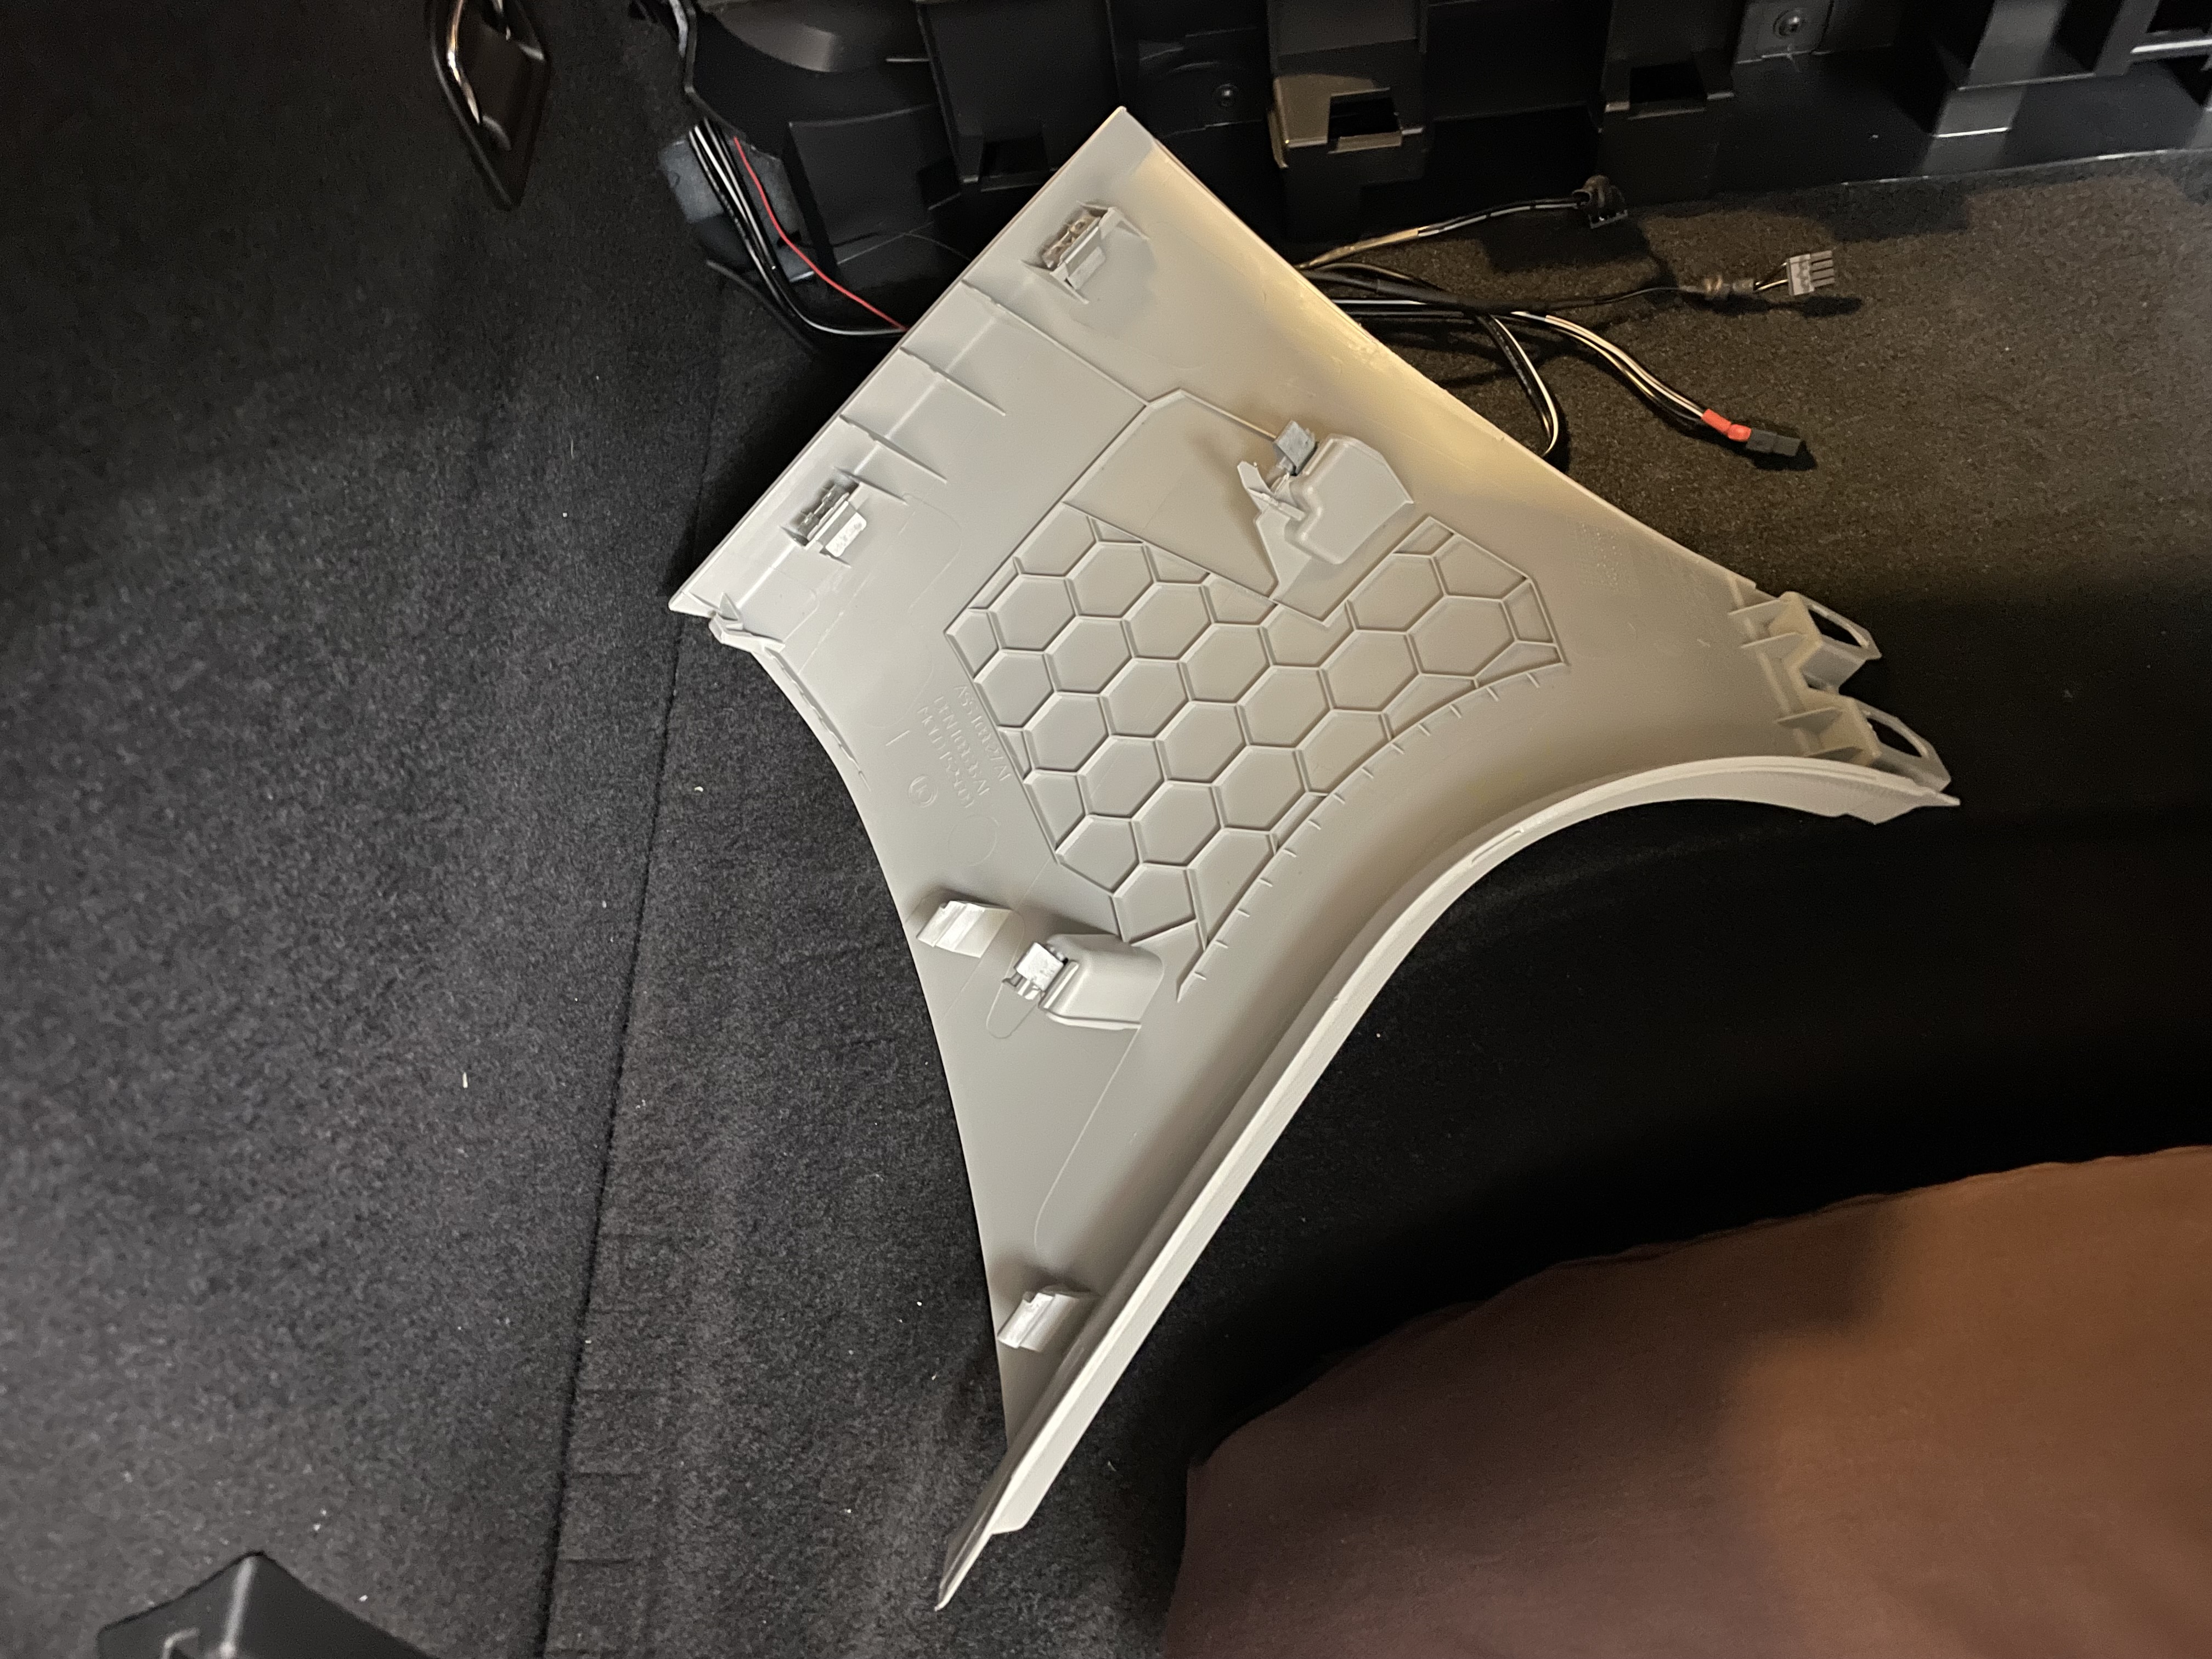
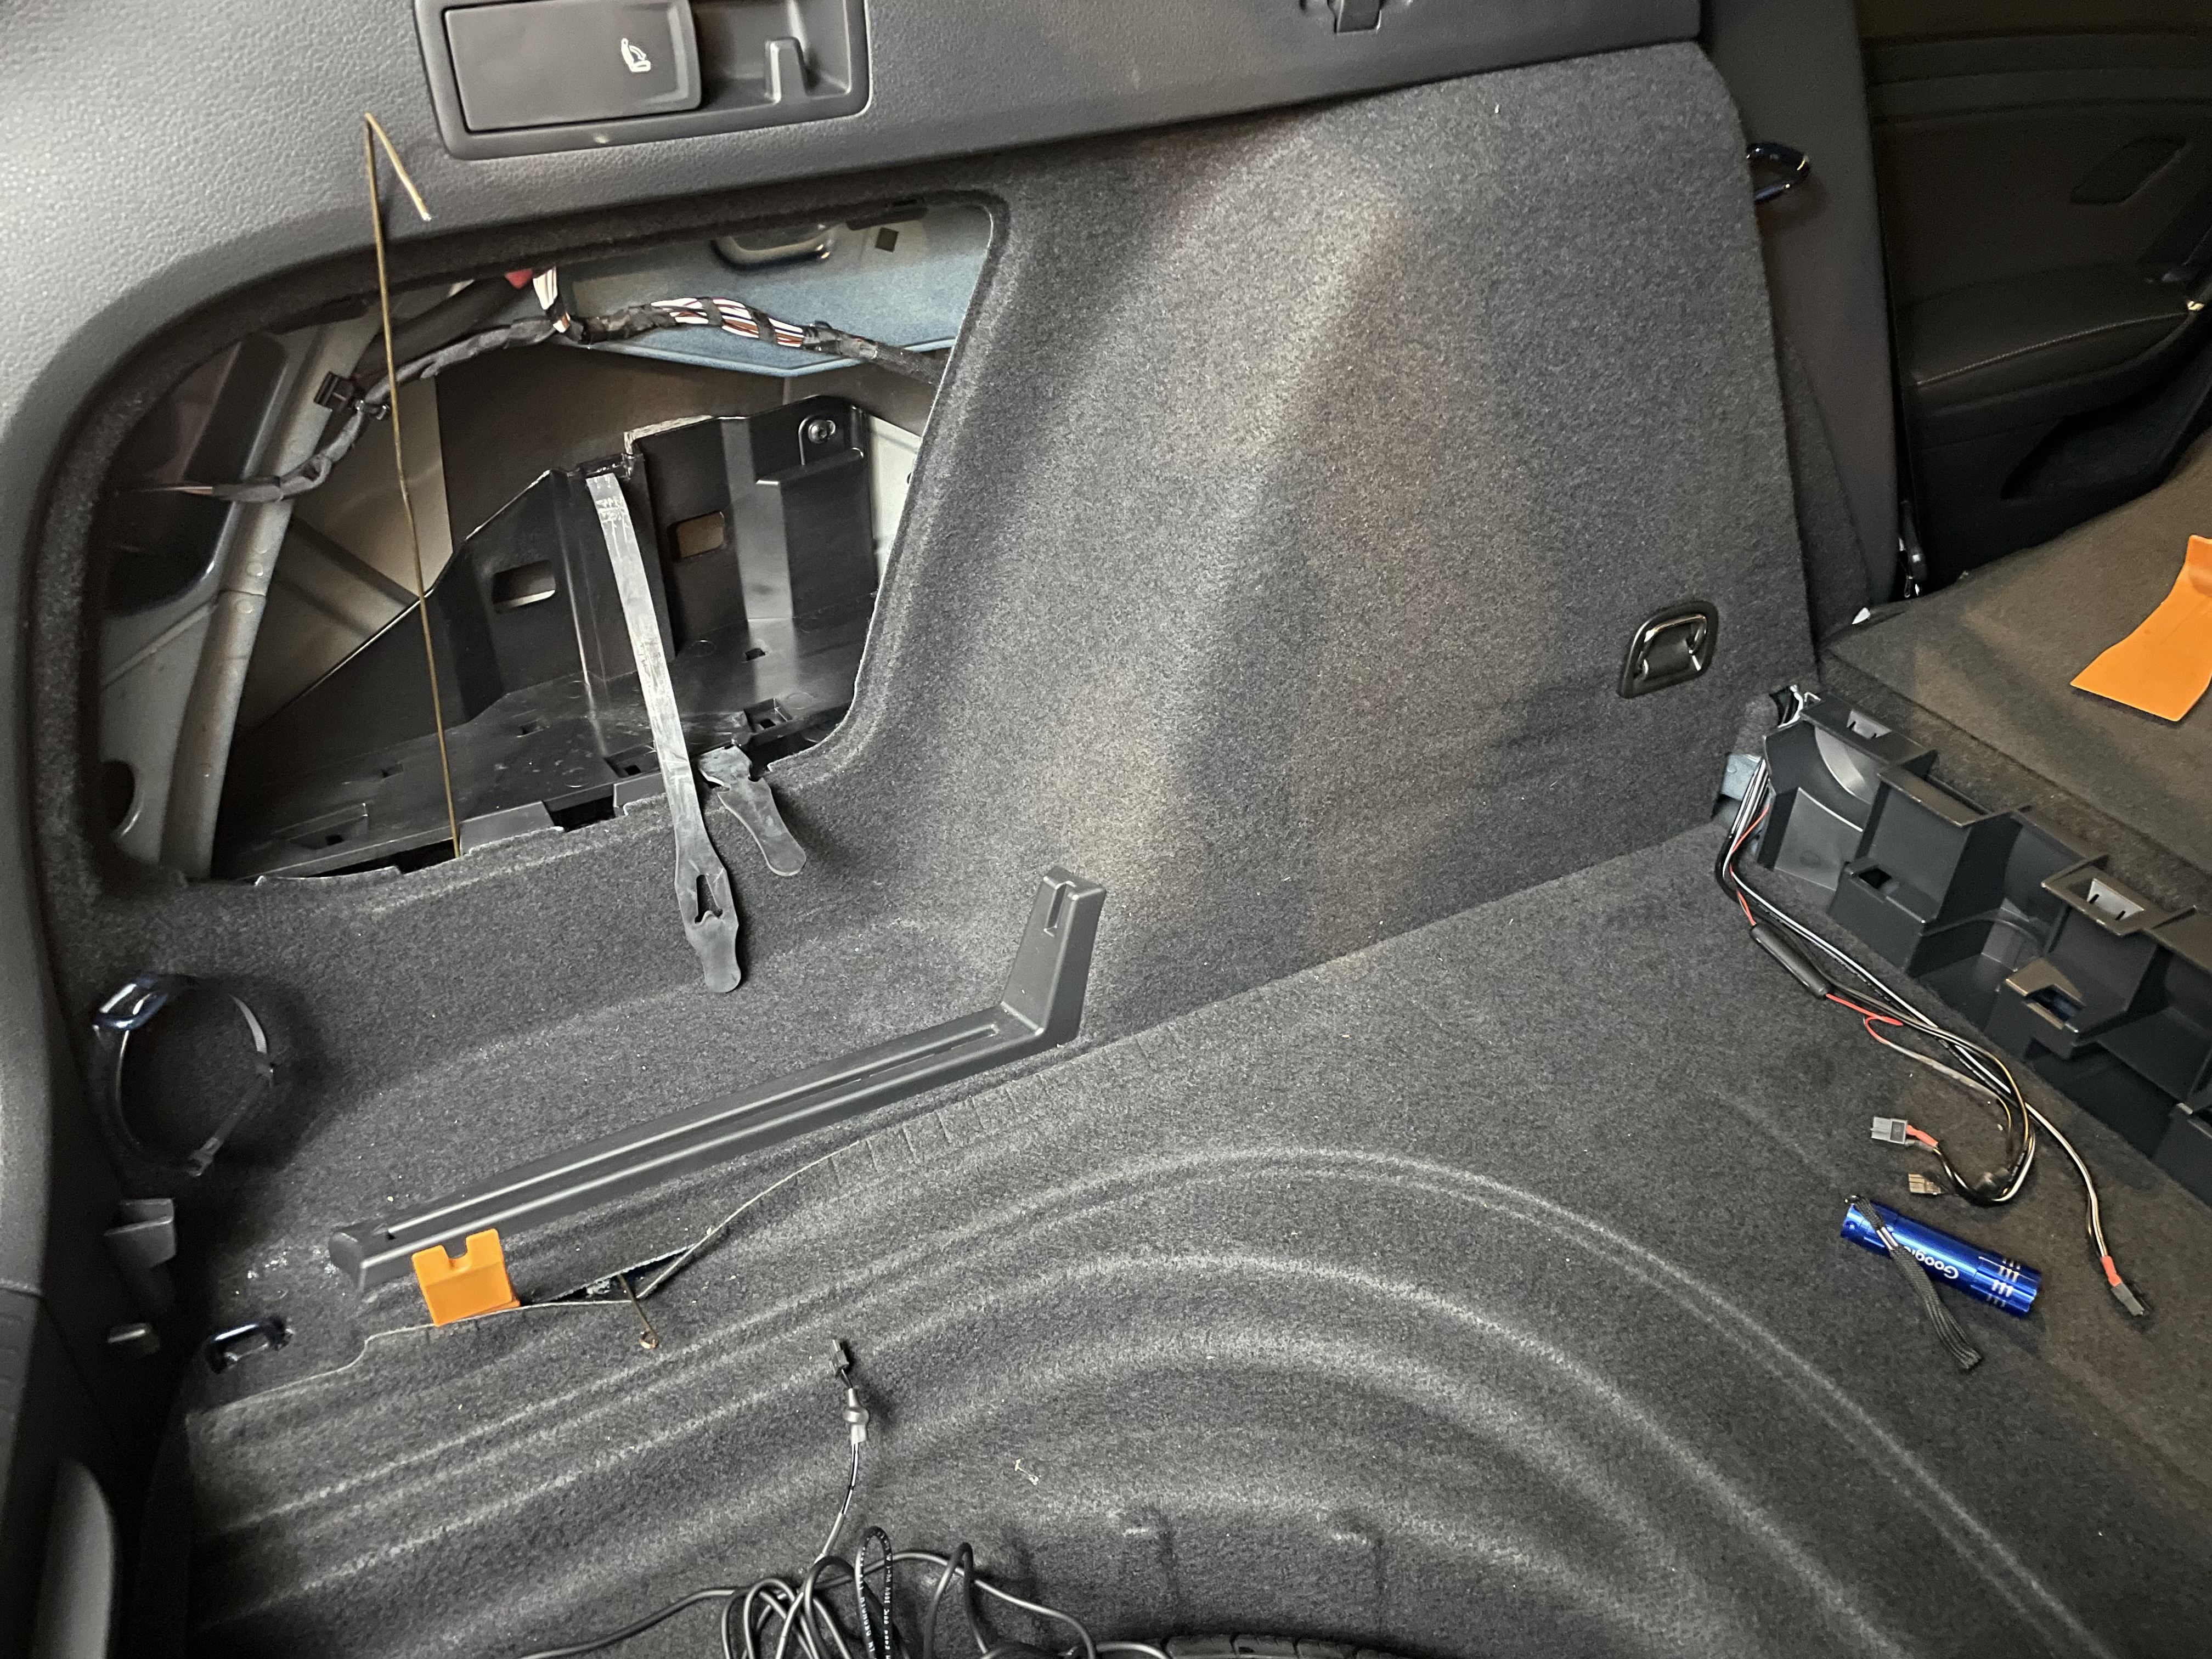
Then I pulled off the trim covering the C pillar.# |
Fished the wire up the C pillar.# |
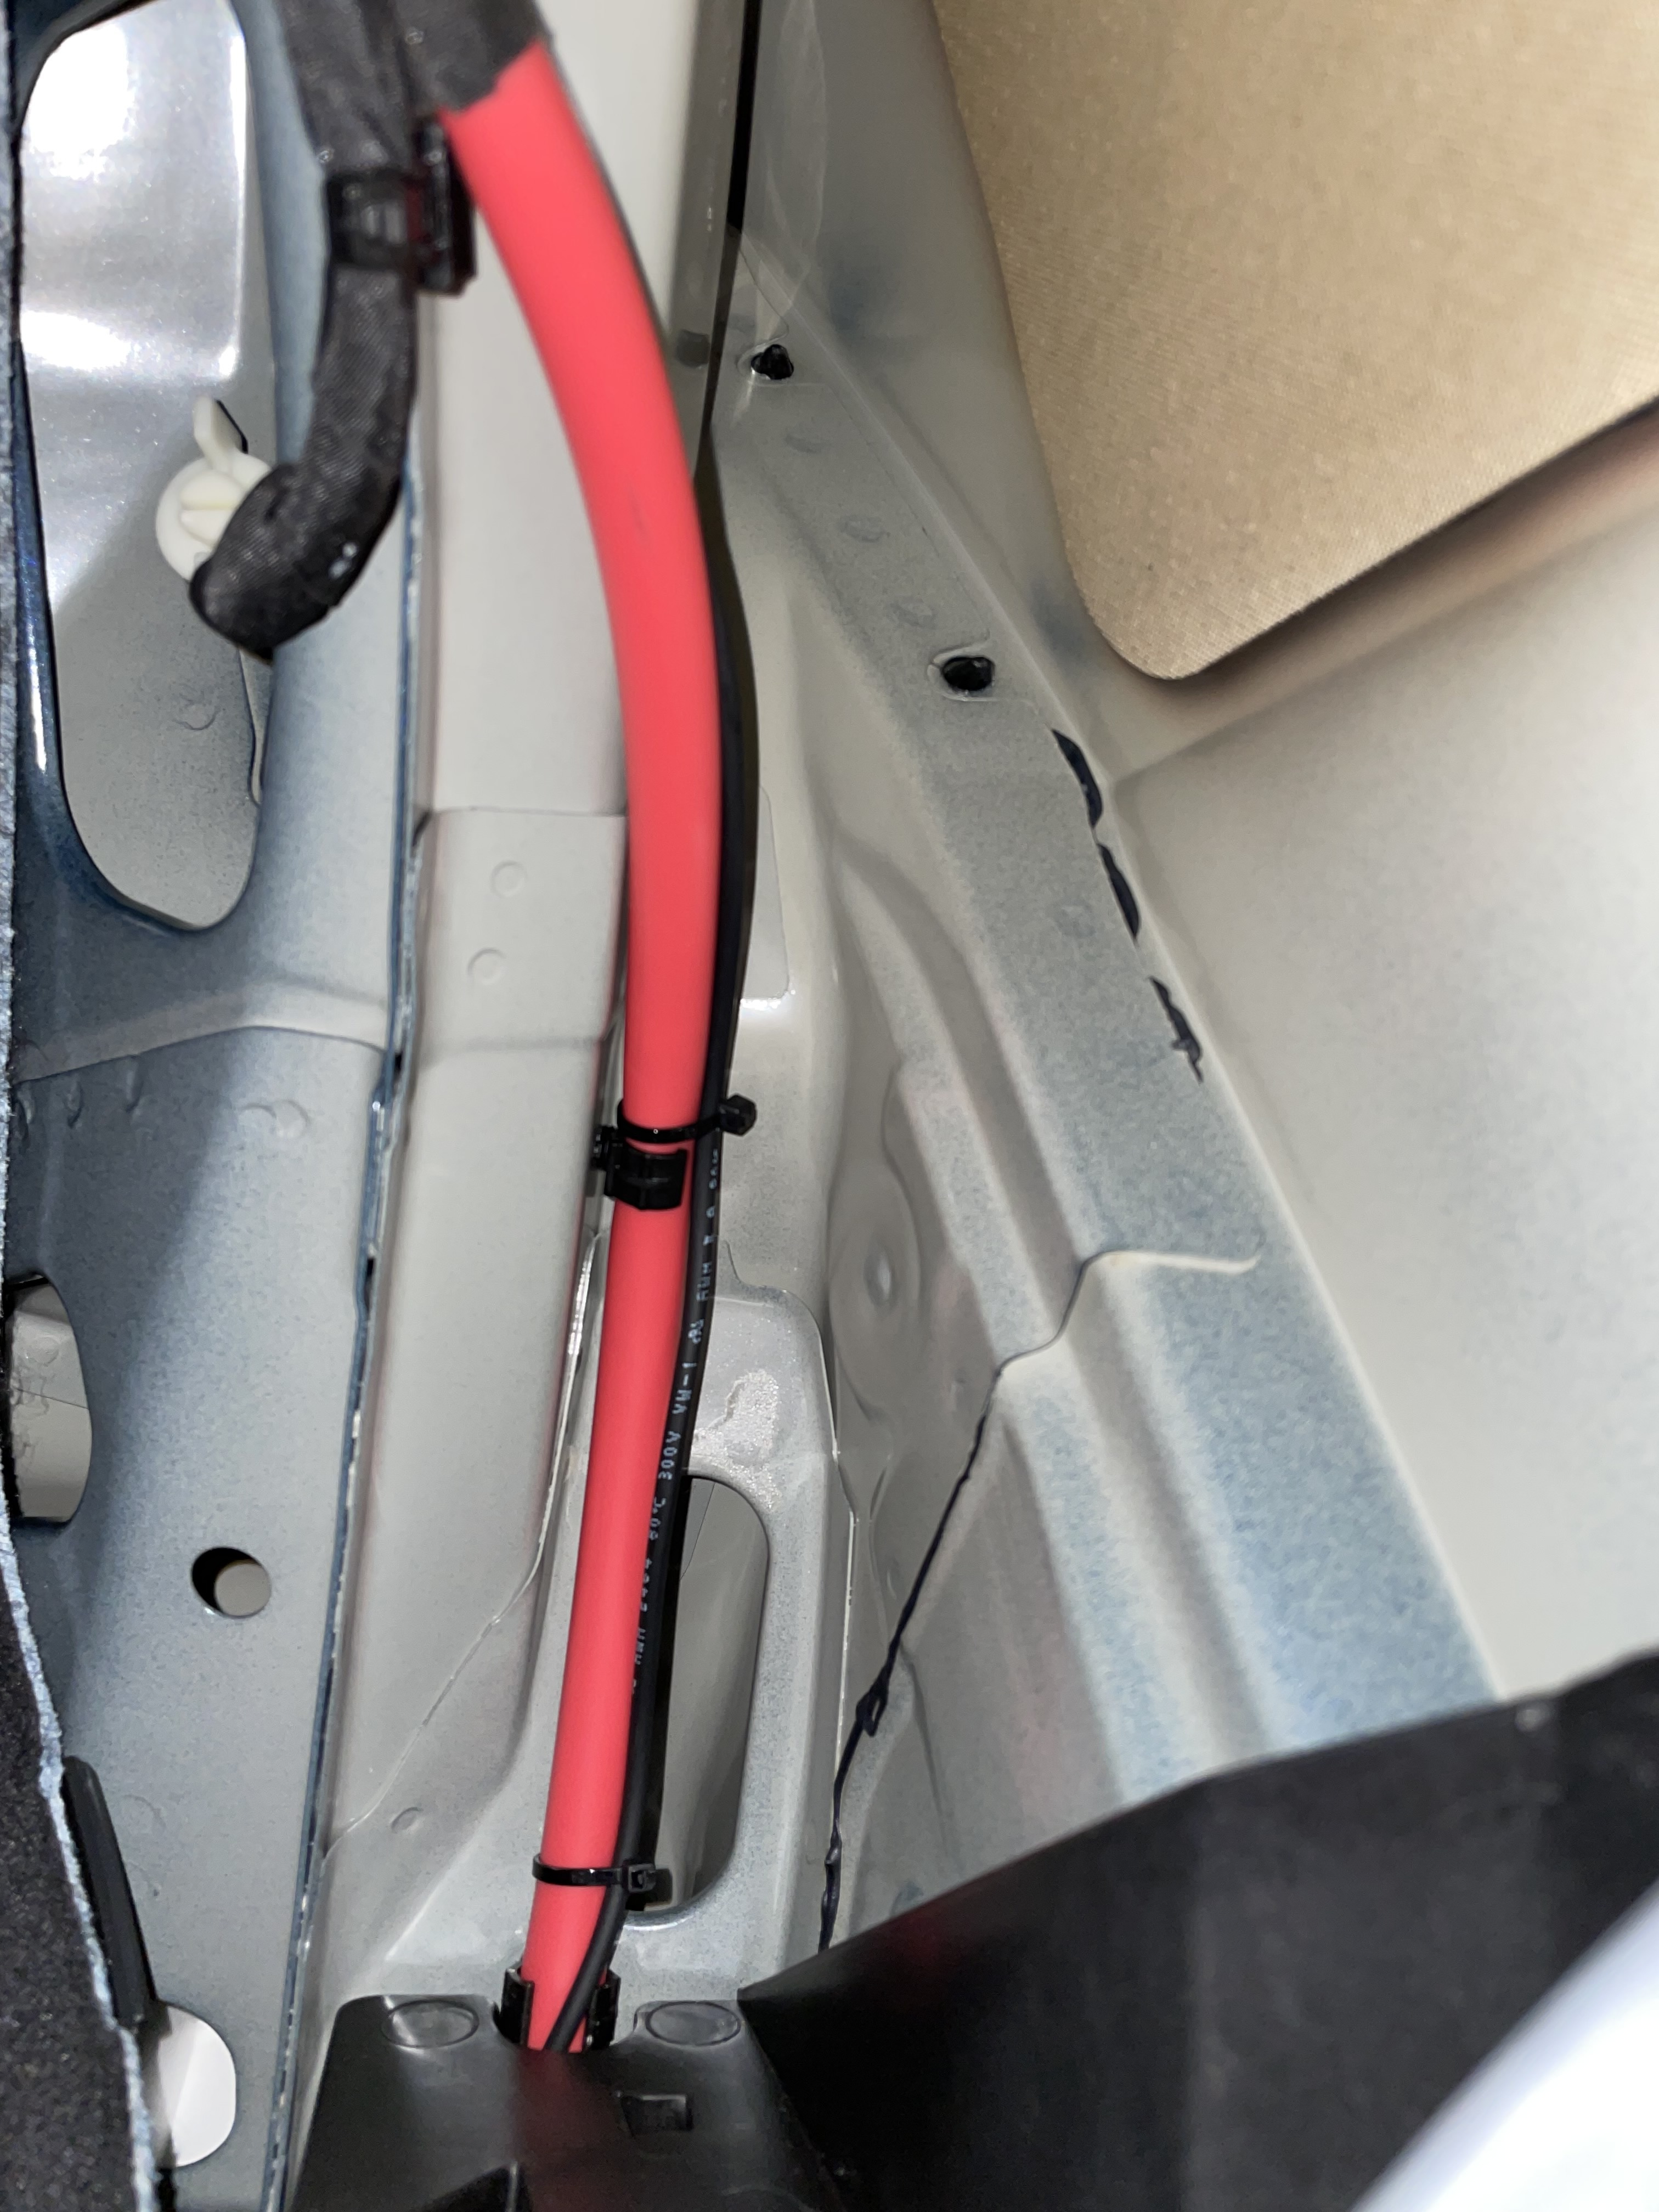
Lightly zip tied the cable to my panoramic roof drain hose.# |

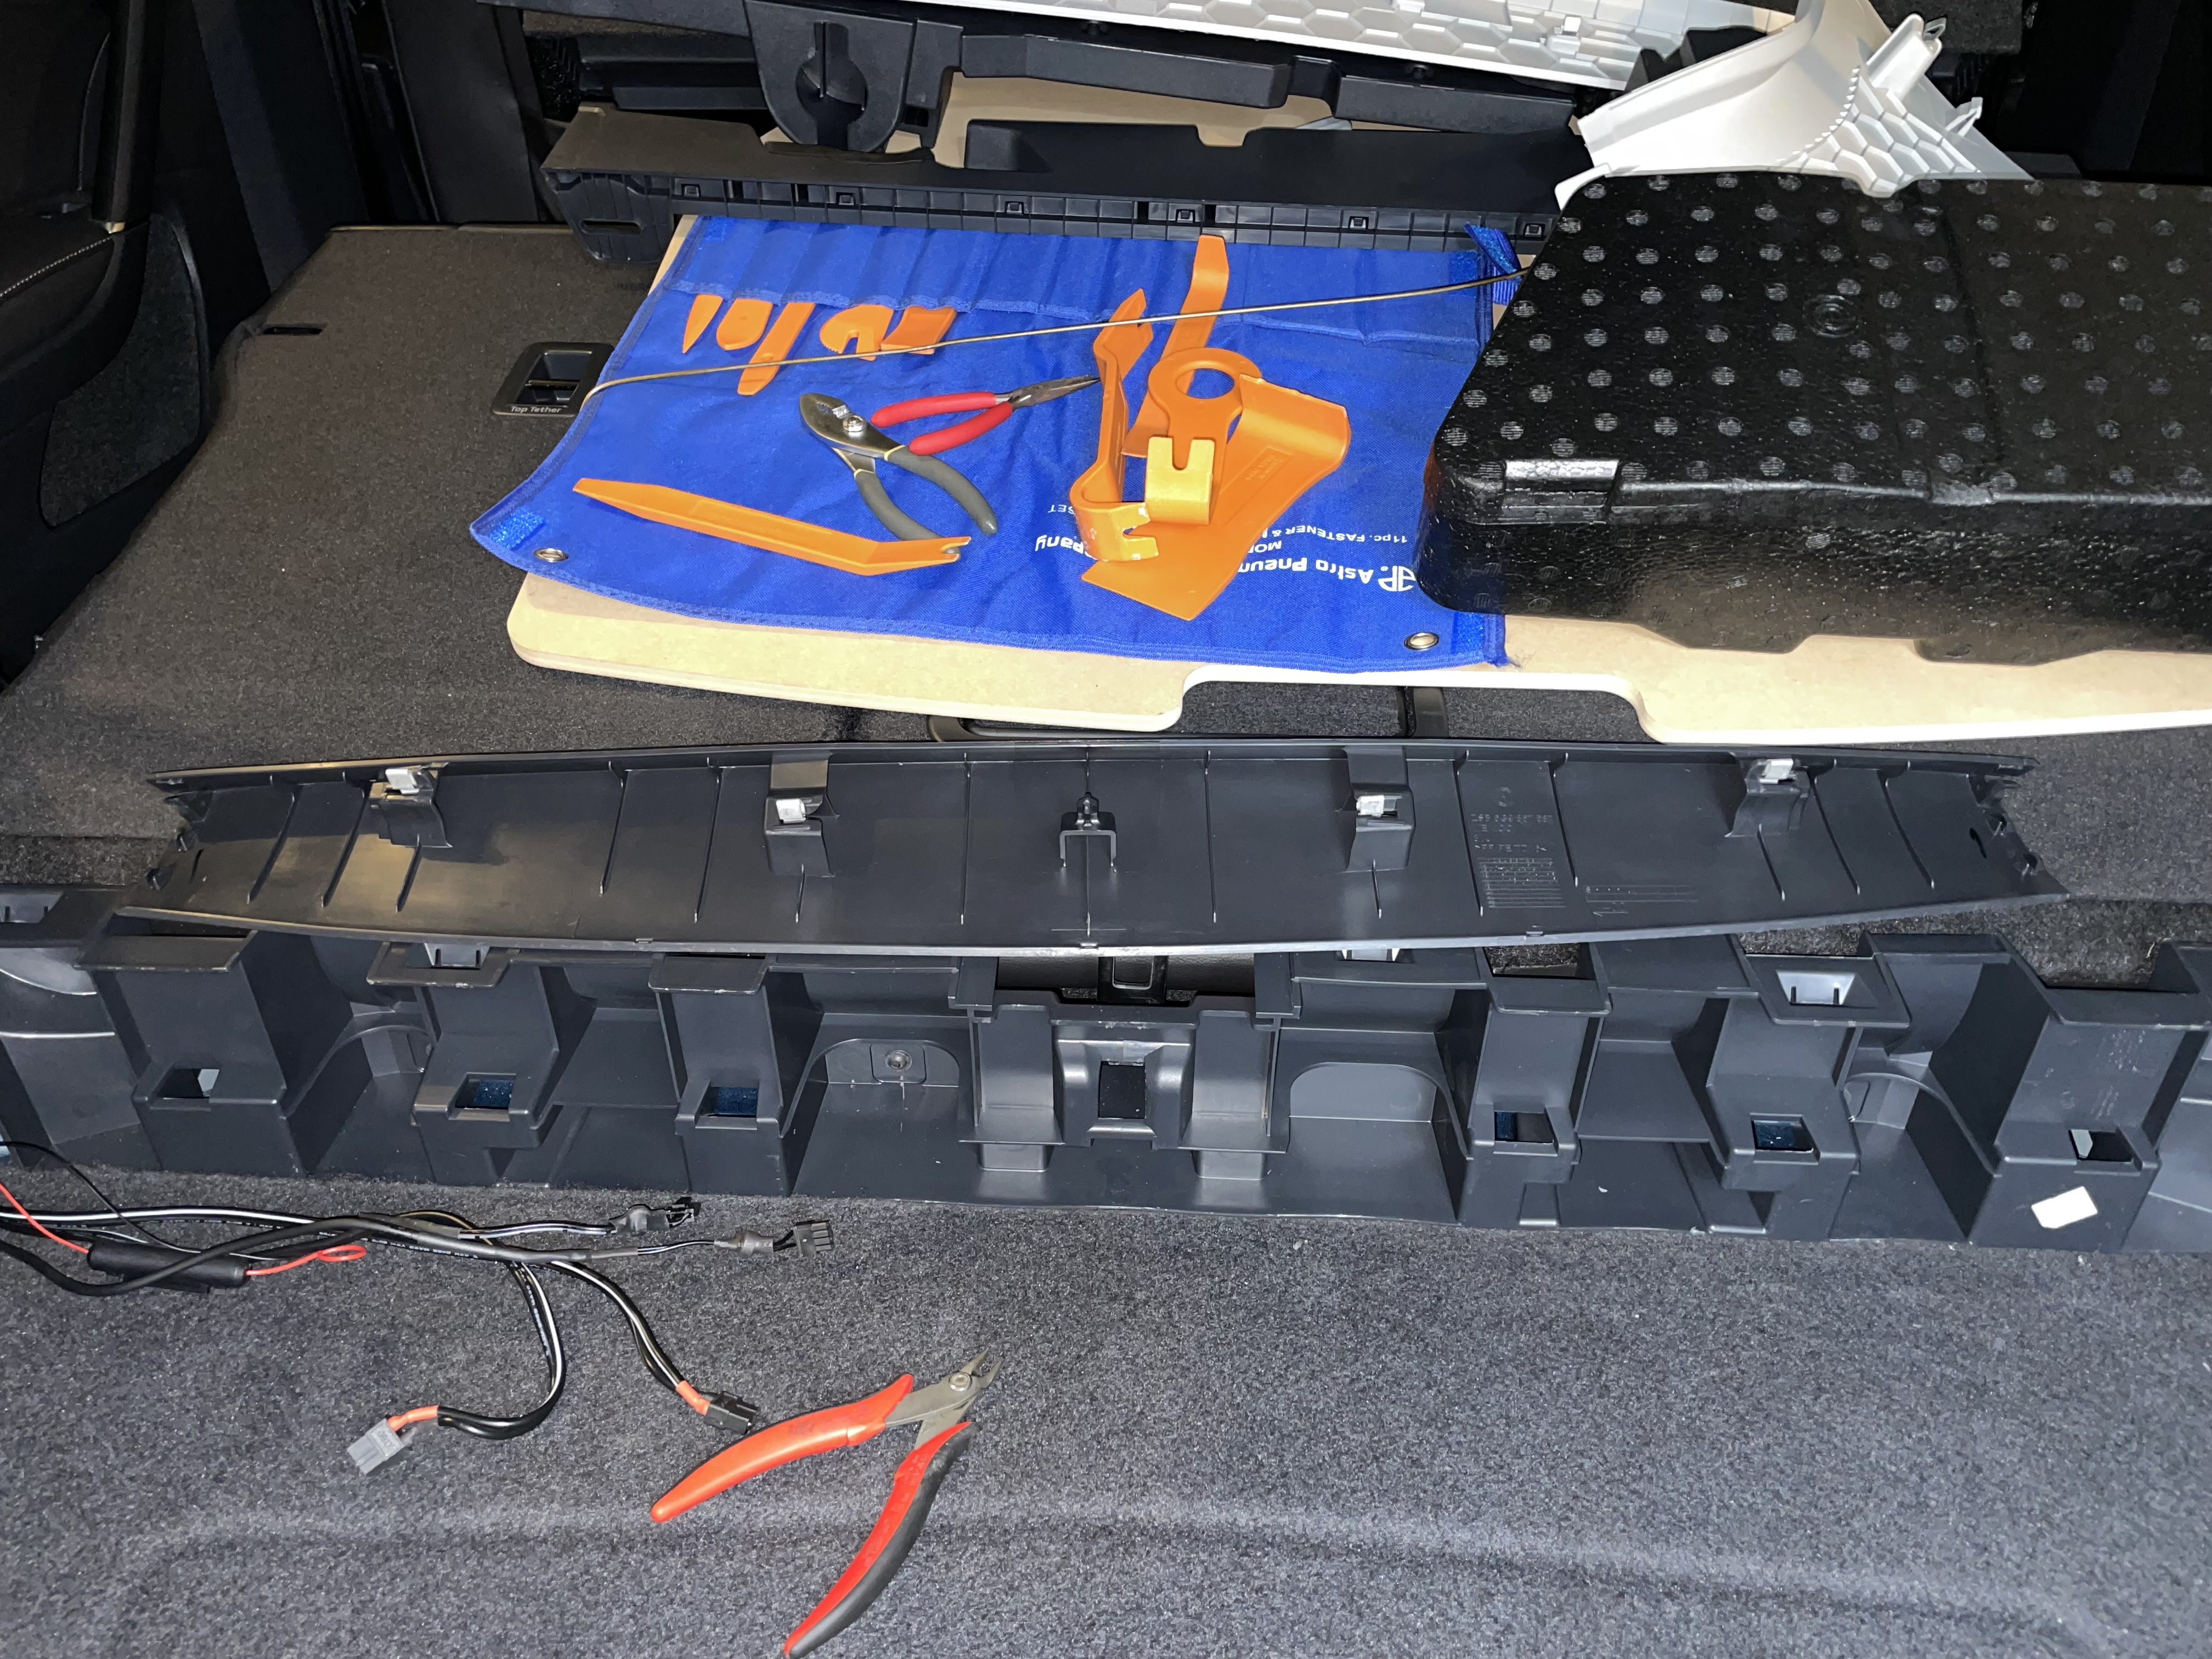
I cut off the glued/velcroed strap holding the wiring harnesses in this plastic holder and ran the camera cable through it, then zip tied everything in place.# |
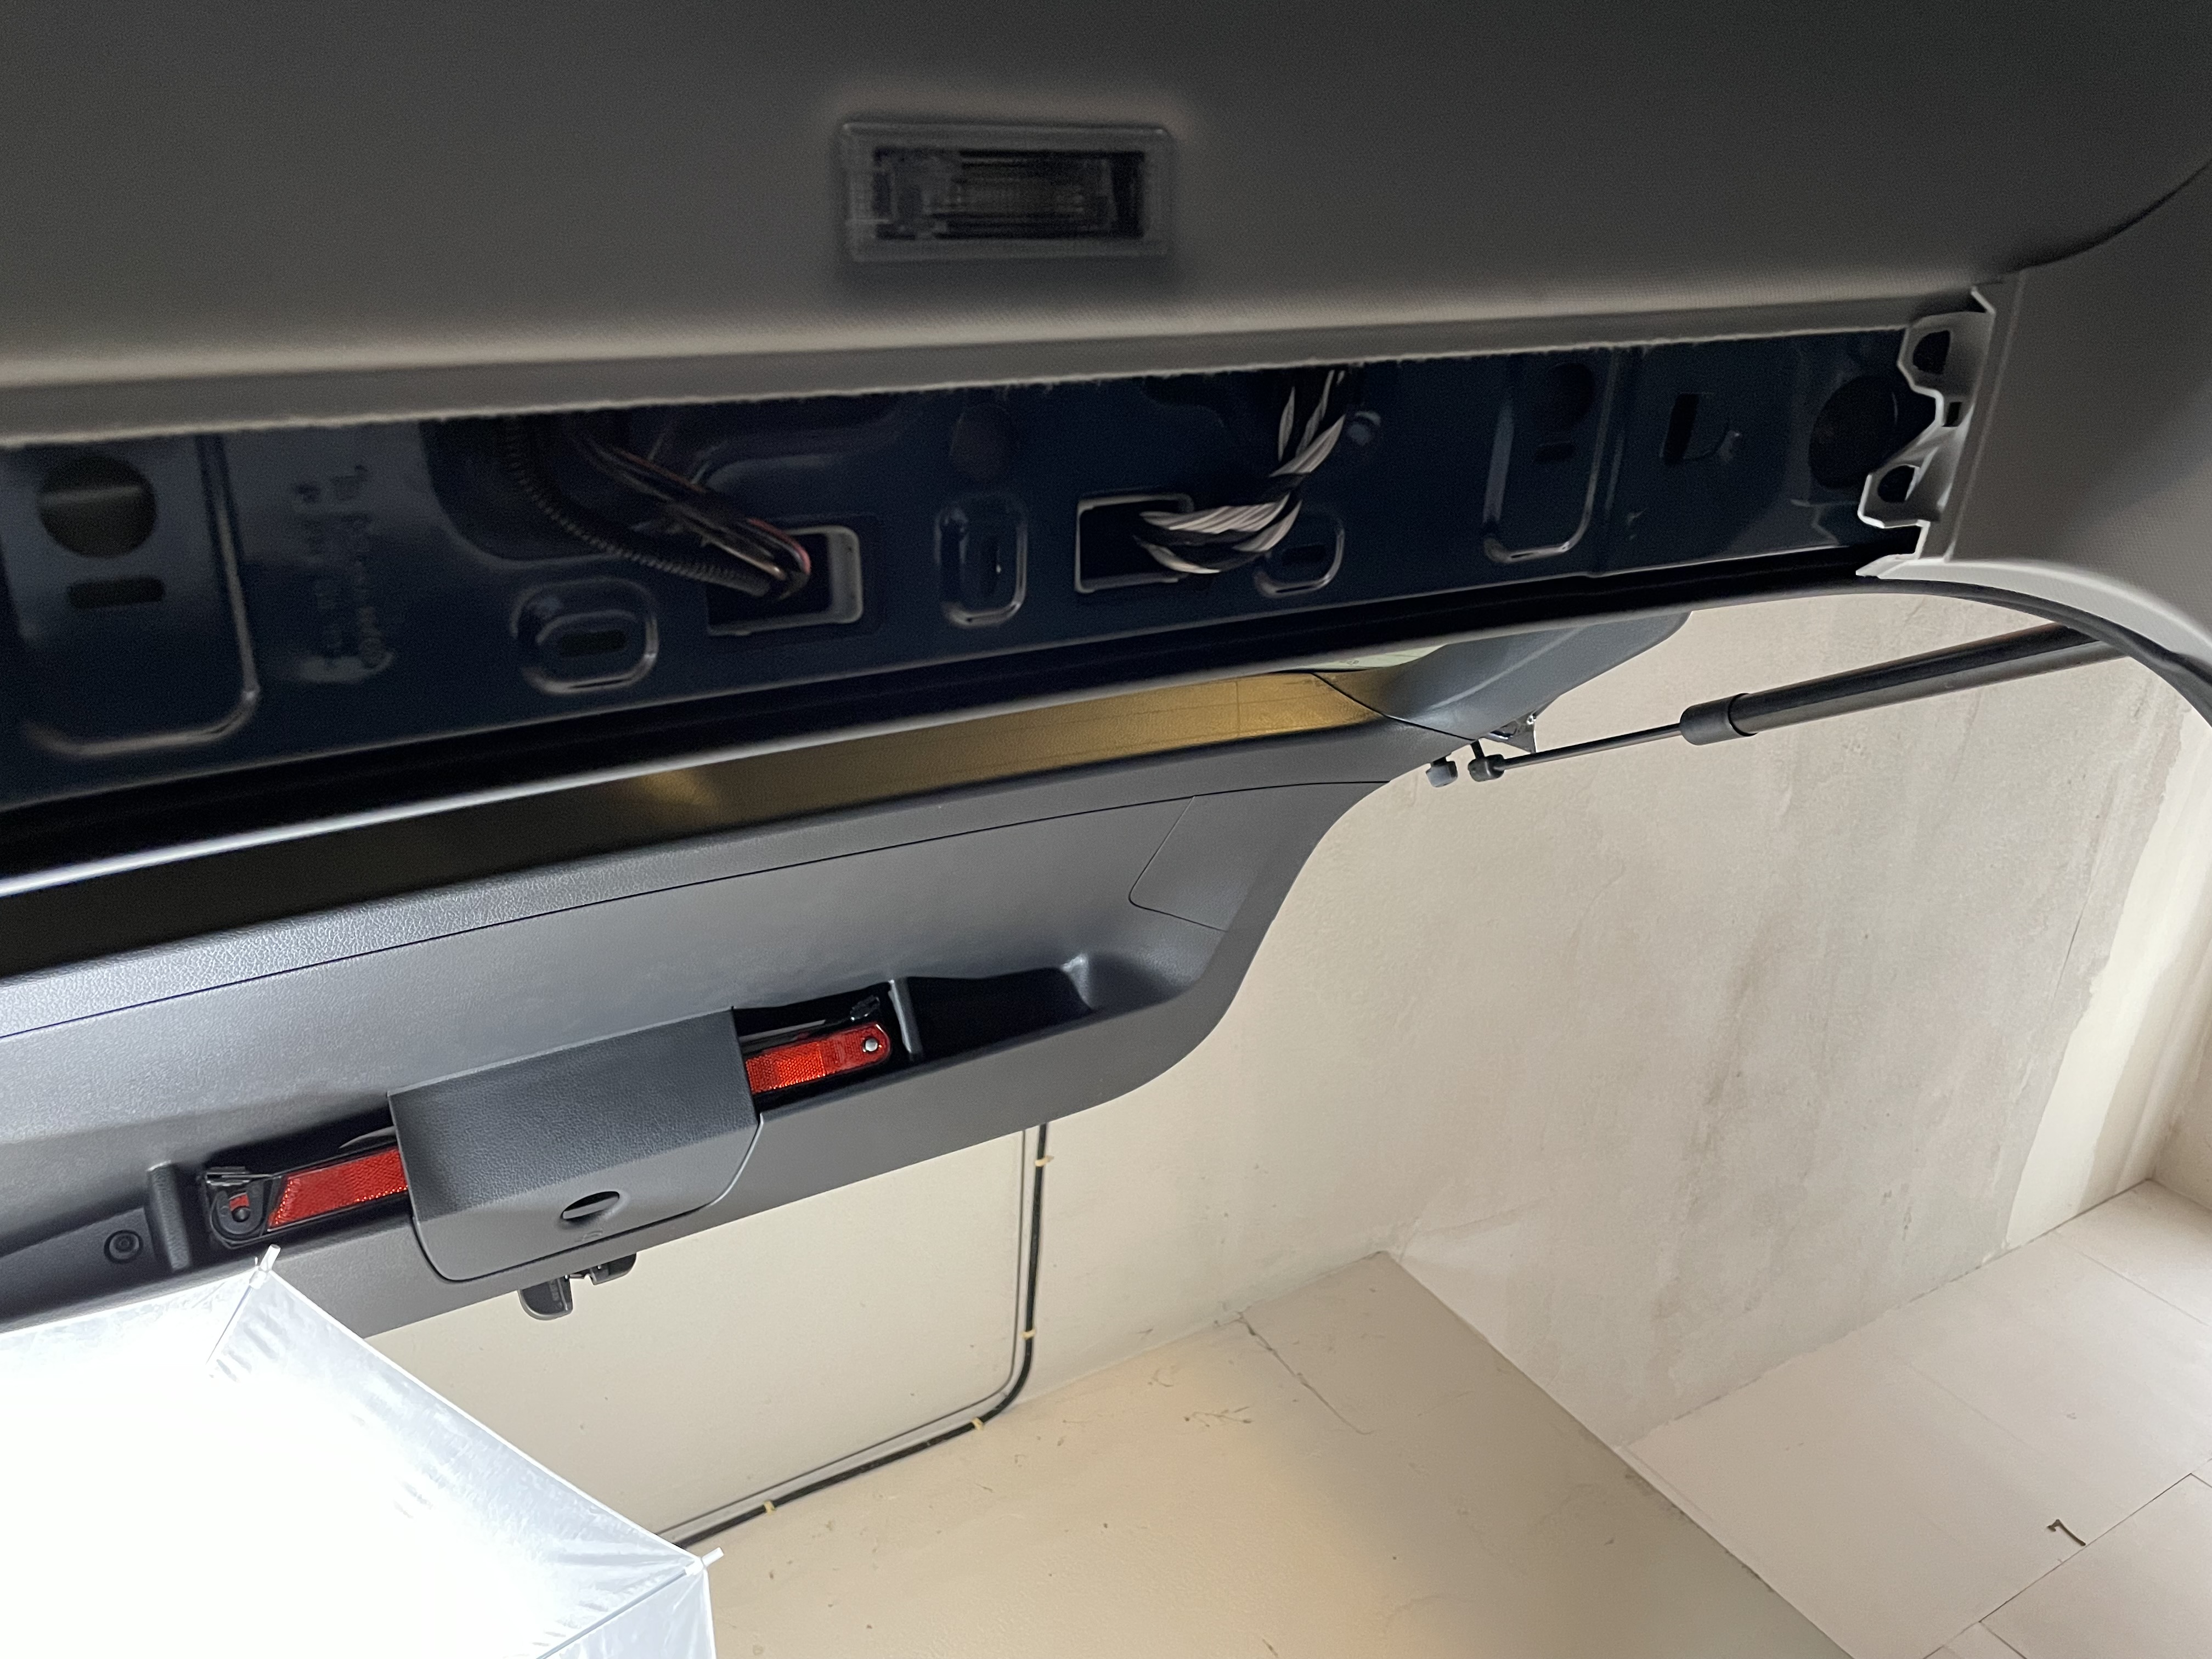
Popped off the inner top trim off the hatch.# |
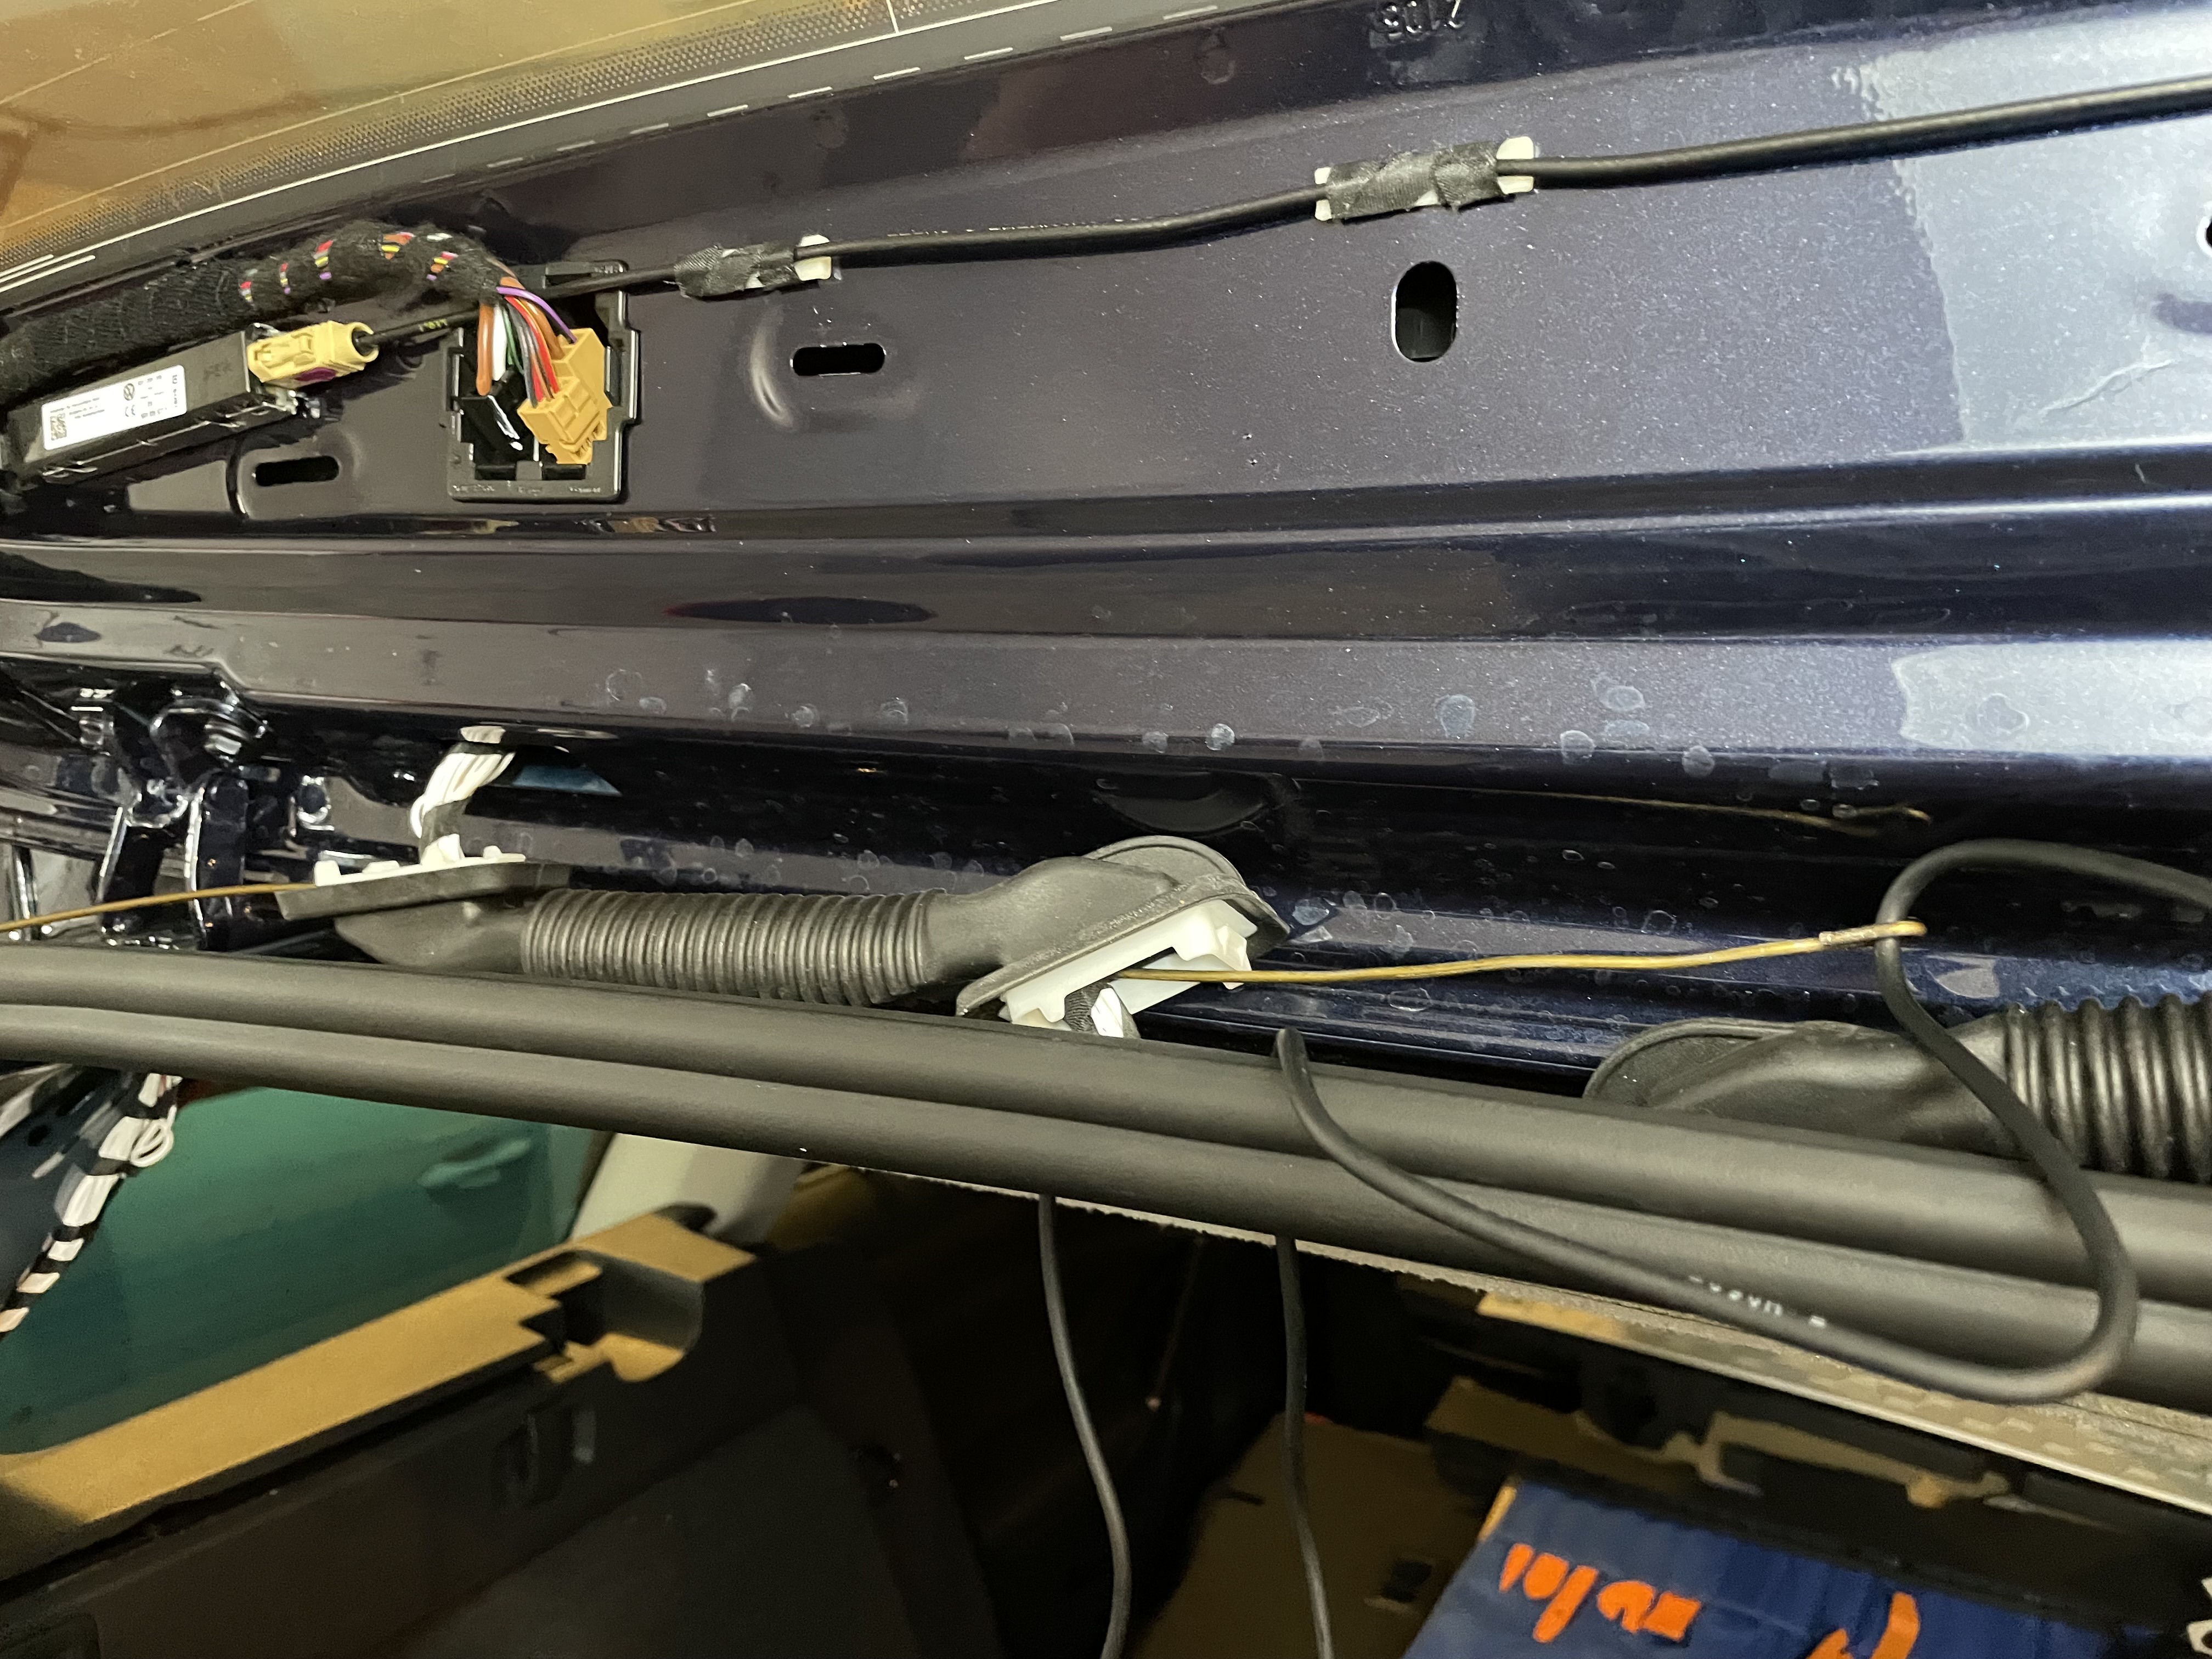
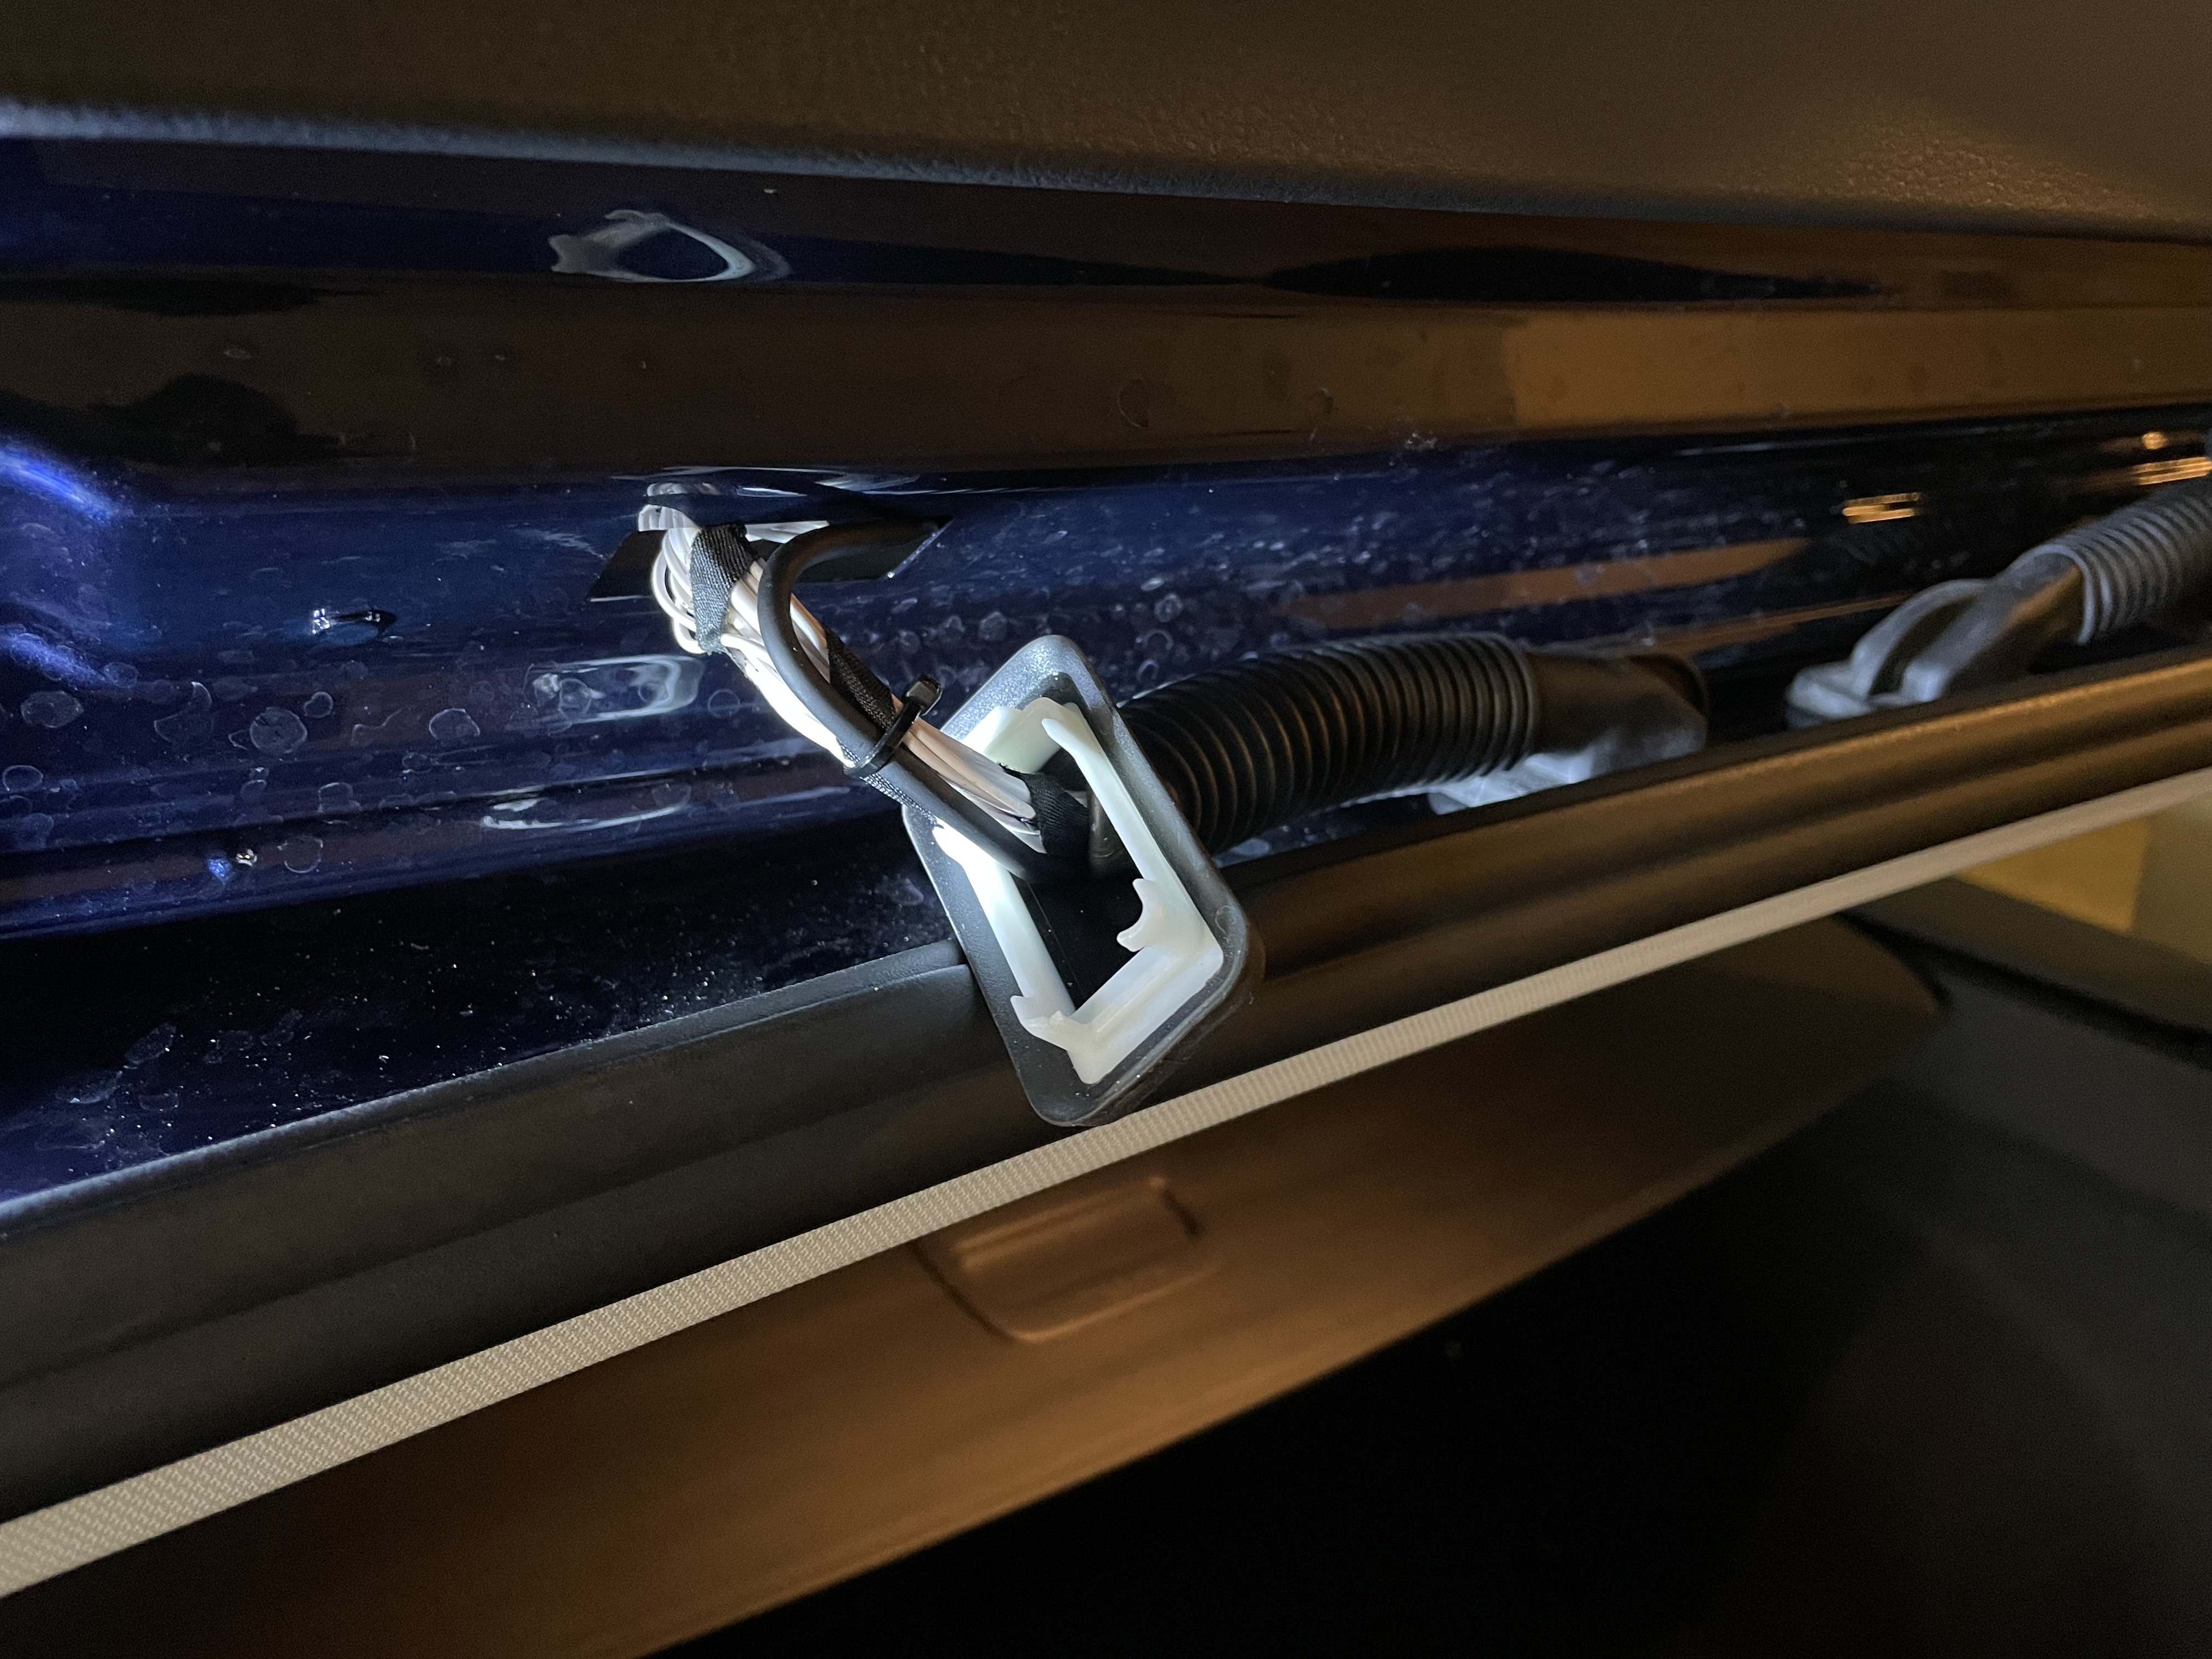
I had to unclip the hatch rubber boot to fish the cable through with the help of my coat hanger. BEWARE: the clips are easy to break and it’s a pain to fix!# |
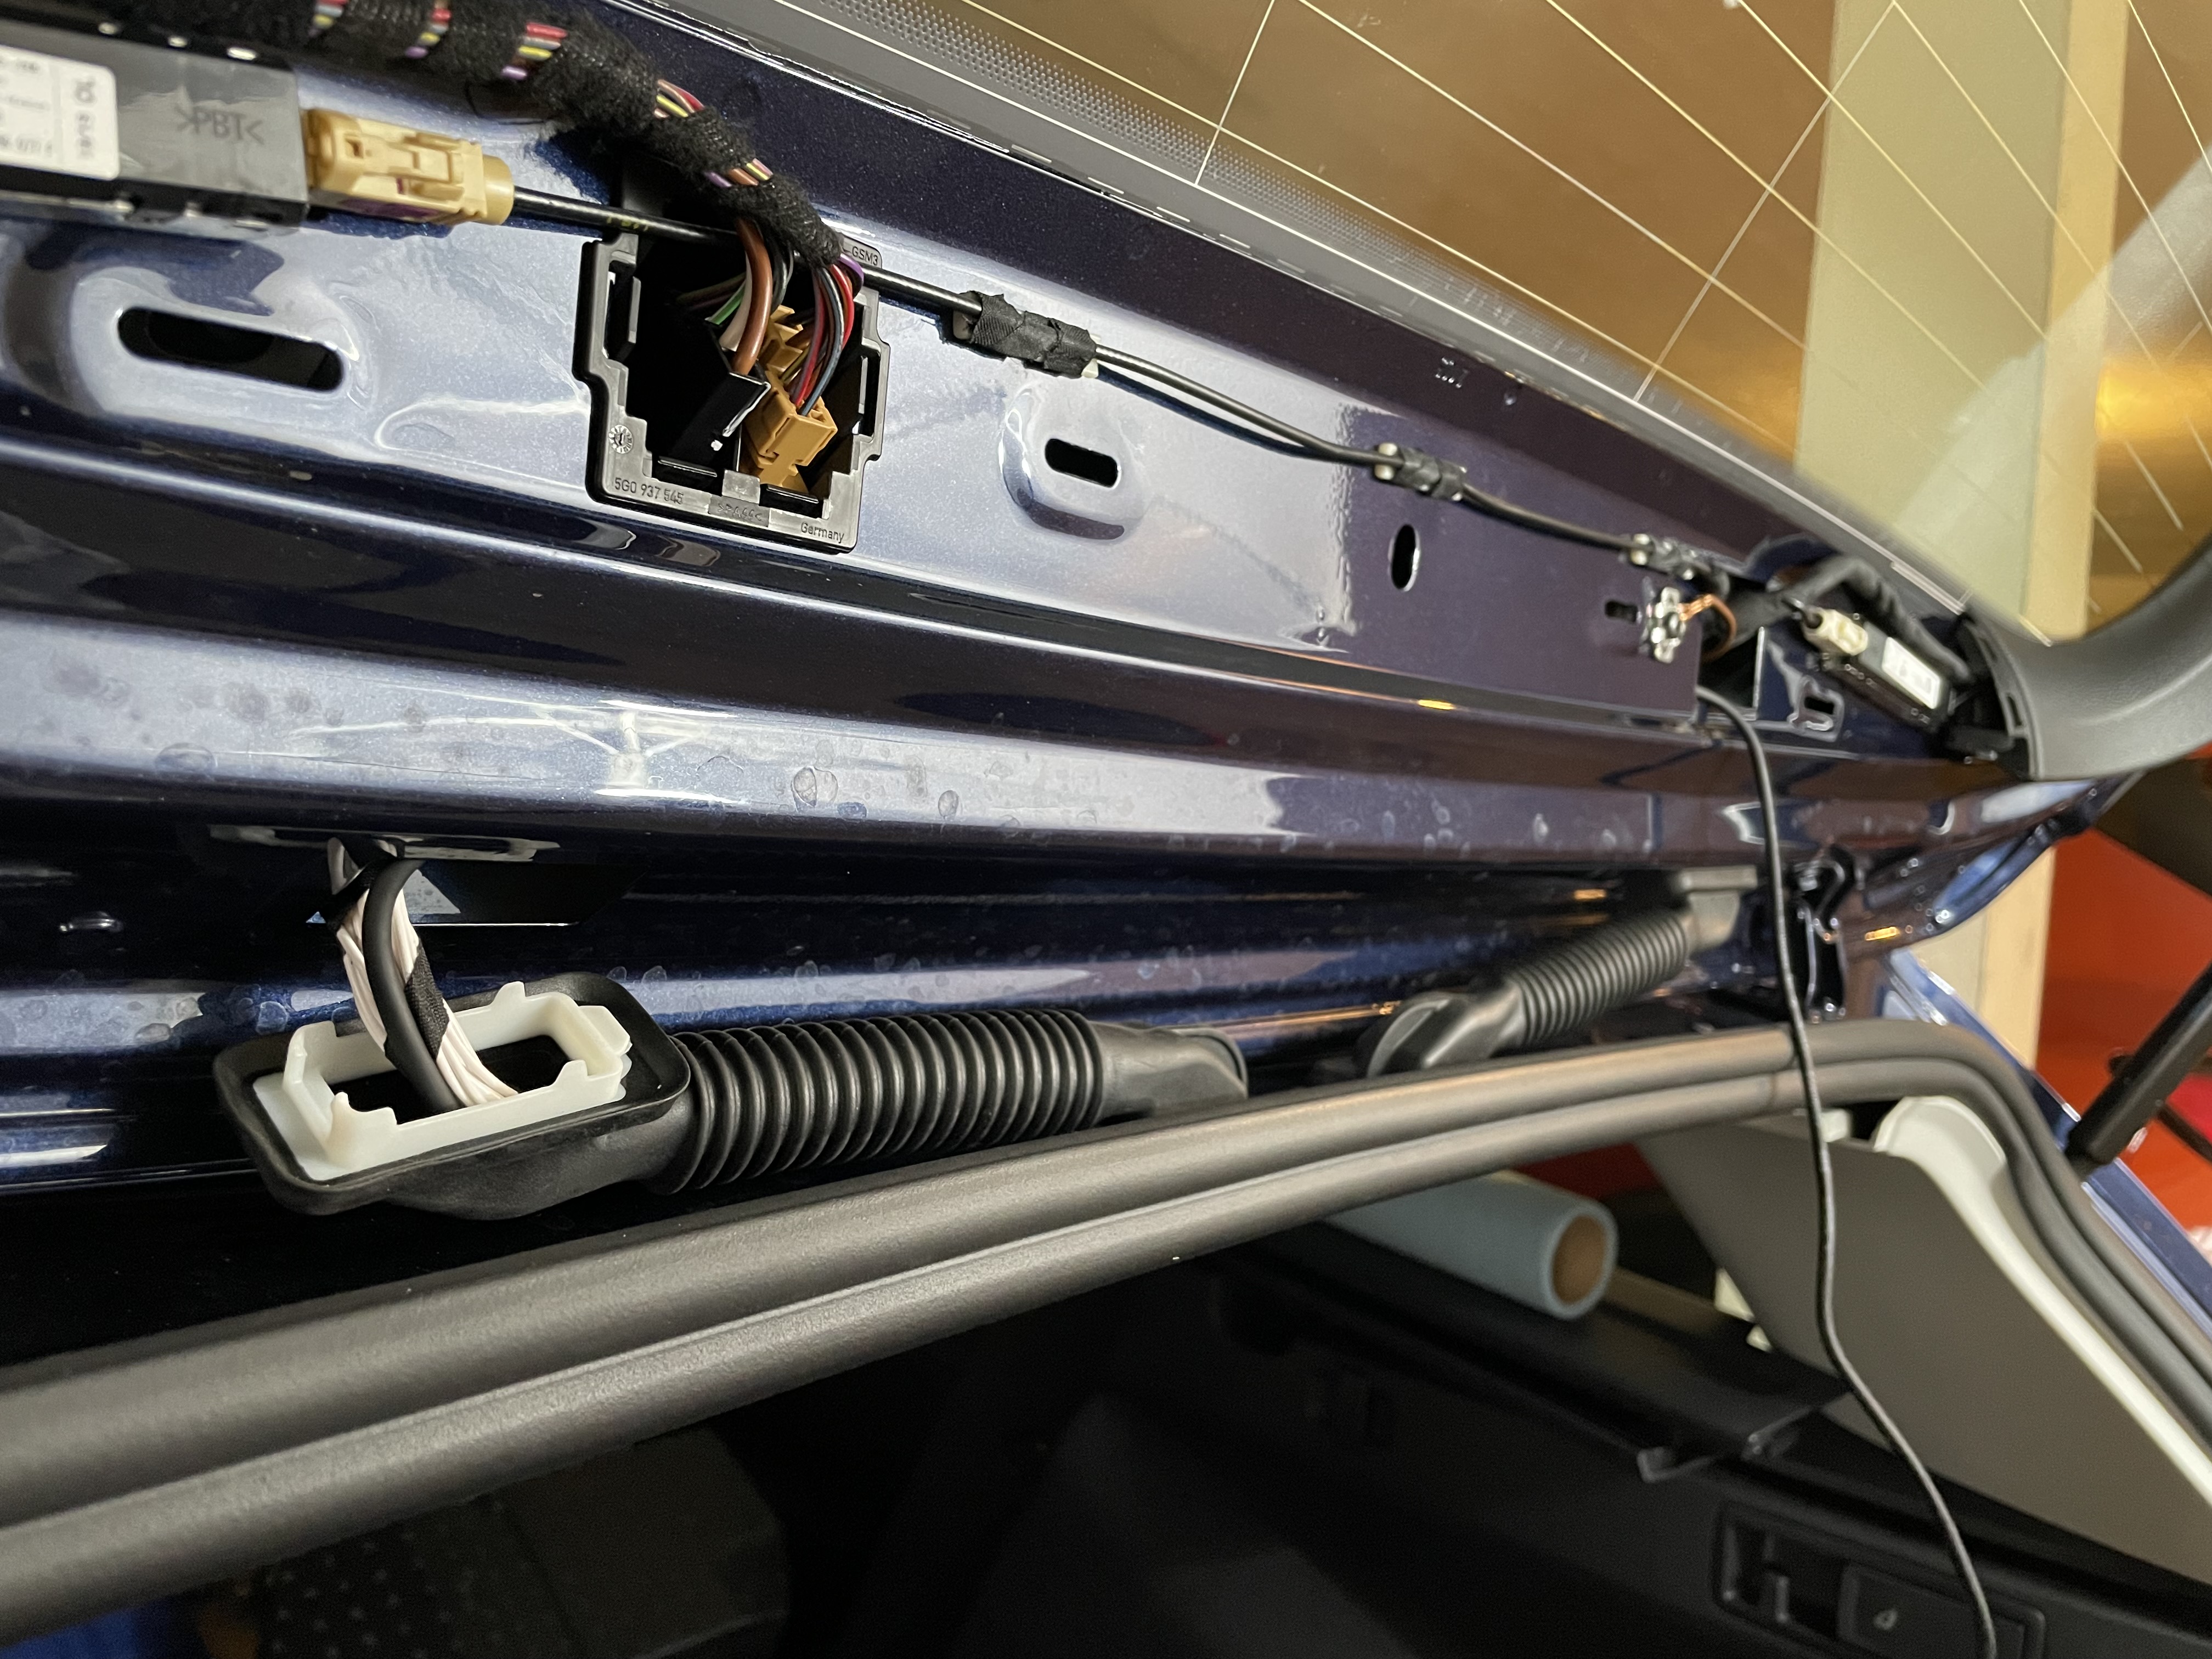
You can see how I broke the clip on the left side of the boot. Anyway I ran the cable towards the other side since it doesn’t have any connectors in the way.# |
|
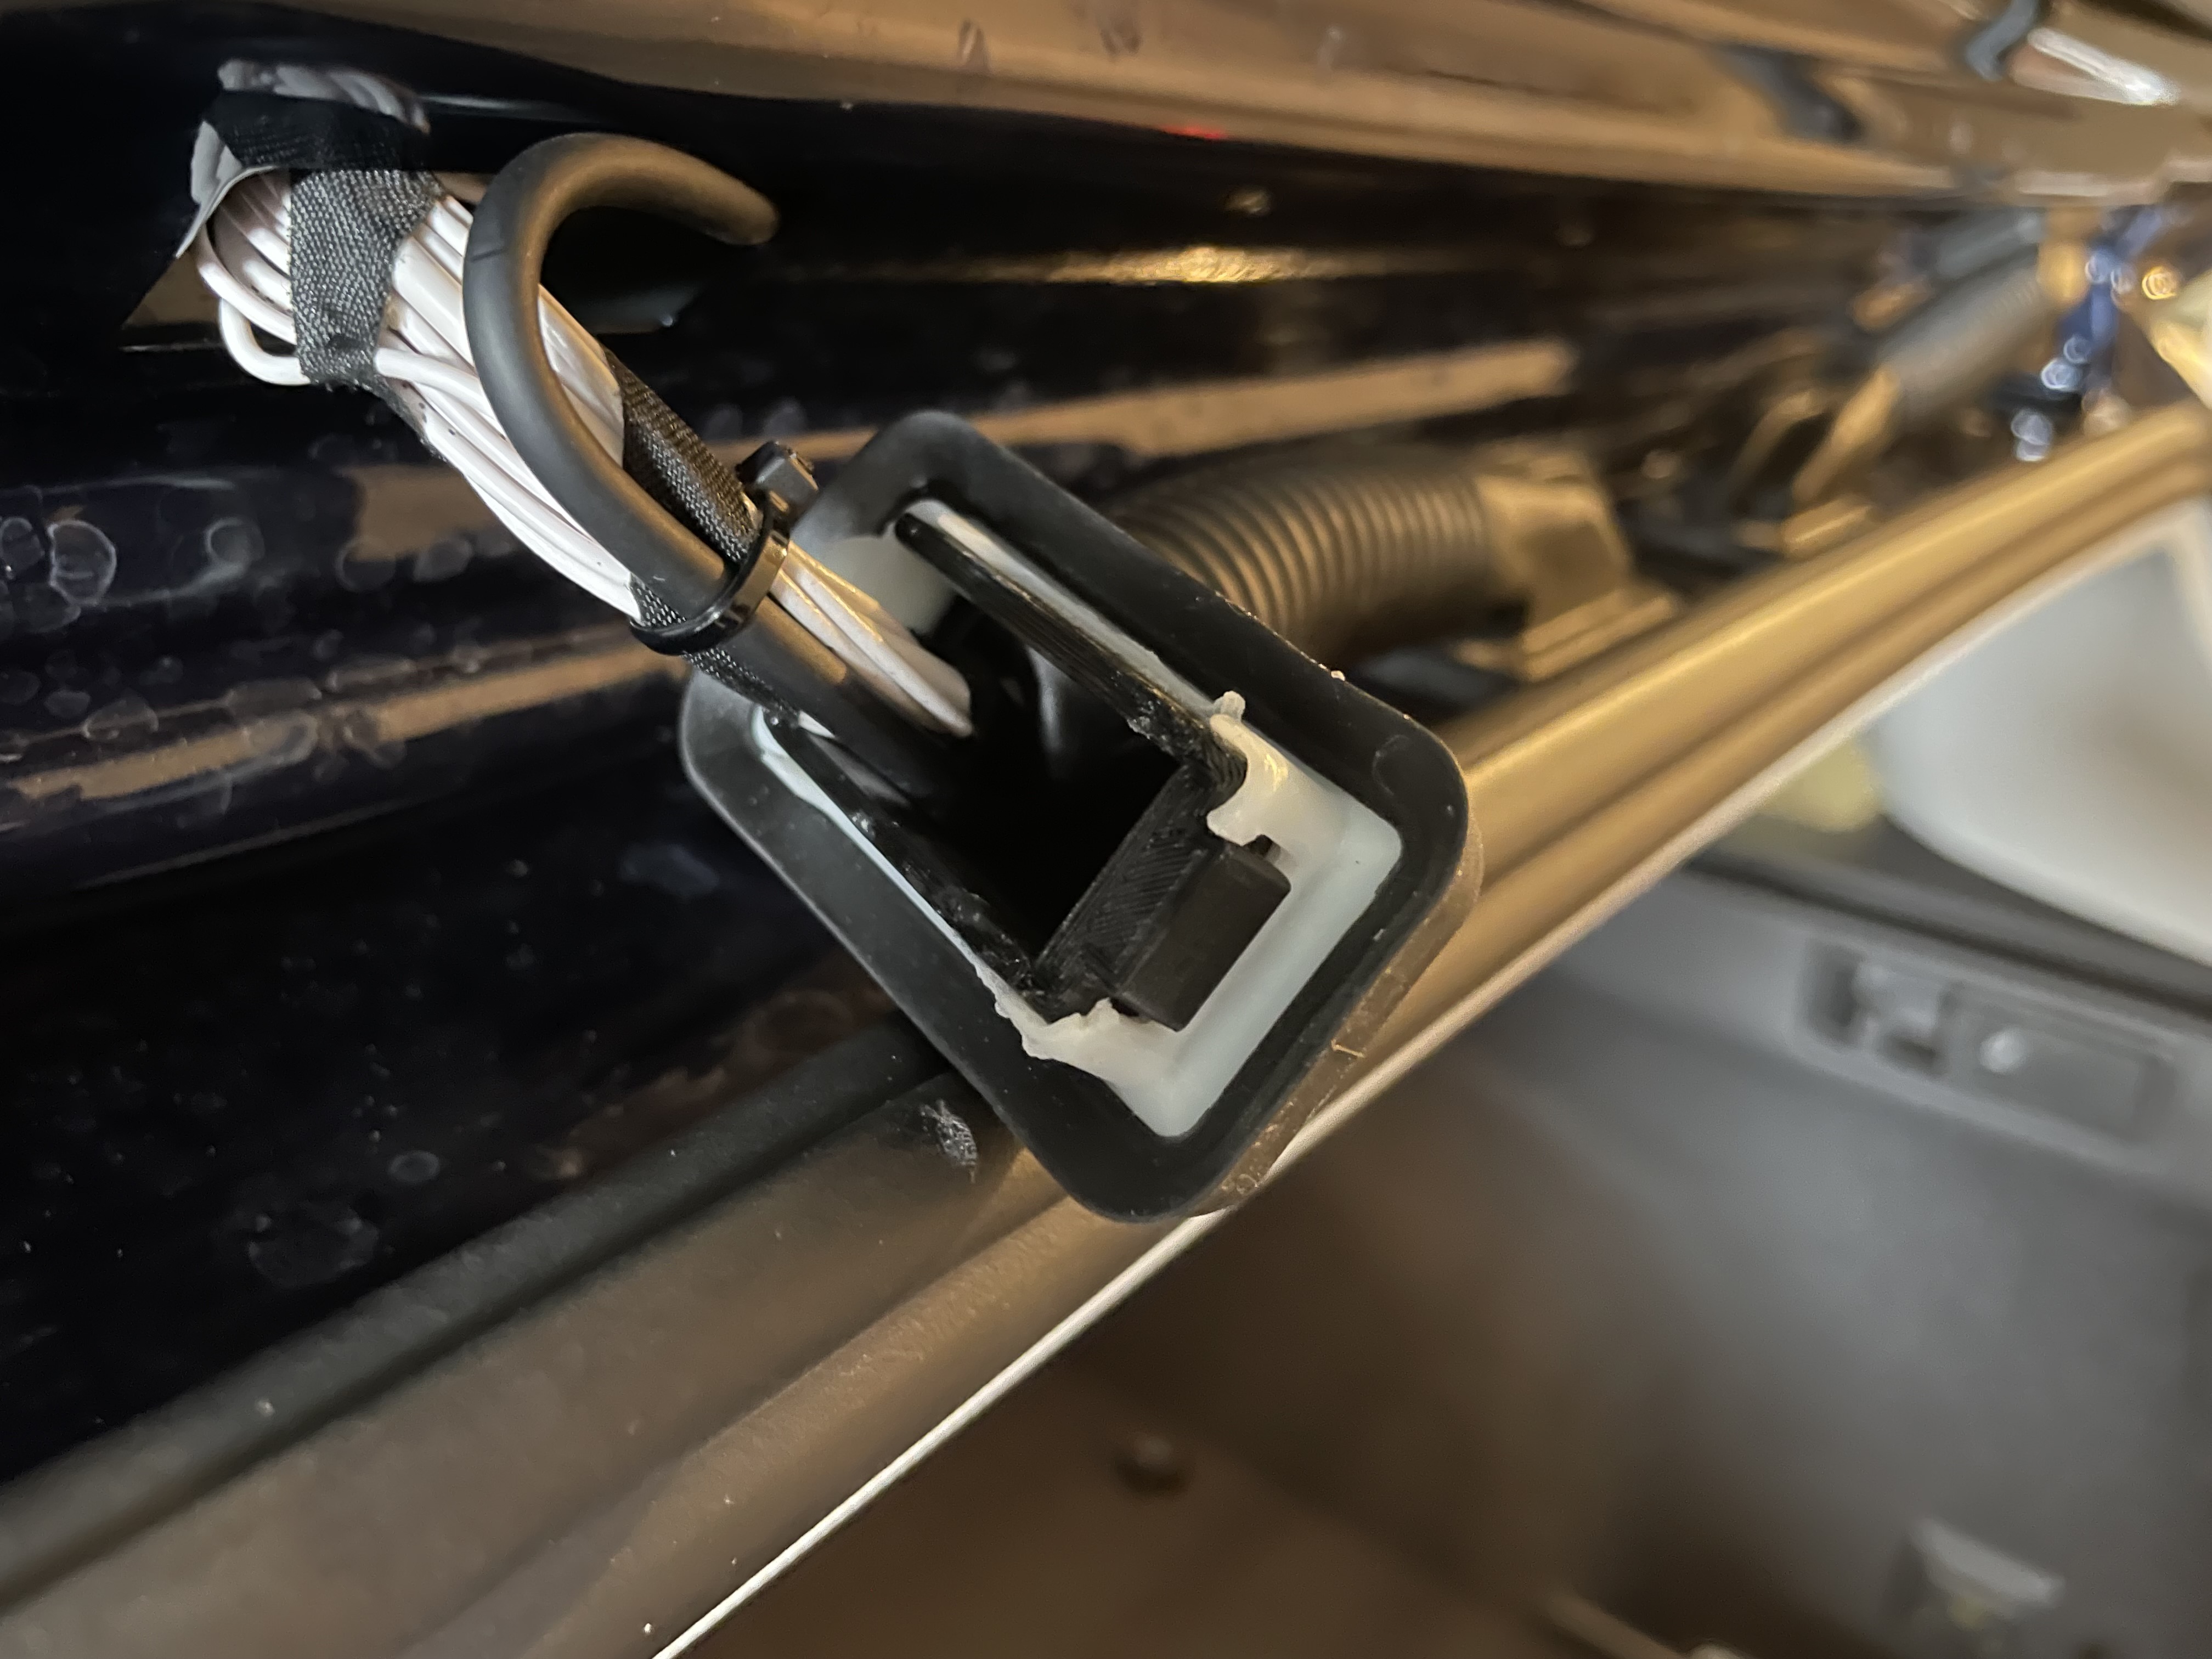
Instead of replacing the boot I did a quick fix with my 3d printer: https://www.thingiverse.com/thing:3246429 https://imgur.com/a/0GqFRgX If you’d rather replace the boot you can follow: https://www.youtube.com/watch?v=GhNbGtLDZiU&ab_channel=DeutscheAutoParts# |
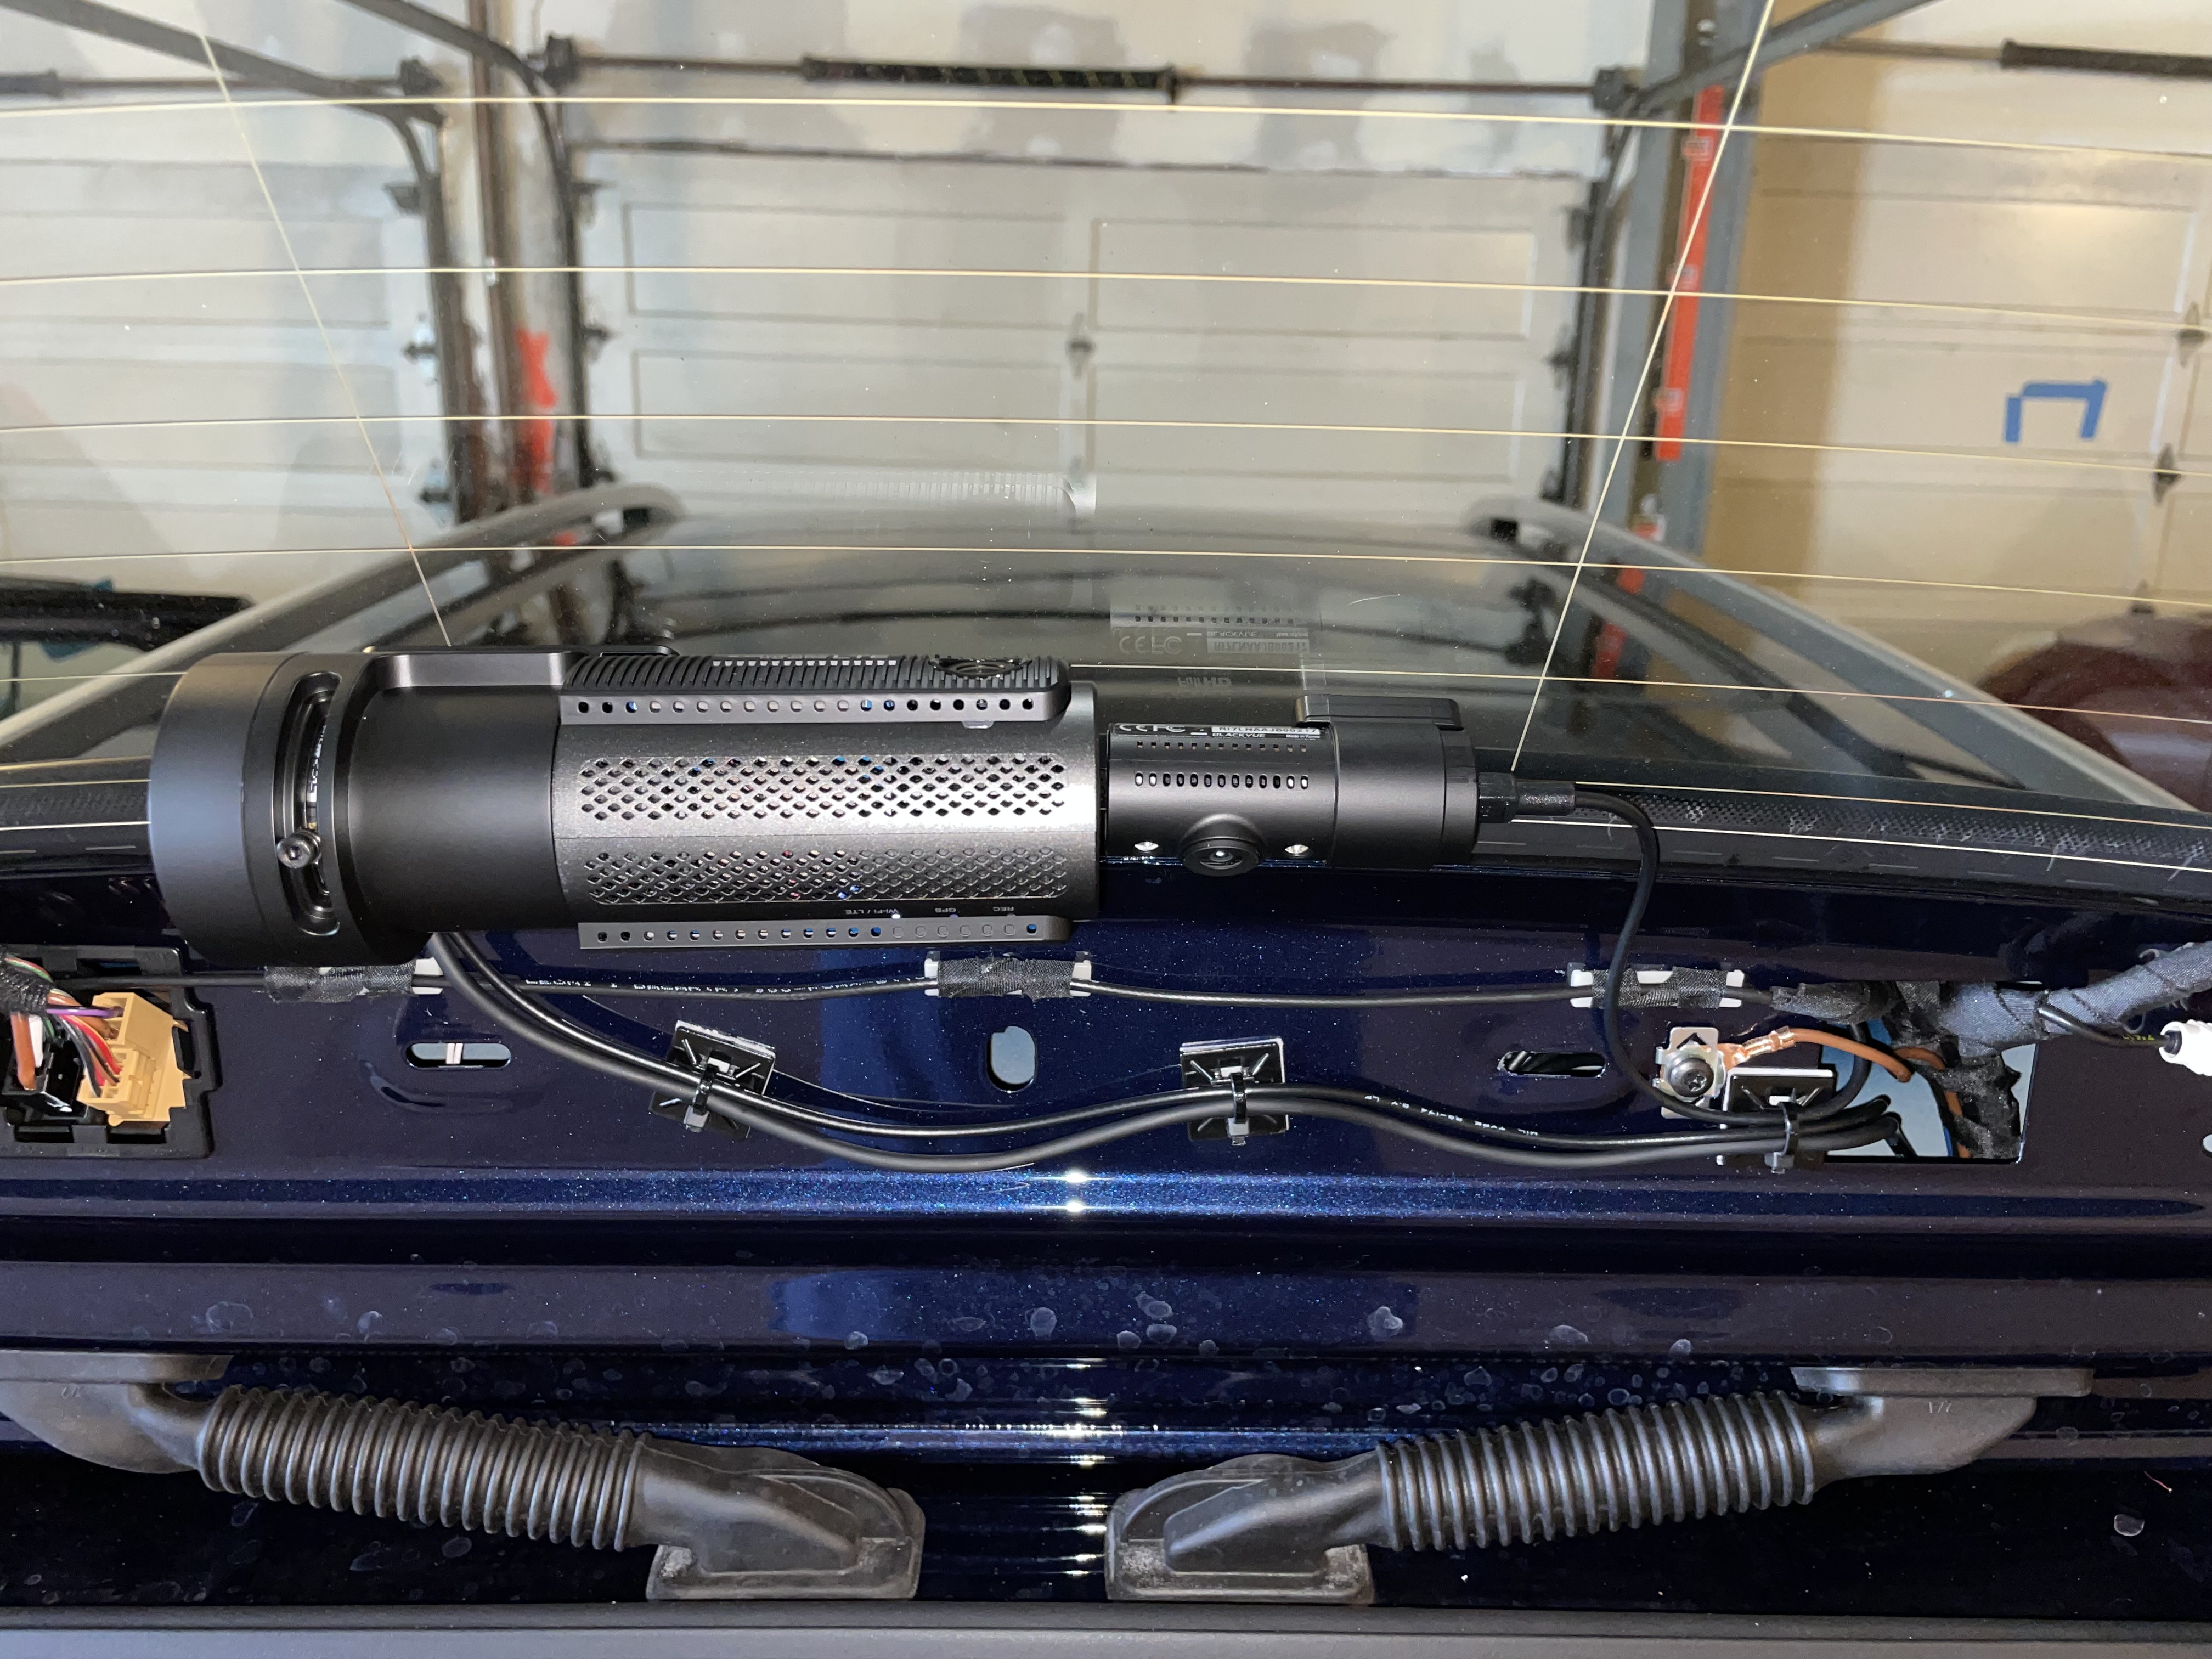
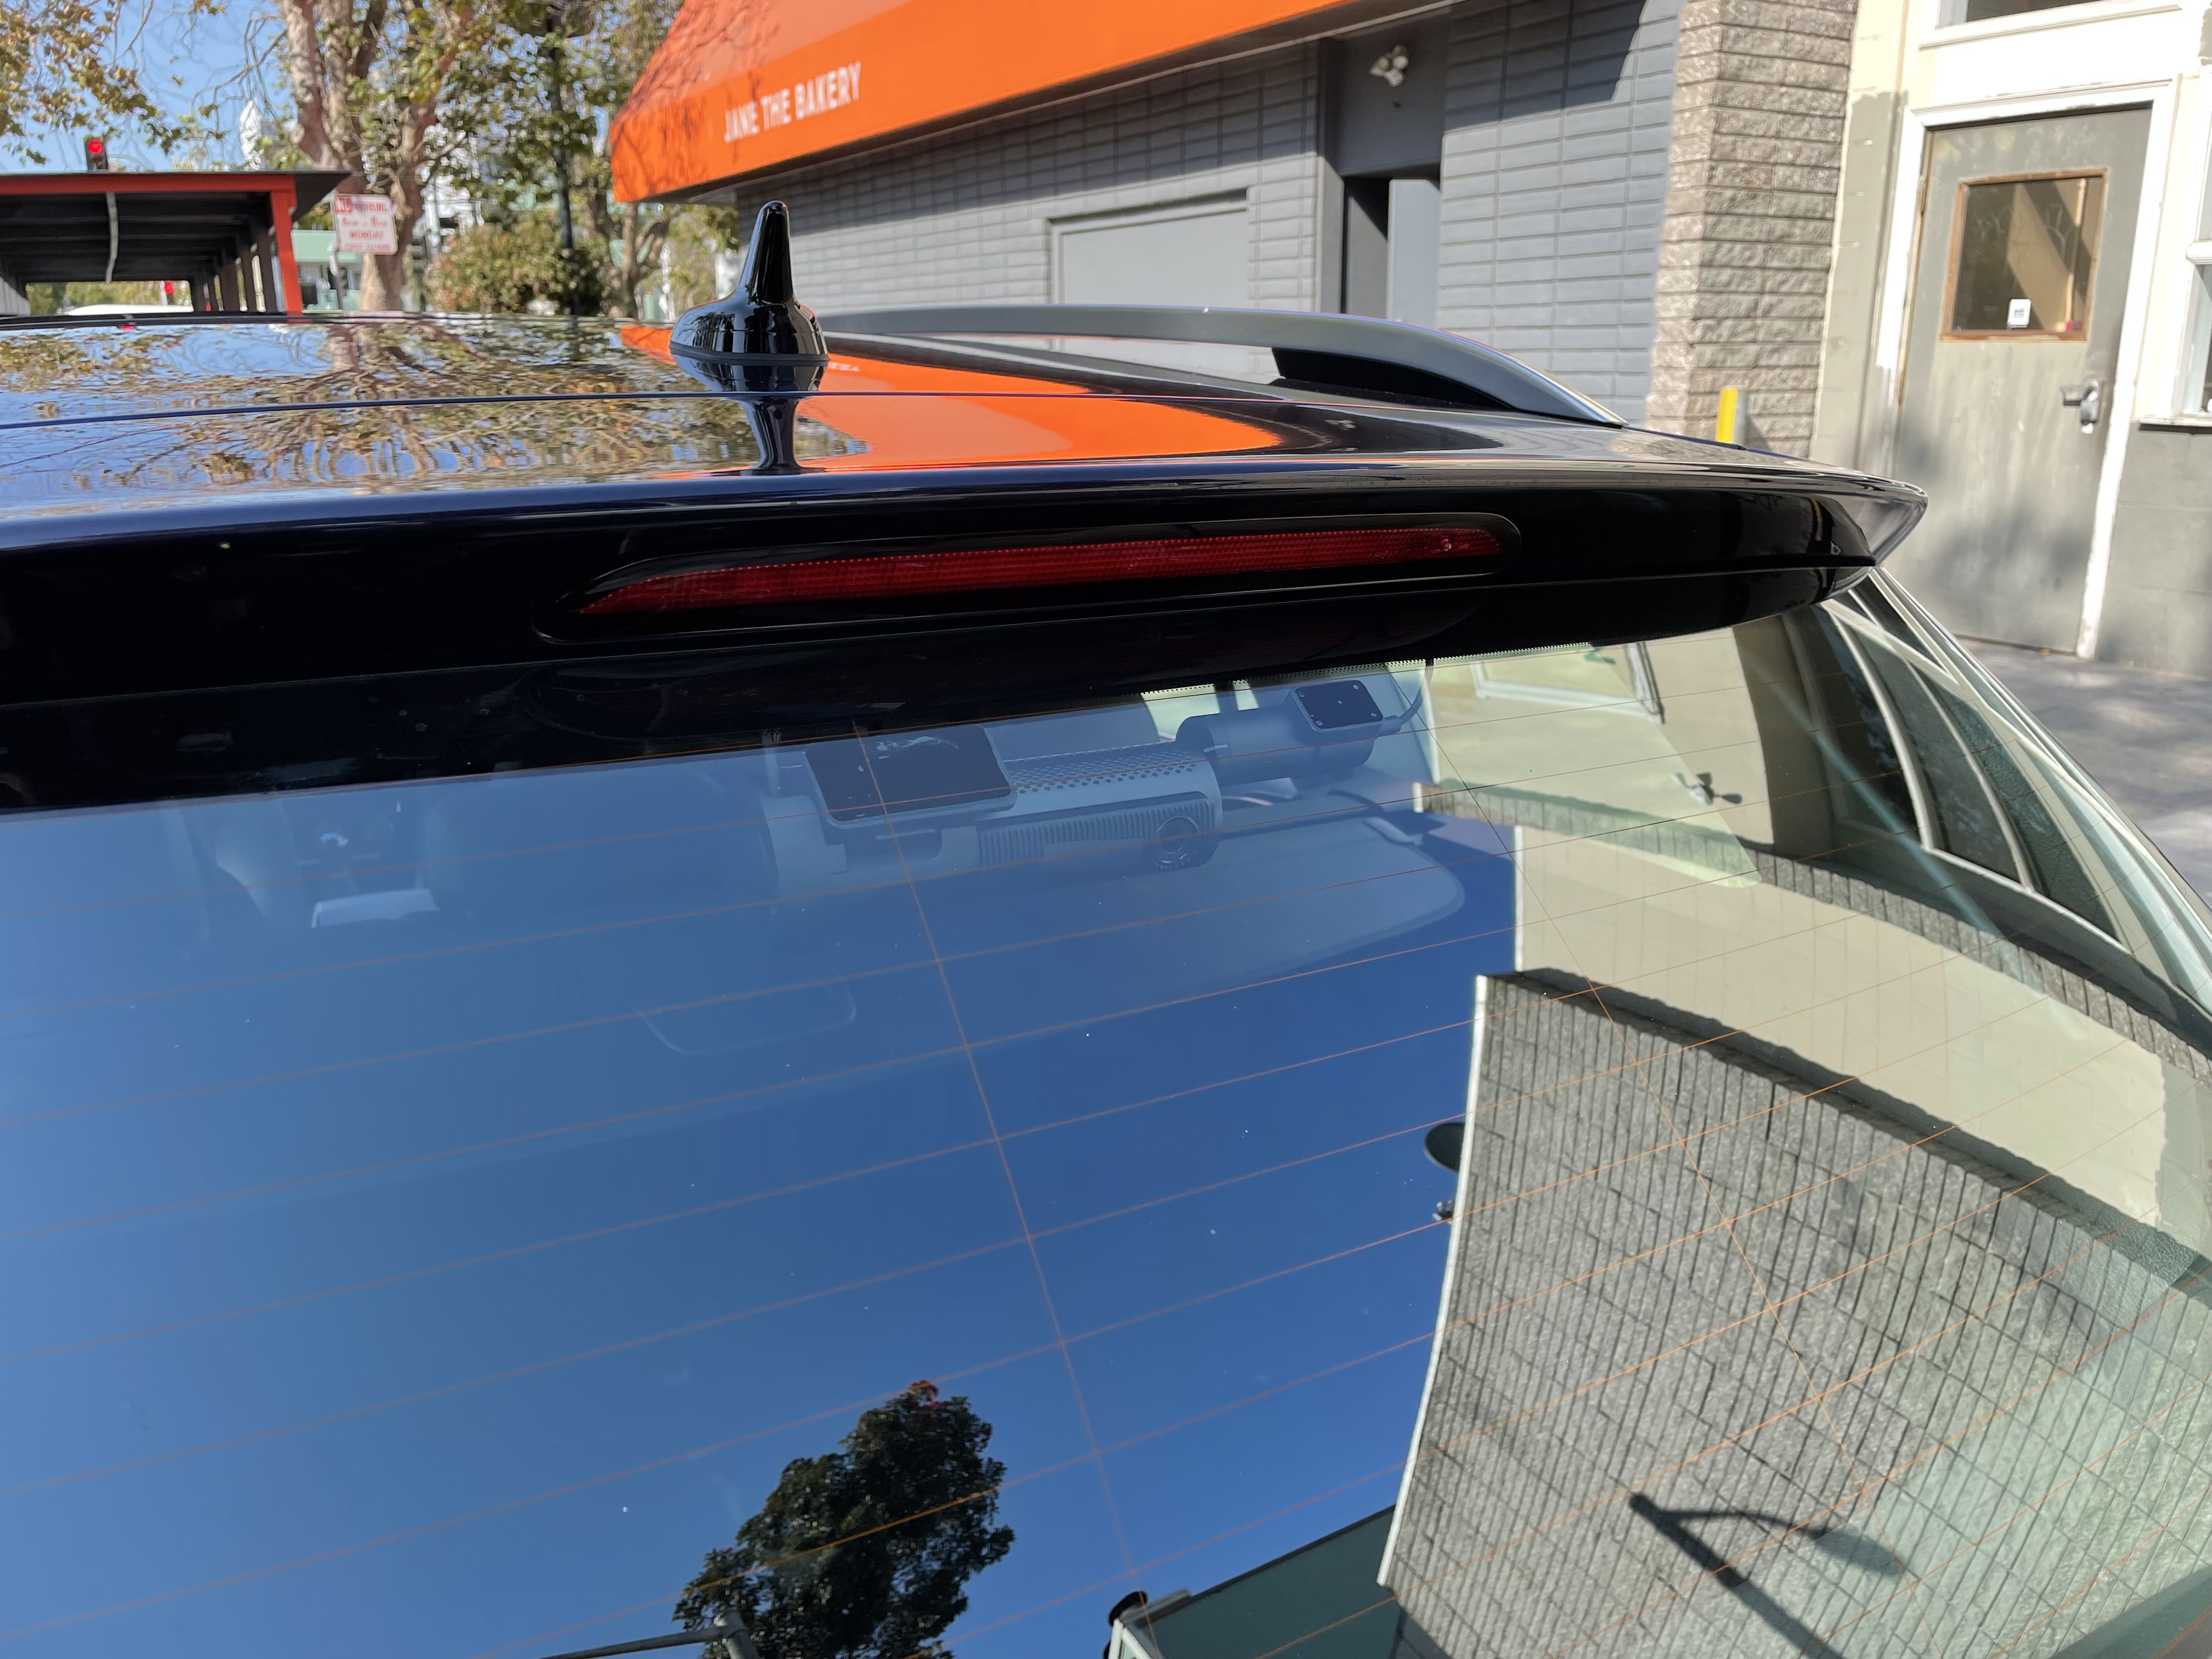
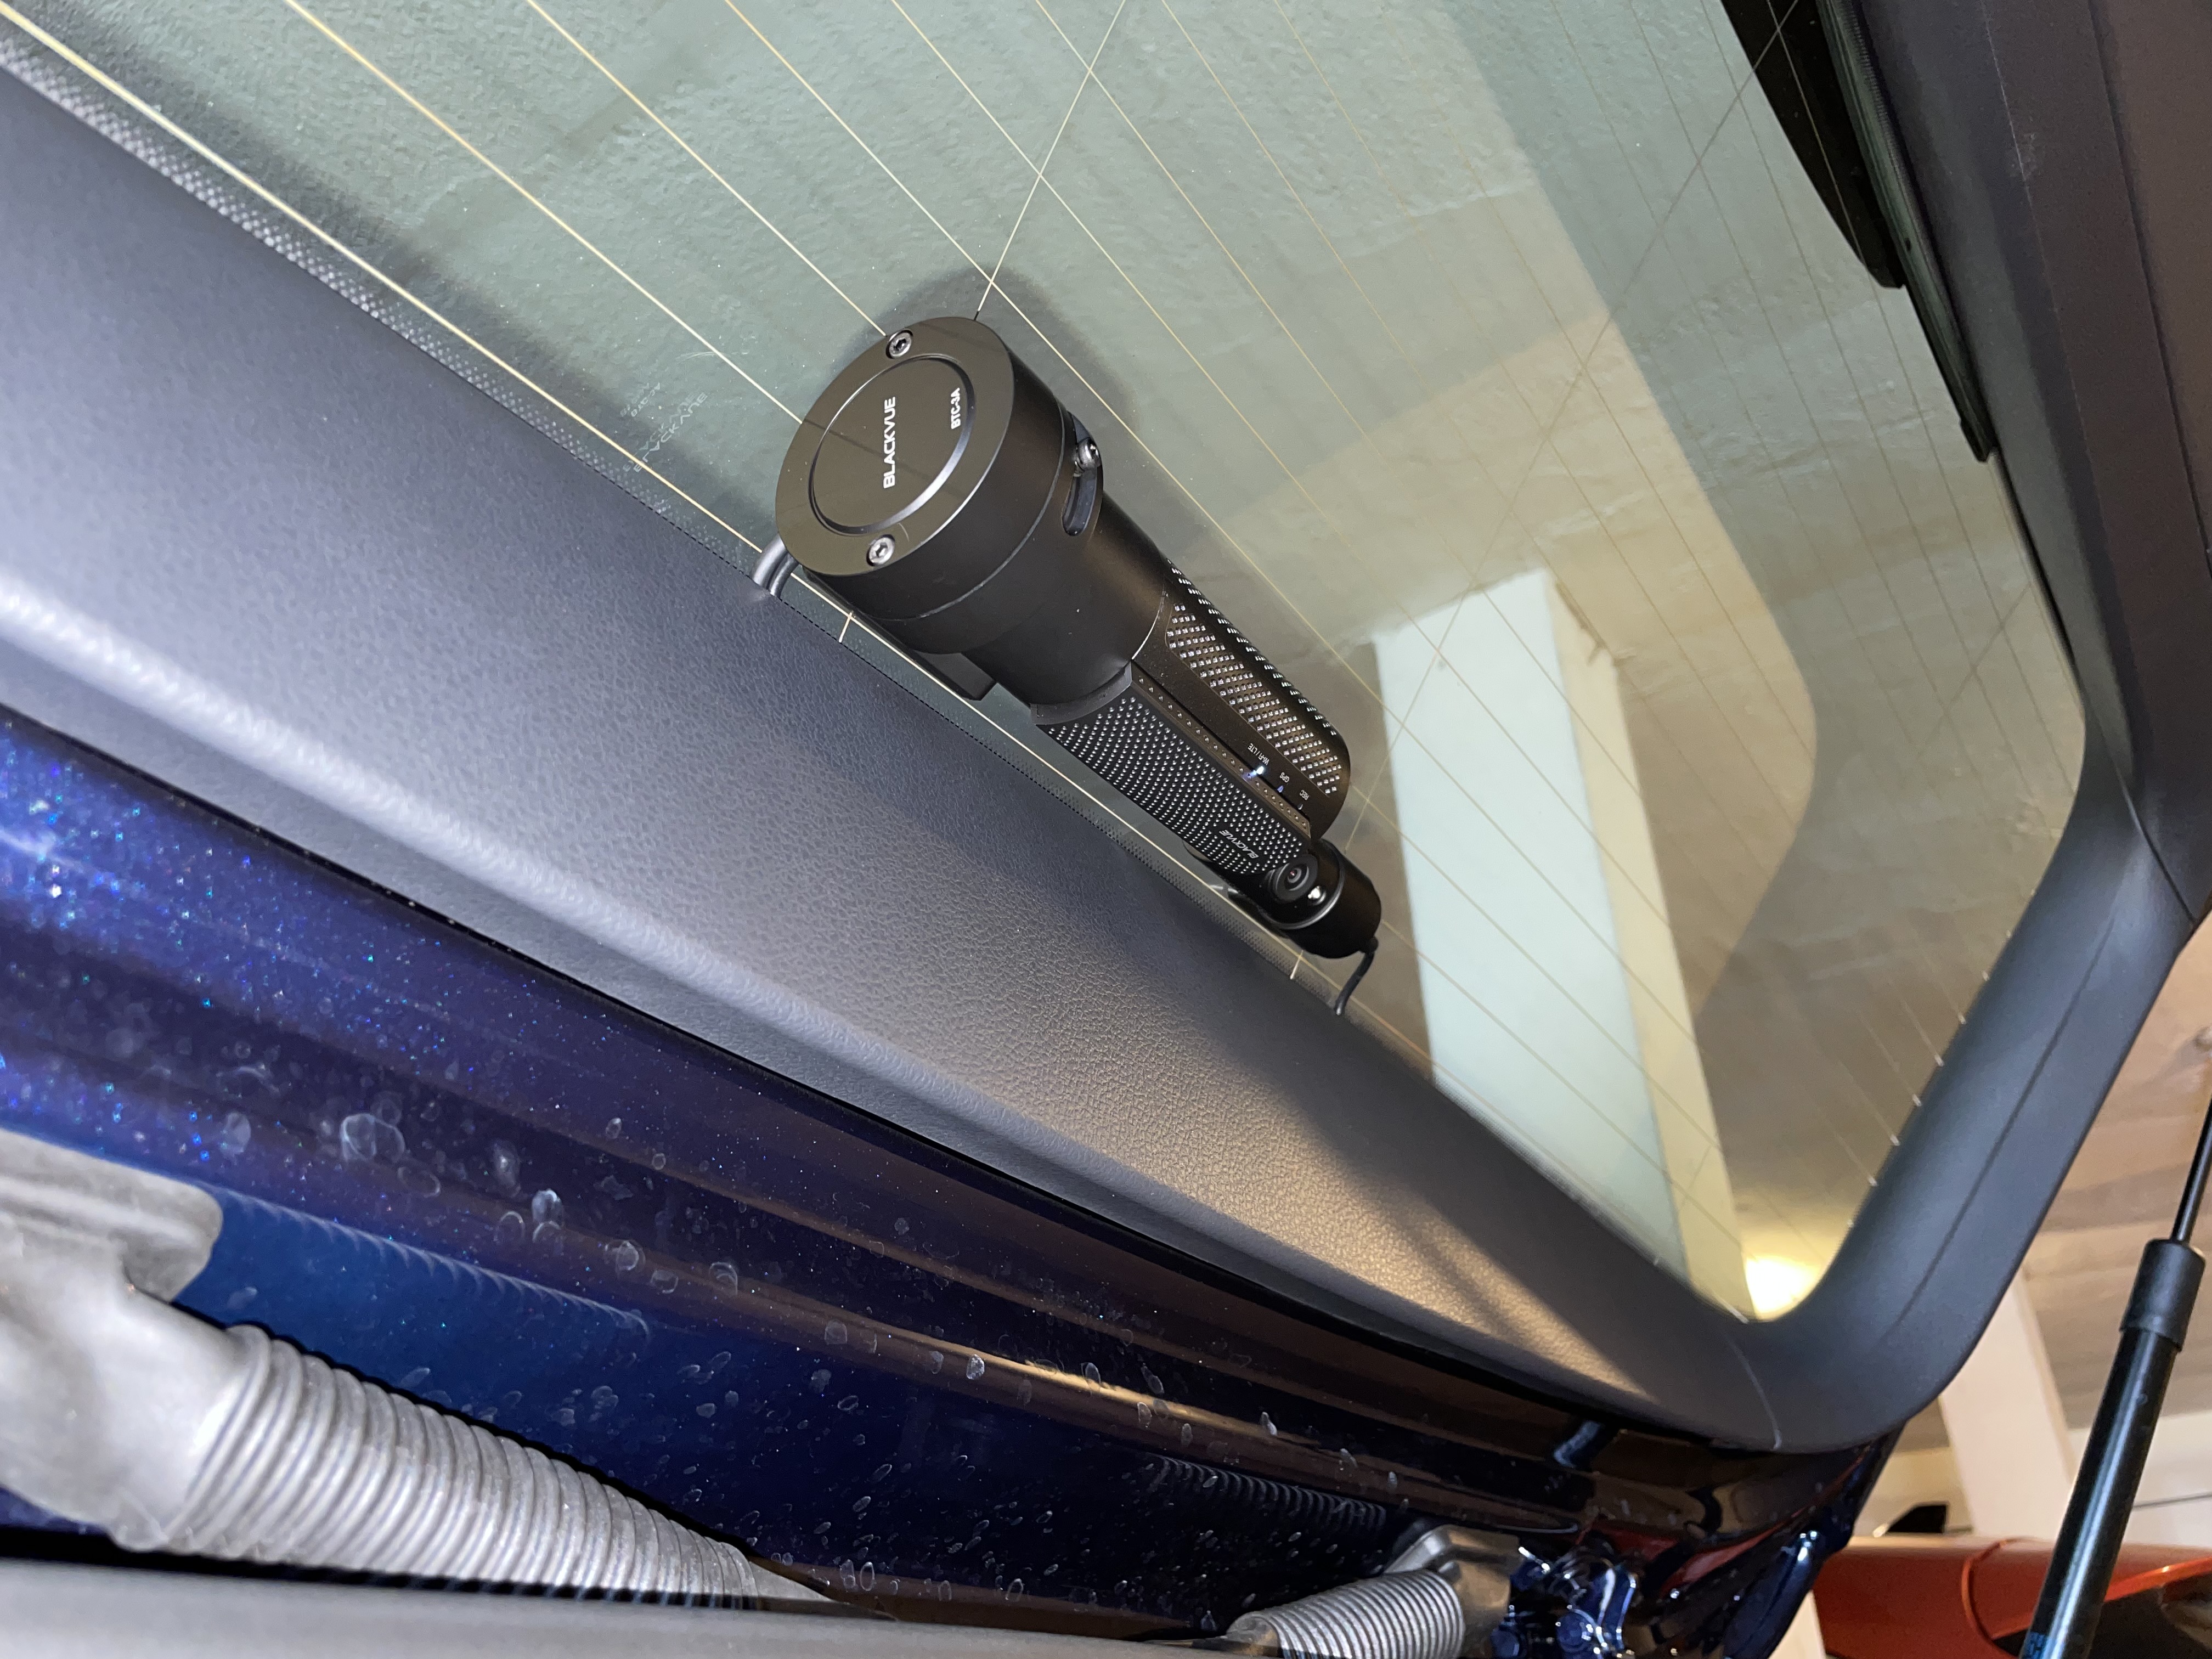
Finally I mounted the cameras and anchored the wires with some spare cable tie mounting pads I had lying around. I shoved the excess wires into the body via the square hole.# |
|
|
|
|
|
Comments
comments powered by Disqus