Monoprice Maker Select v2#
I bought my first 3D printer from Amazon in 2018 for $300. It’s on the cheaper end but there’s a large community behind it.
Oct ‘21 Upgrading Parts#
First set up parts being upgraded with:
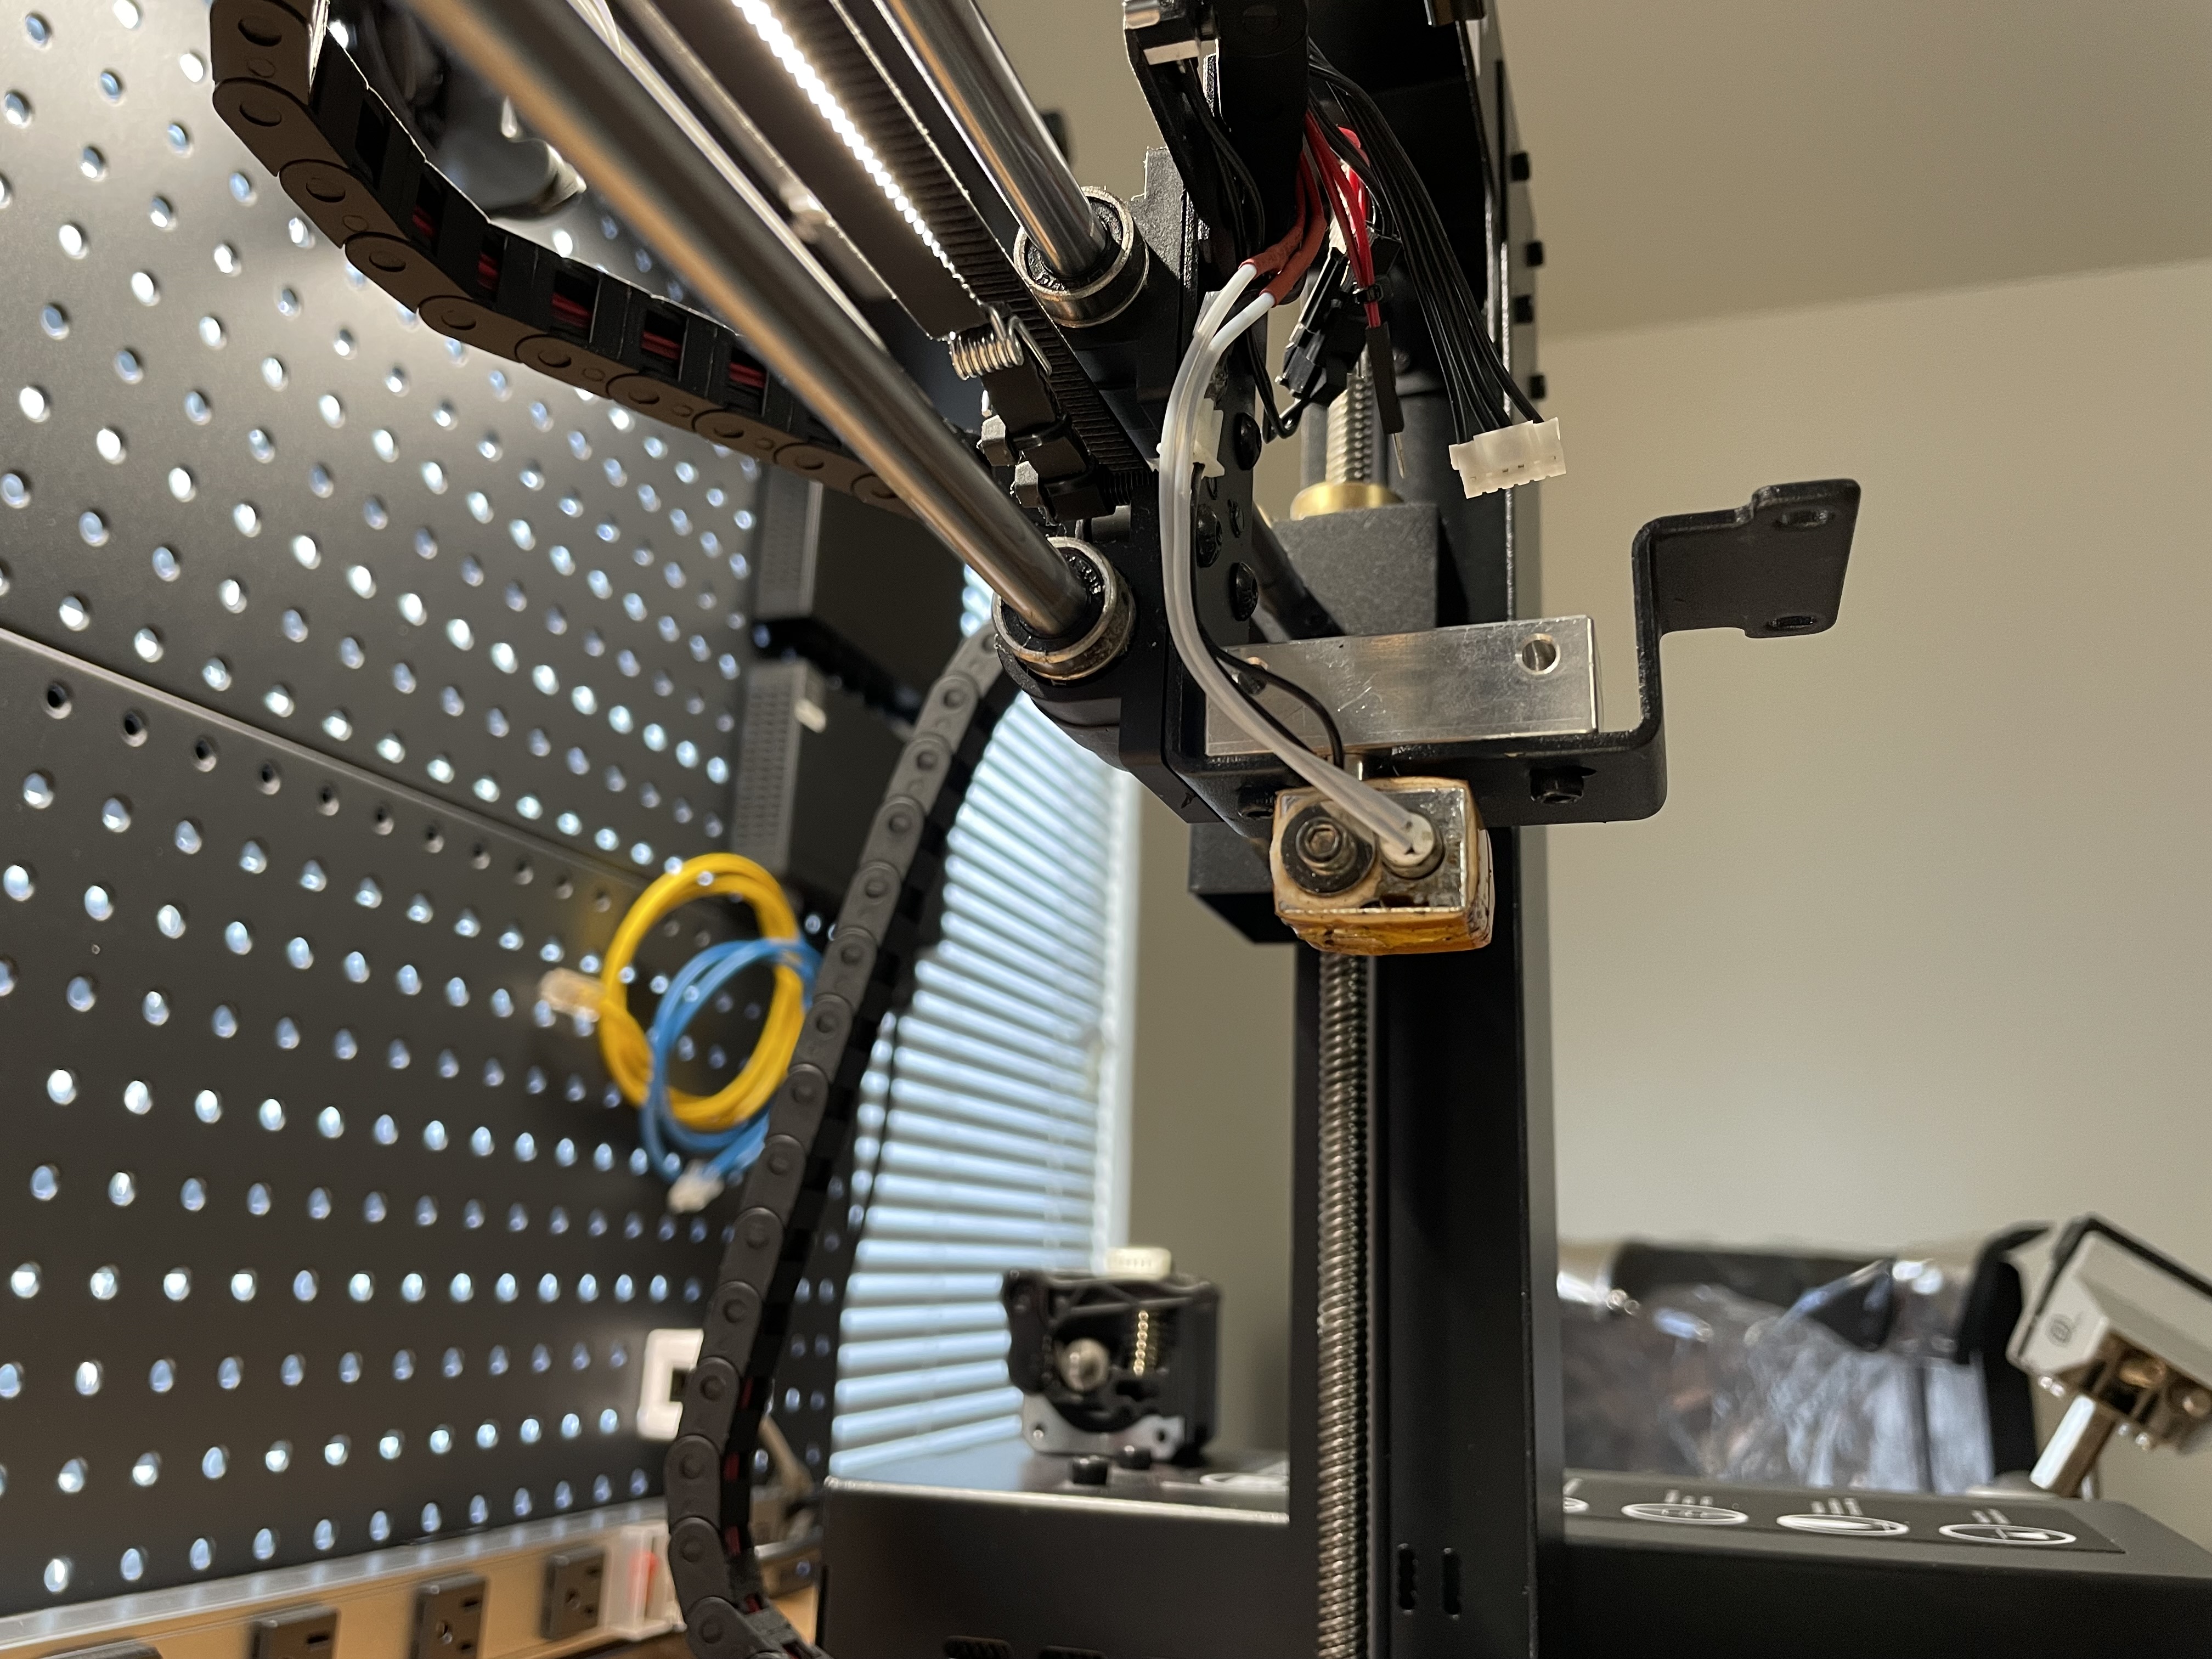
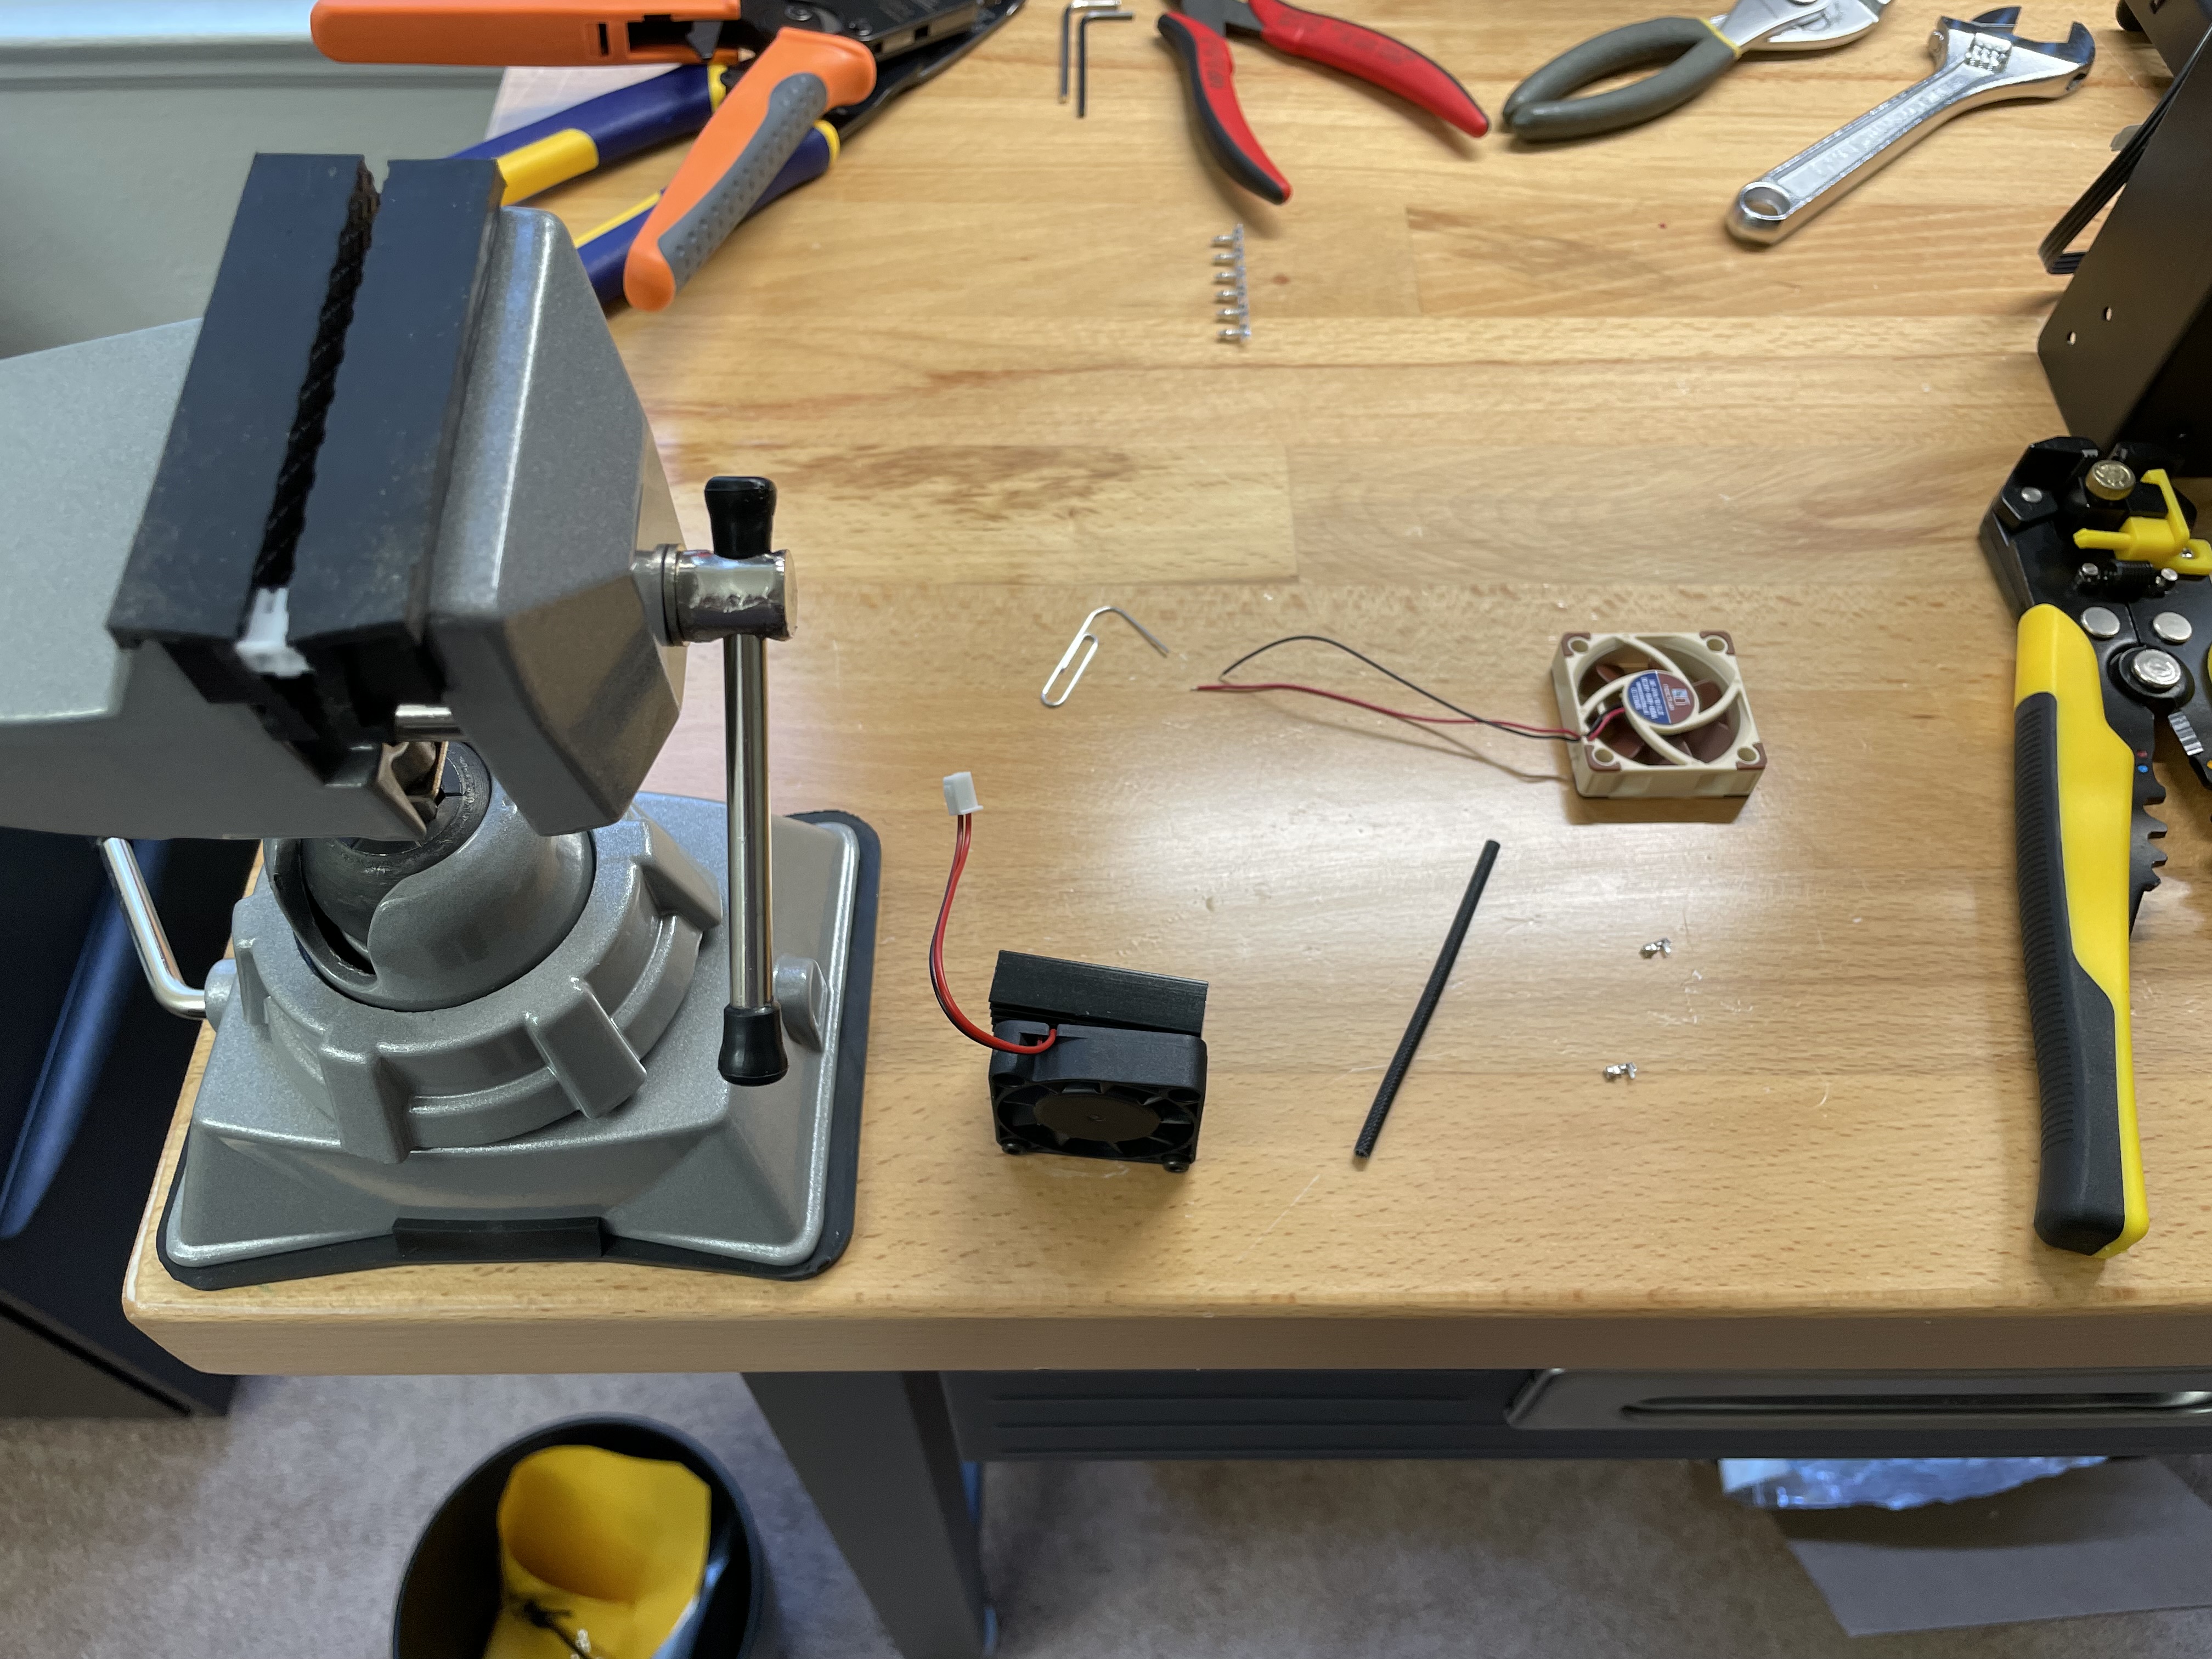
I started to get filament jams in the middle of prints. Since I started to take the printer apart I thought it would be a good idea to get some upgrades in.
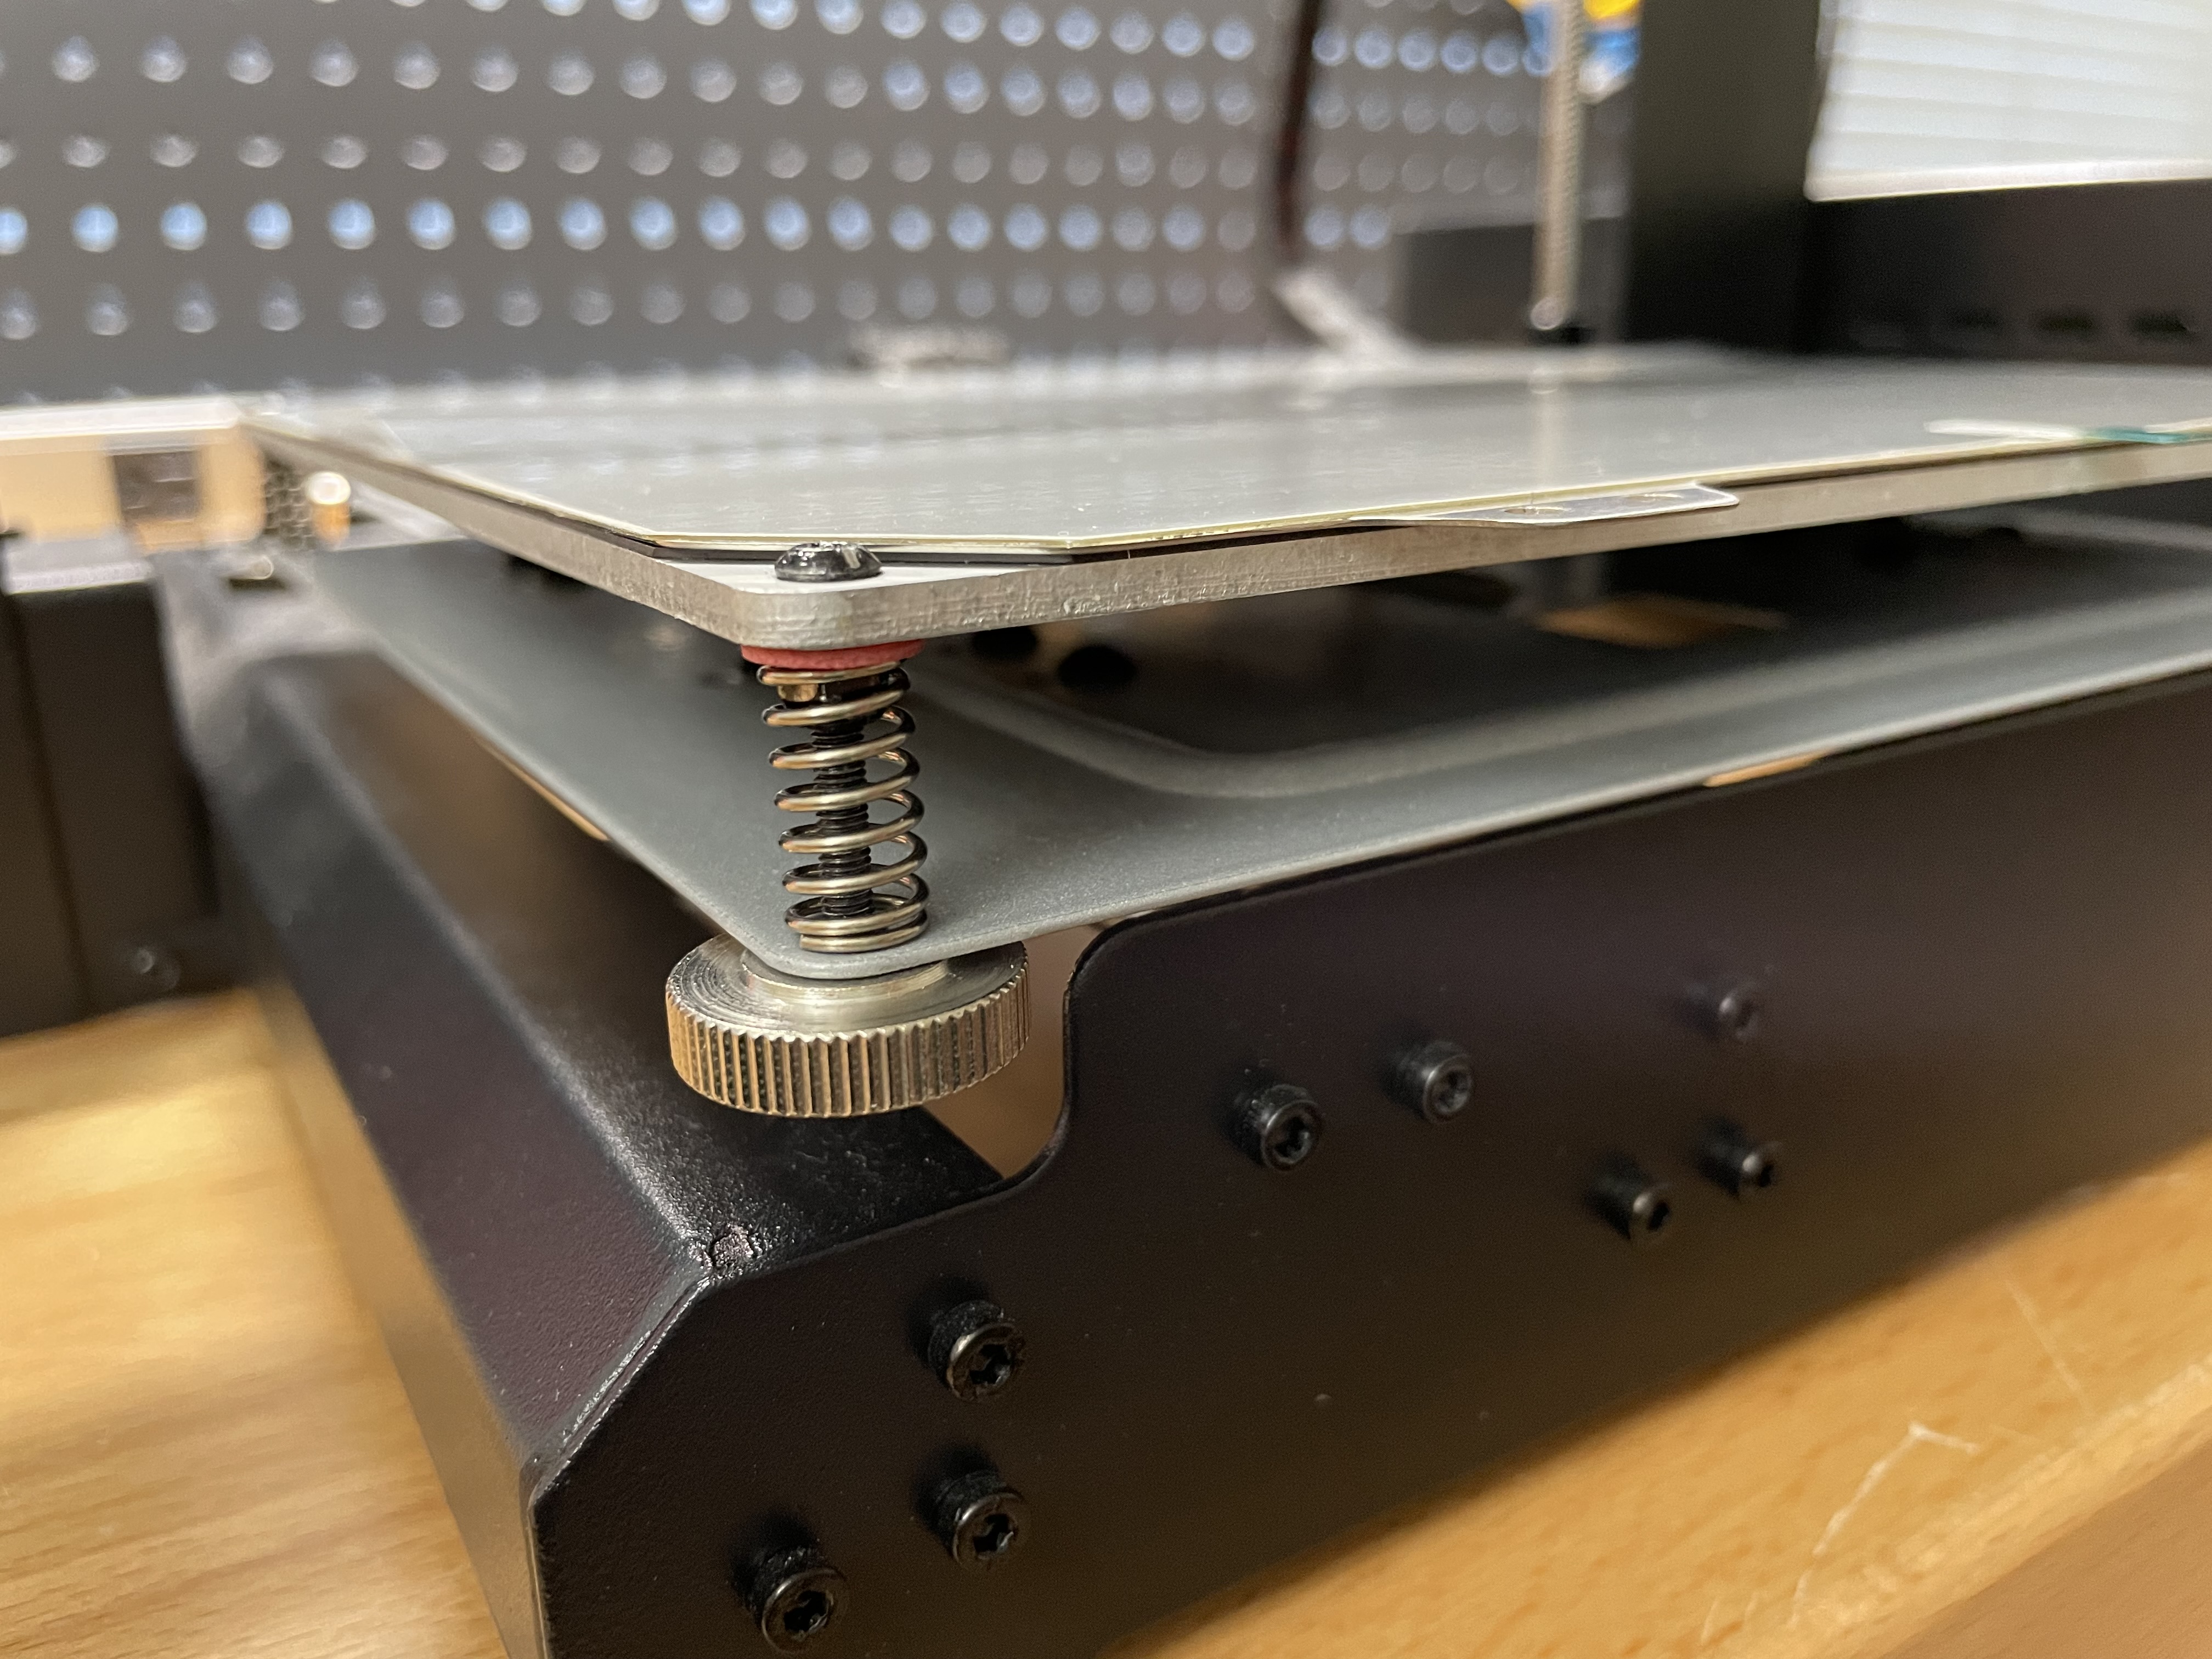
I replaced the nozzle and hot end (except for the heat block) with an all-metal version (the original had a small teflon tube inside the heat break), replaced the carriage plate underneath the bed with a thicker one that better resists warping, replaced the cheap noisy fans with Noctuas with custom shortened and crimped wires, and added a thermal pad between the heat sink and the cooling block (there was nothing there before, just metal-on-metal contact).
For crimping the wires I used the following:
IWISS IWS-3220M Micro Connector Pin Crimping Tool 0.03-0.52mm² 32-20AWG Ratcheting Crimper
Wire Stripper Automatic 3 in 1 Multi-Function Wire Pliers (22AWG-8AWG)
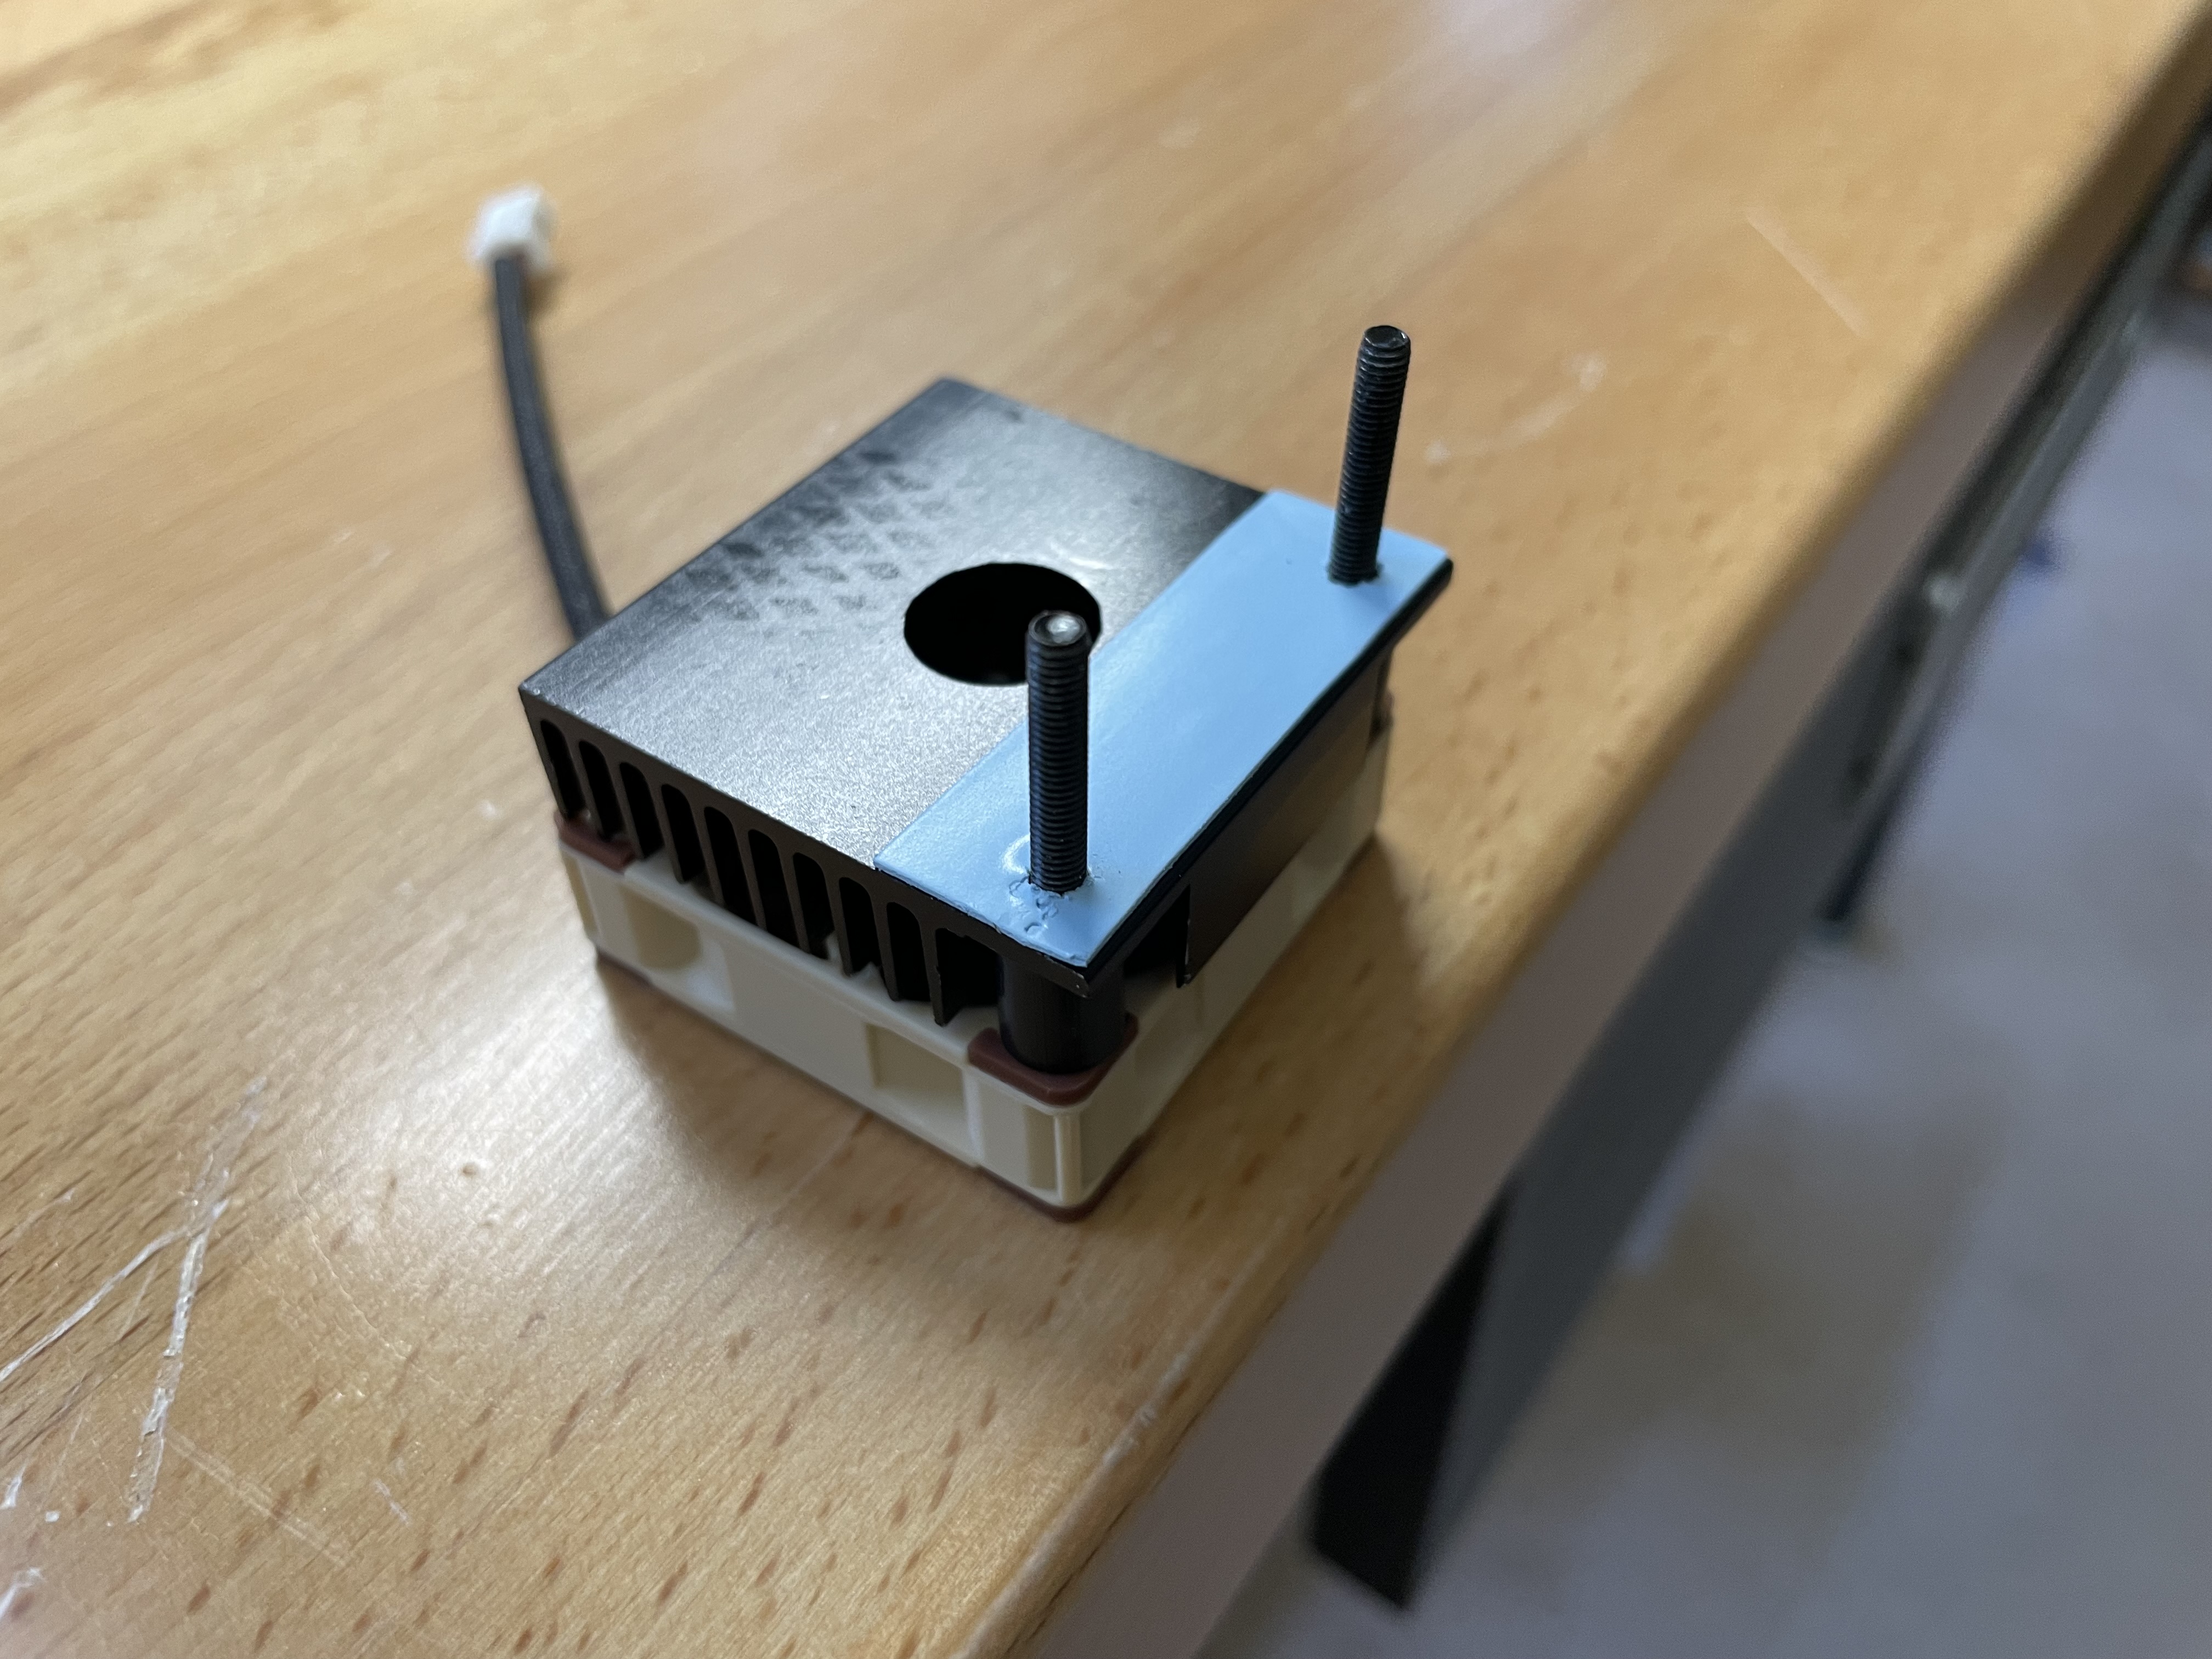
Old hot end with the stepper motor and brass nozzle already removed.# |
New cooling block and heat break being assembled.# |
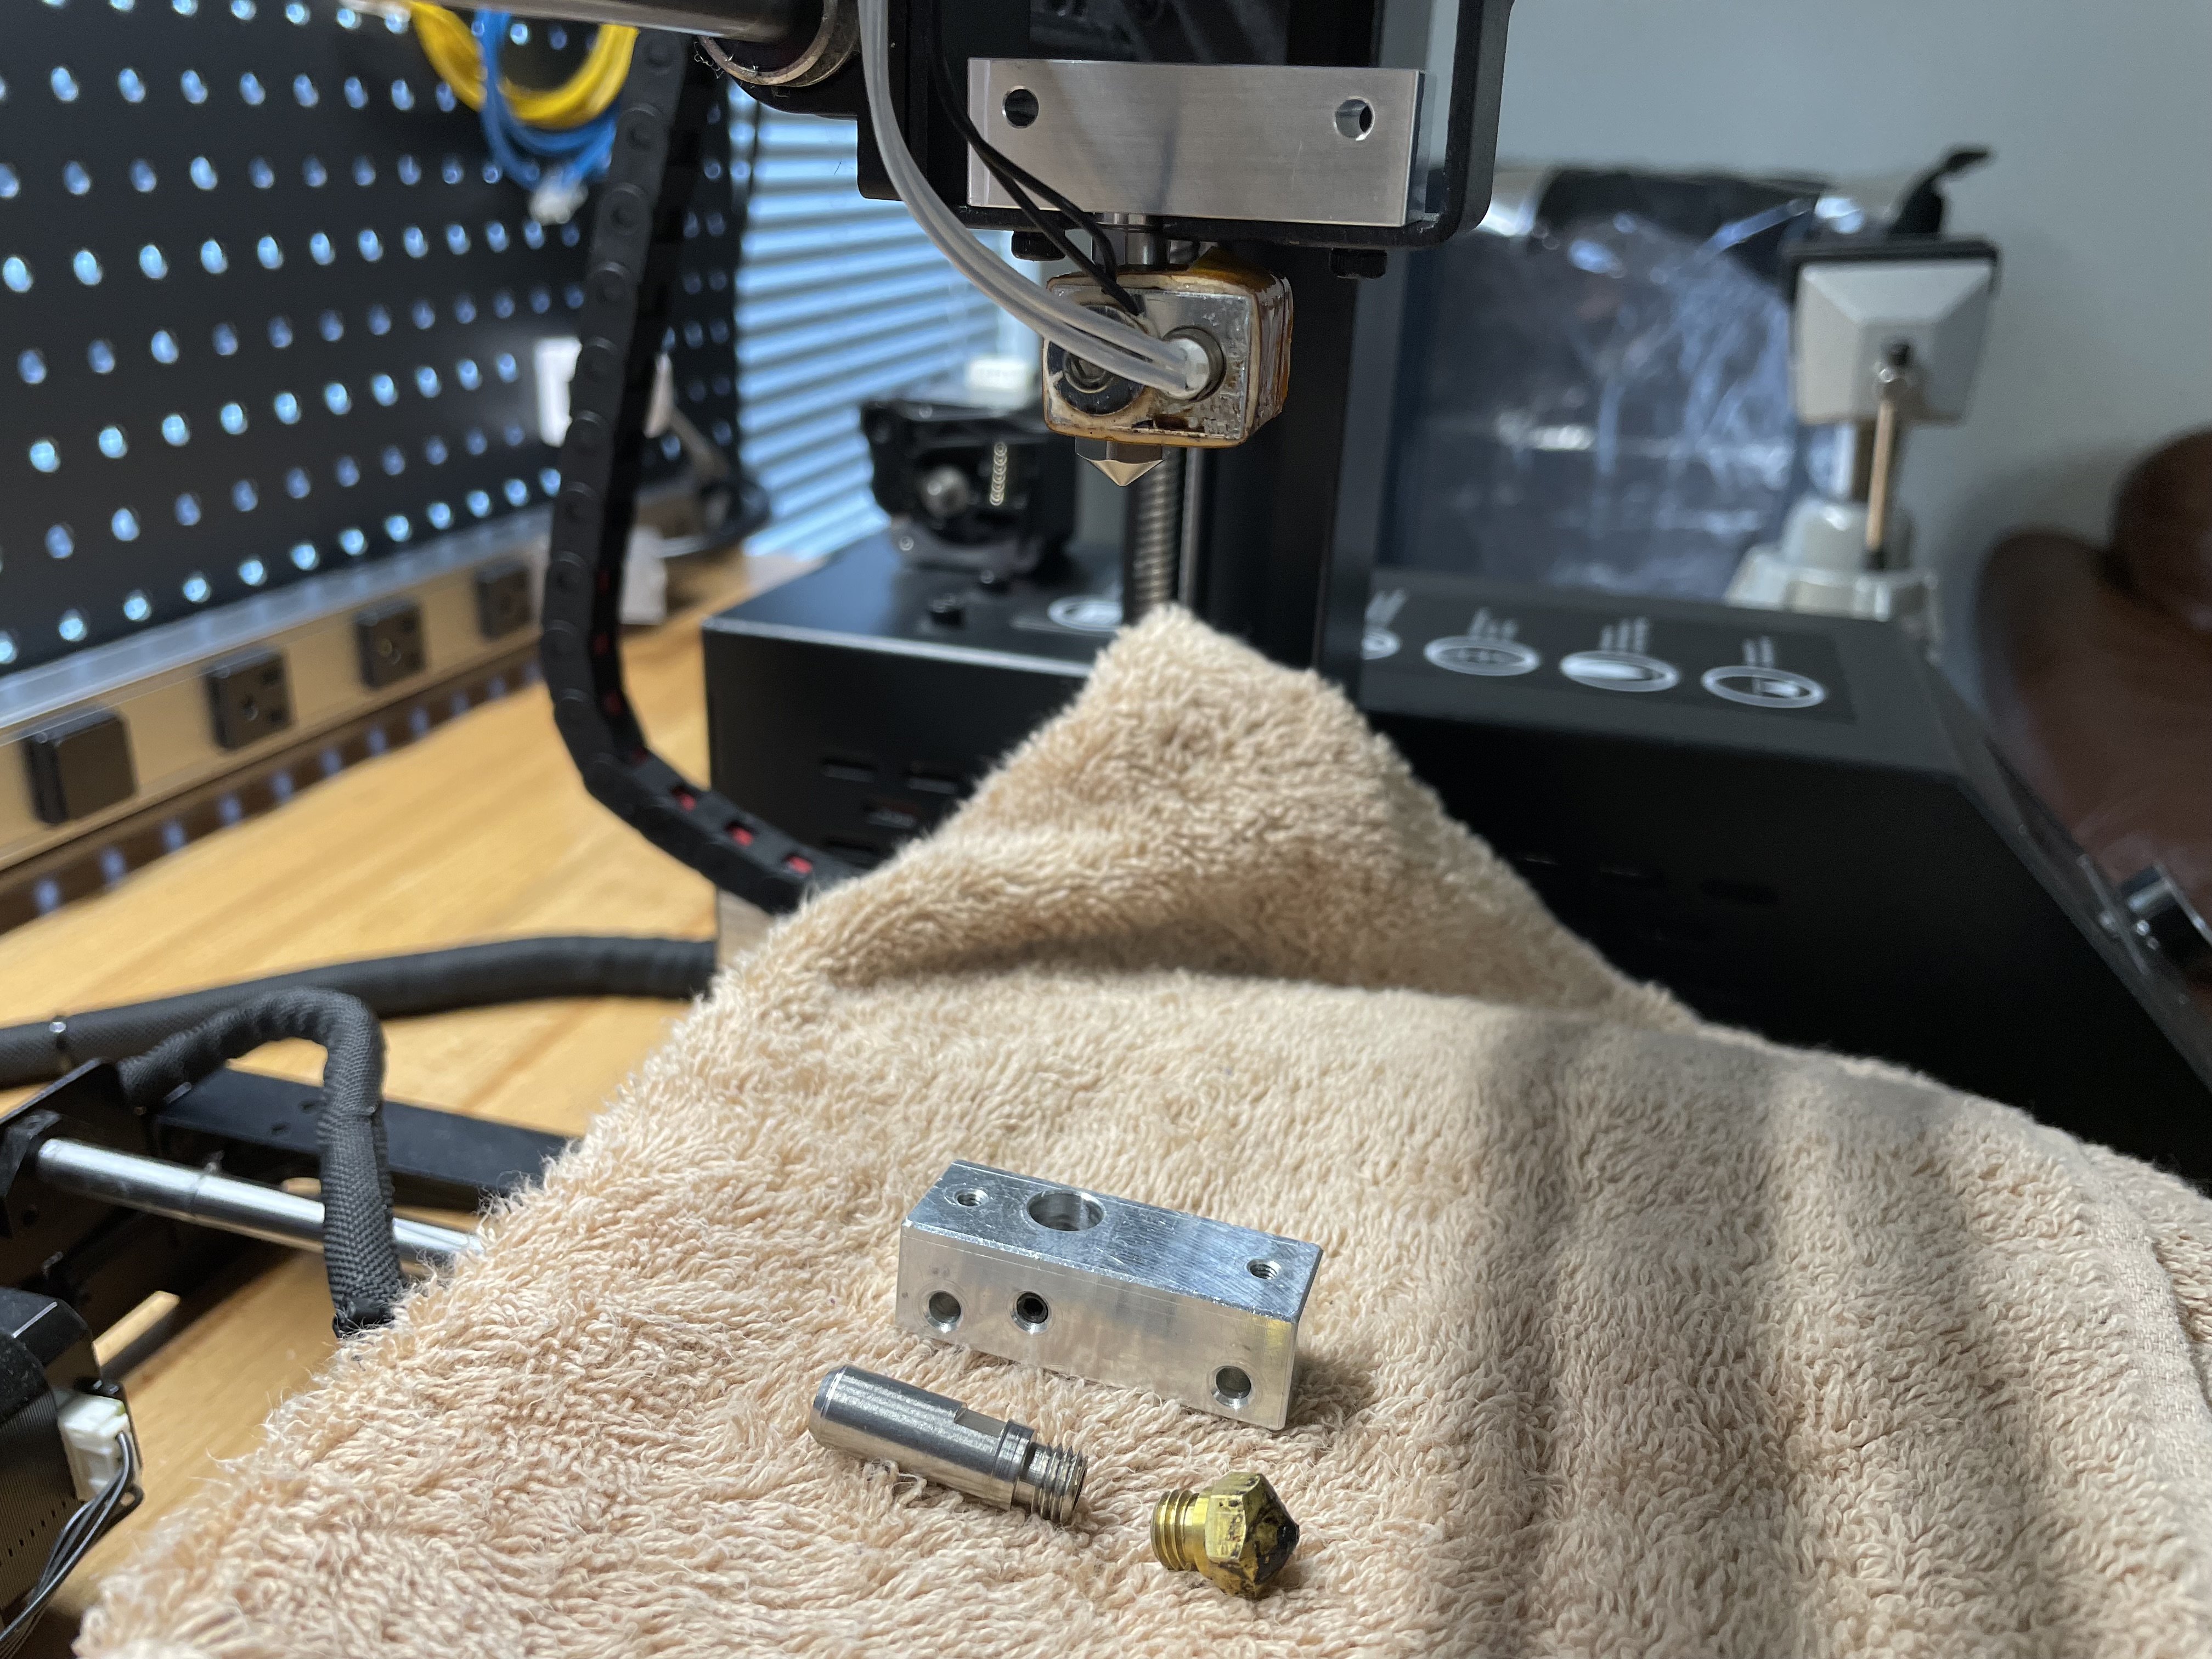
The bottom are the old bits.# |
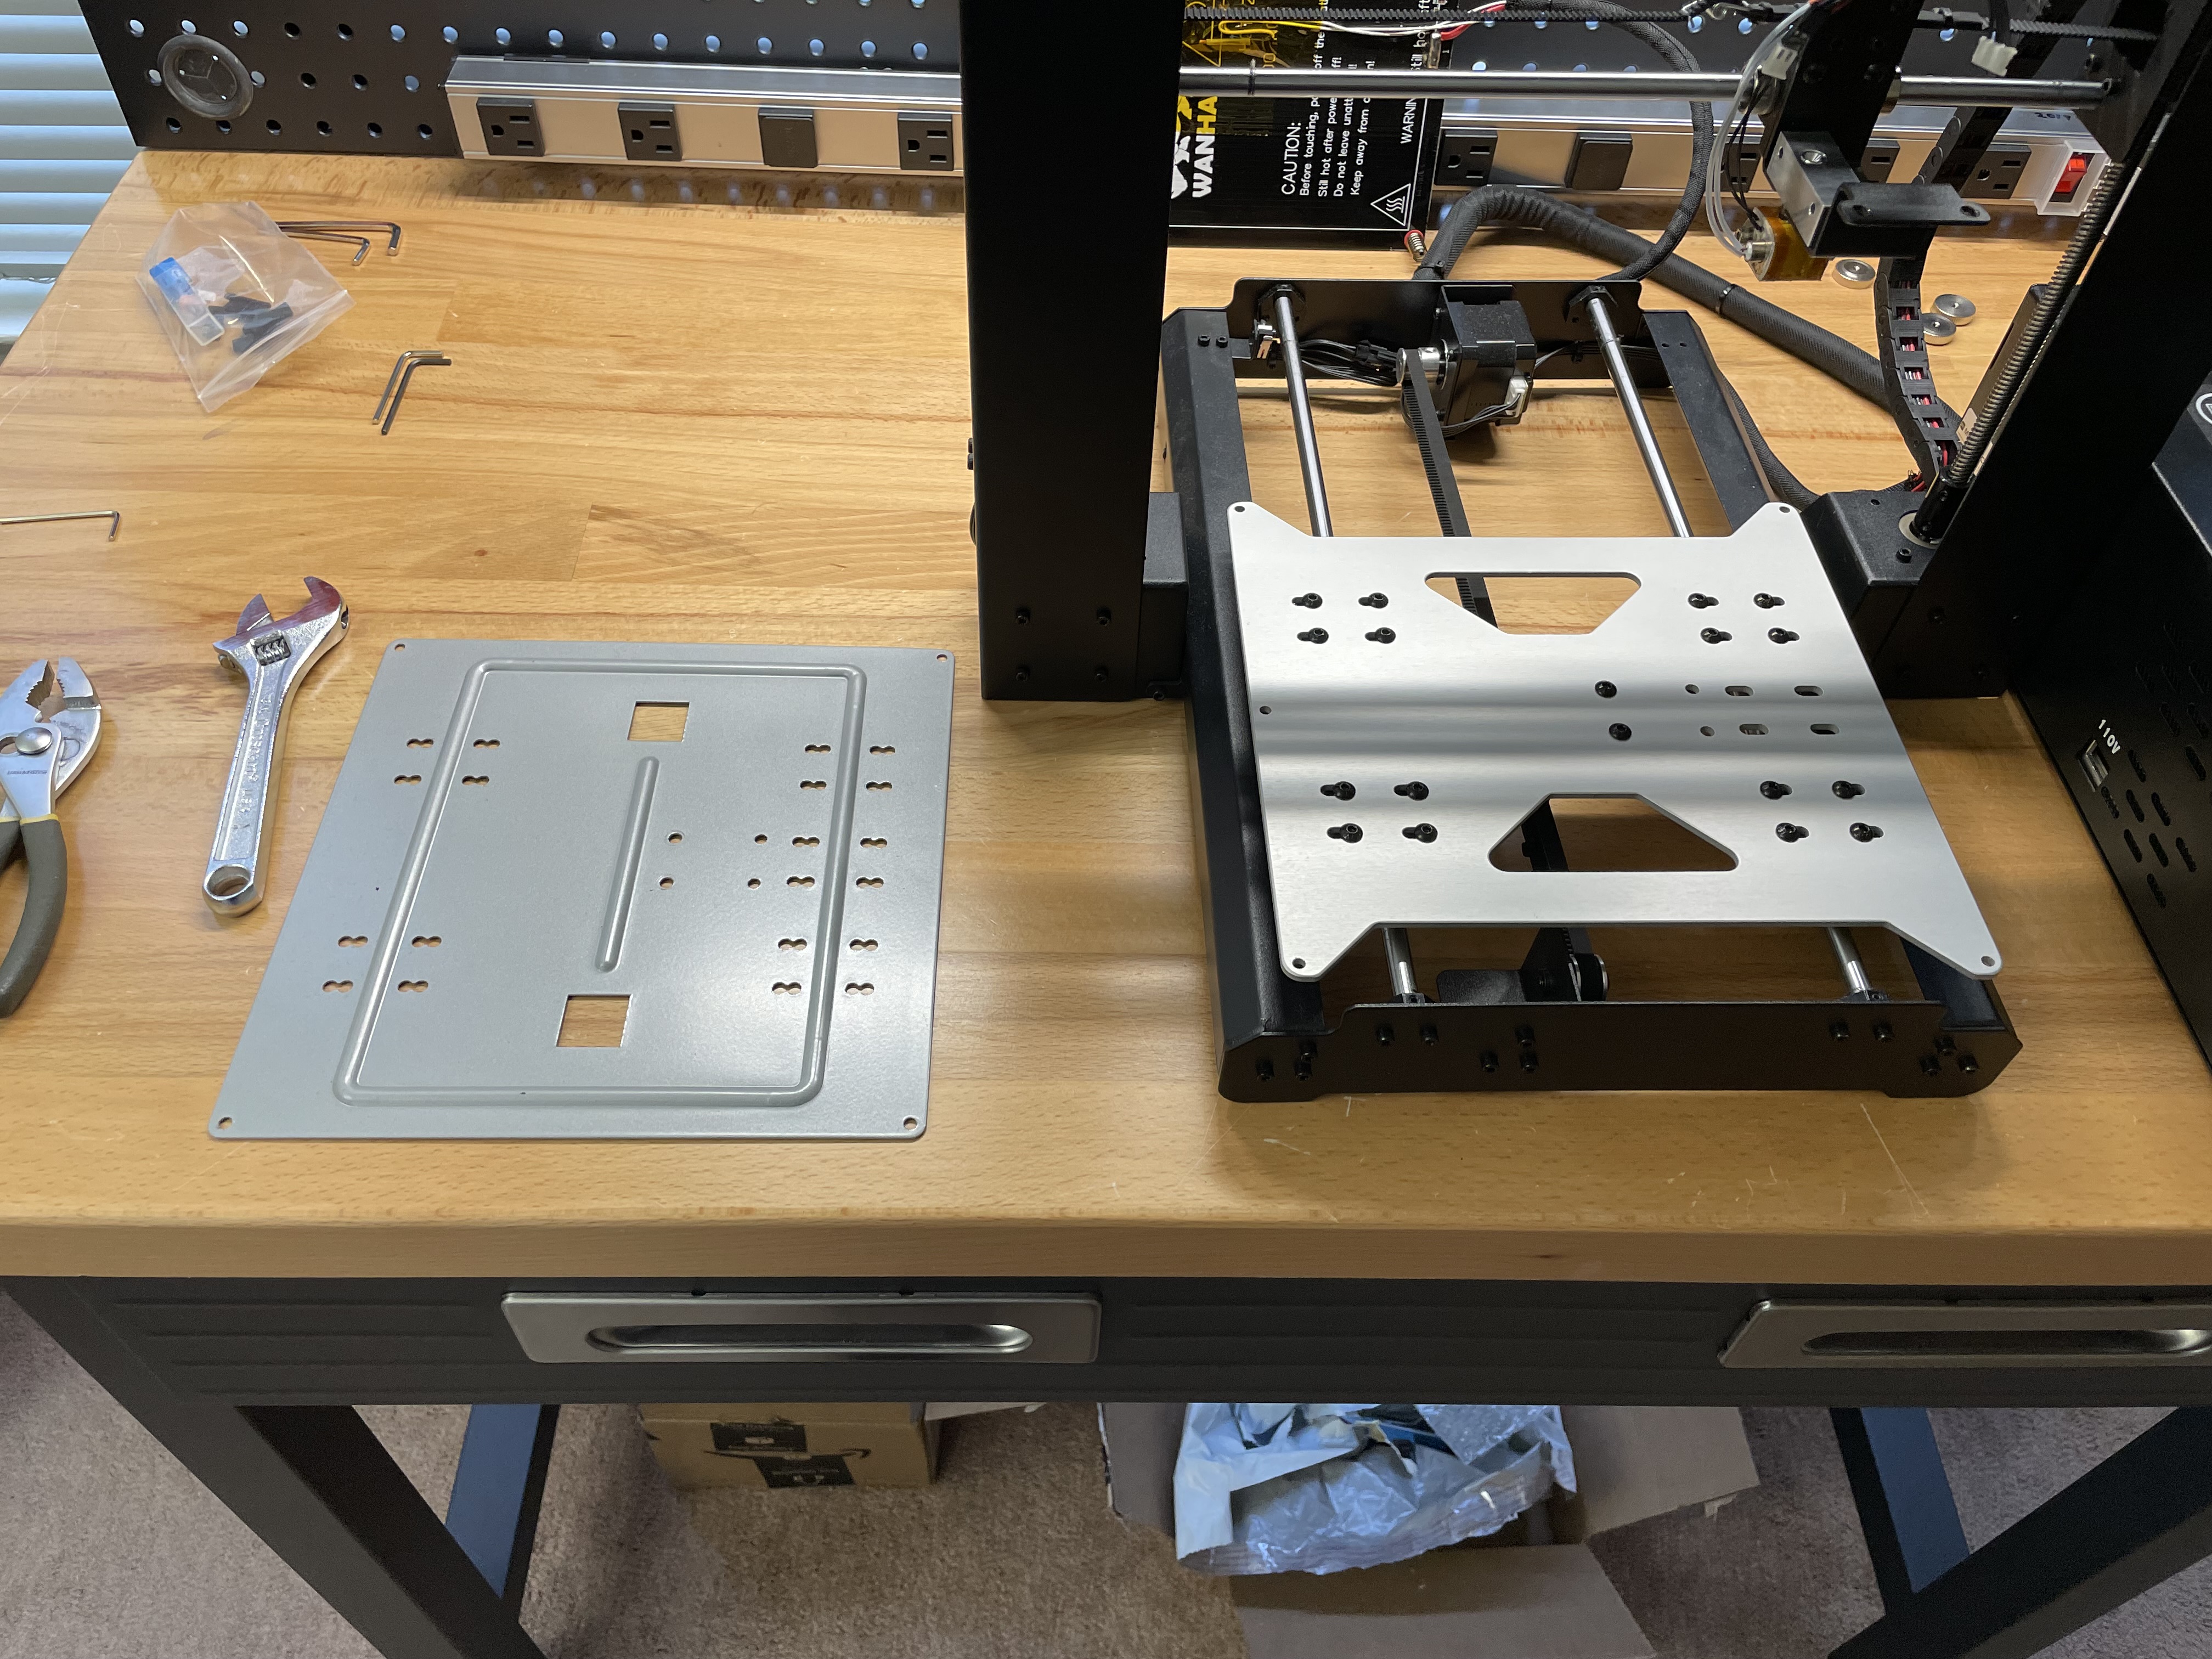
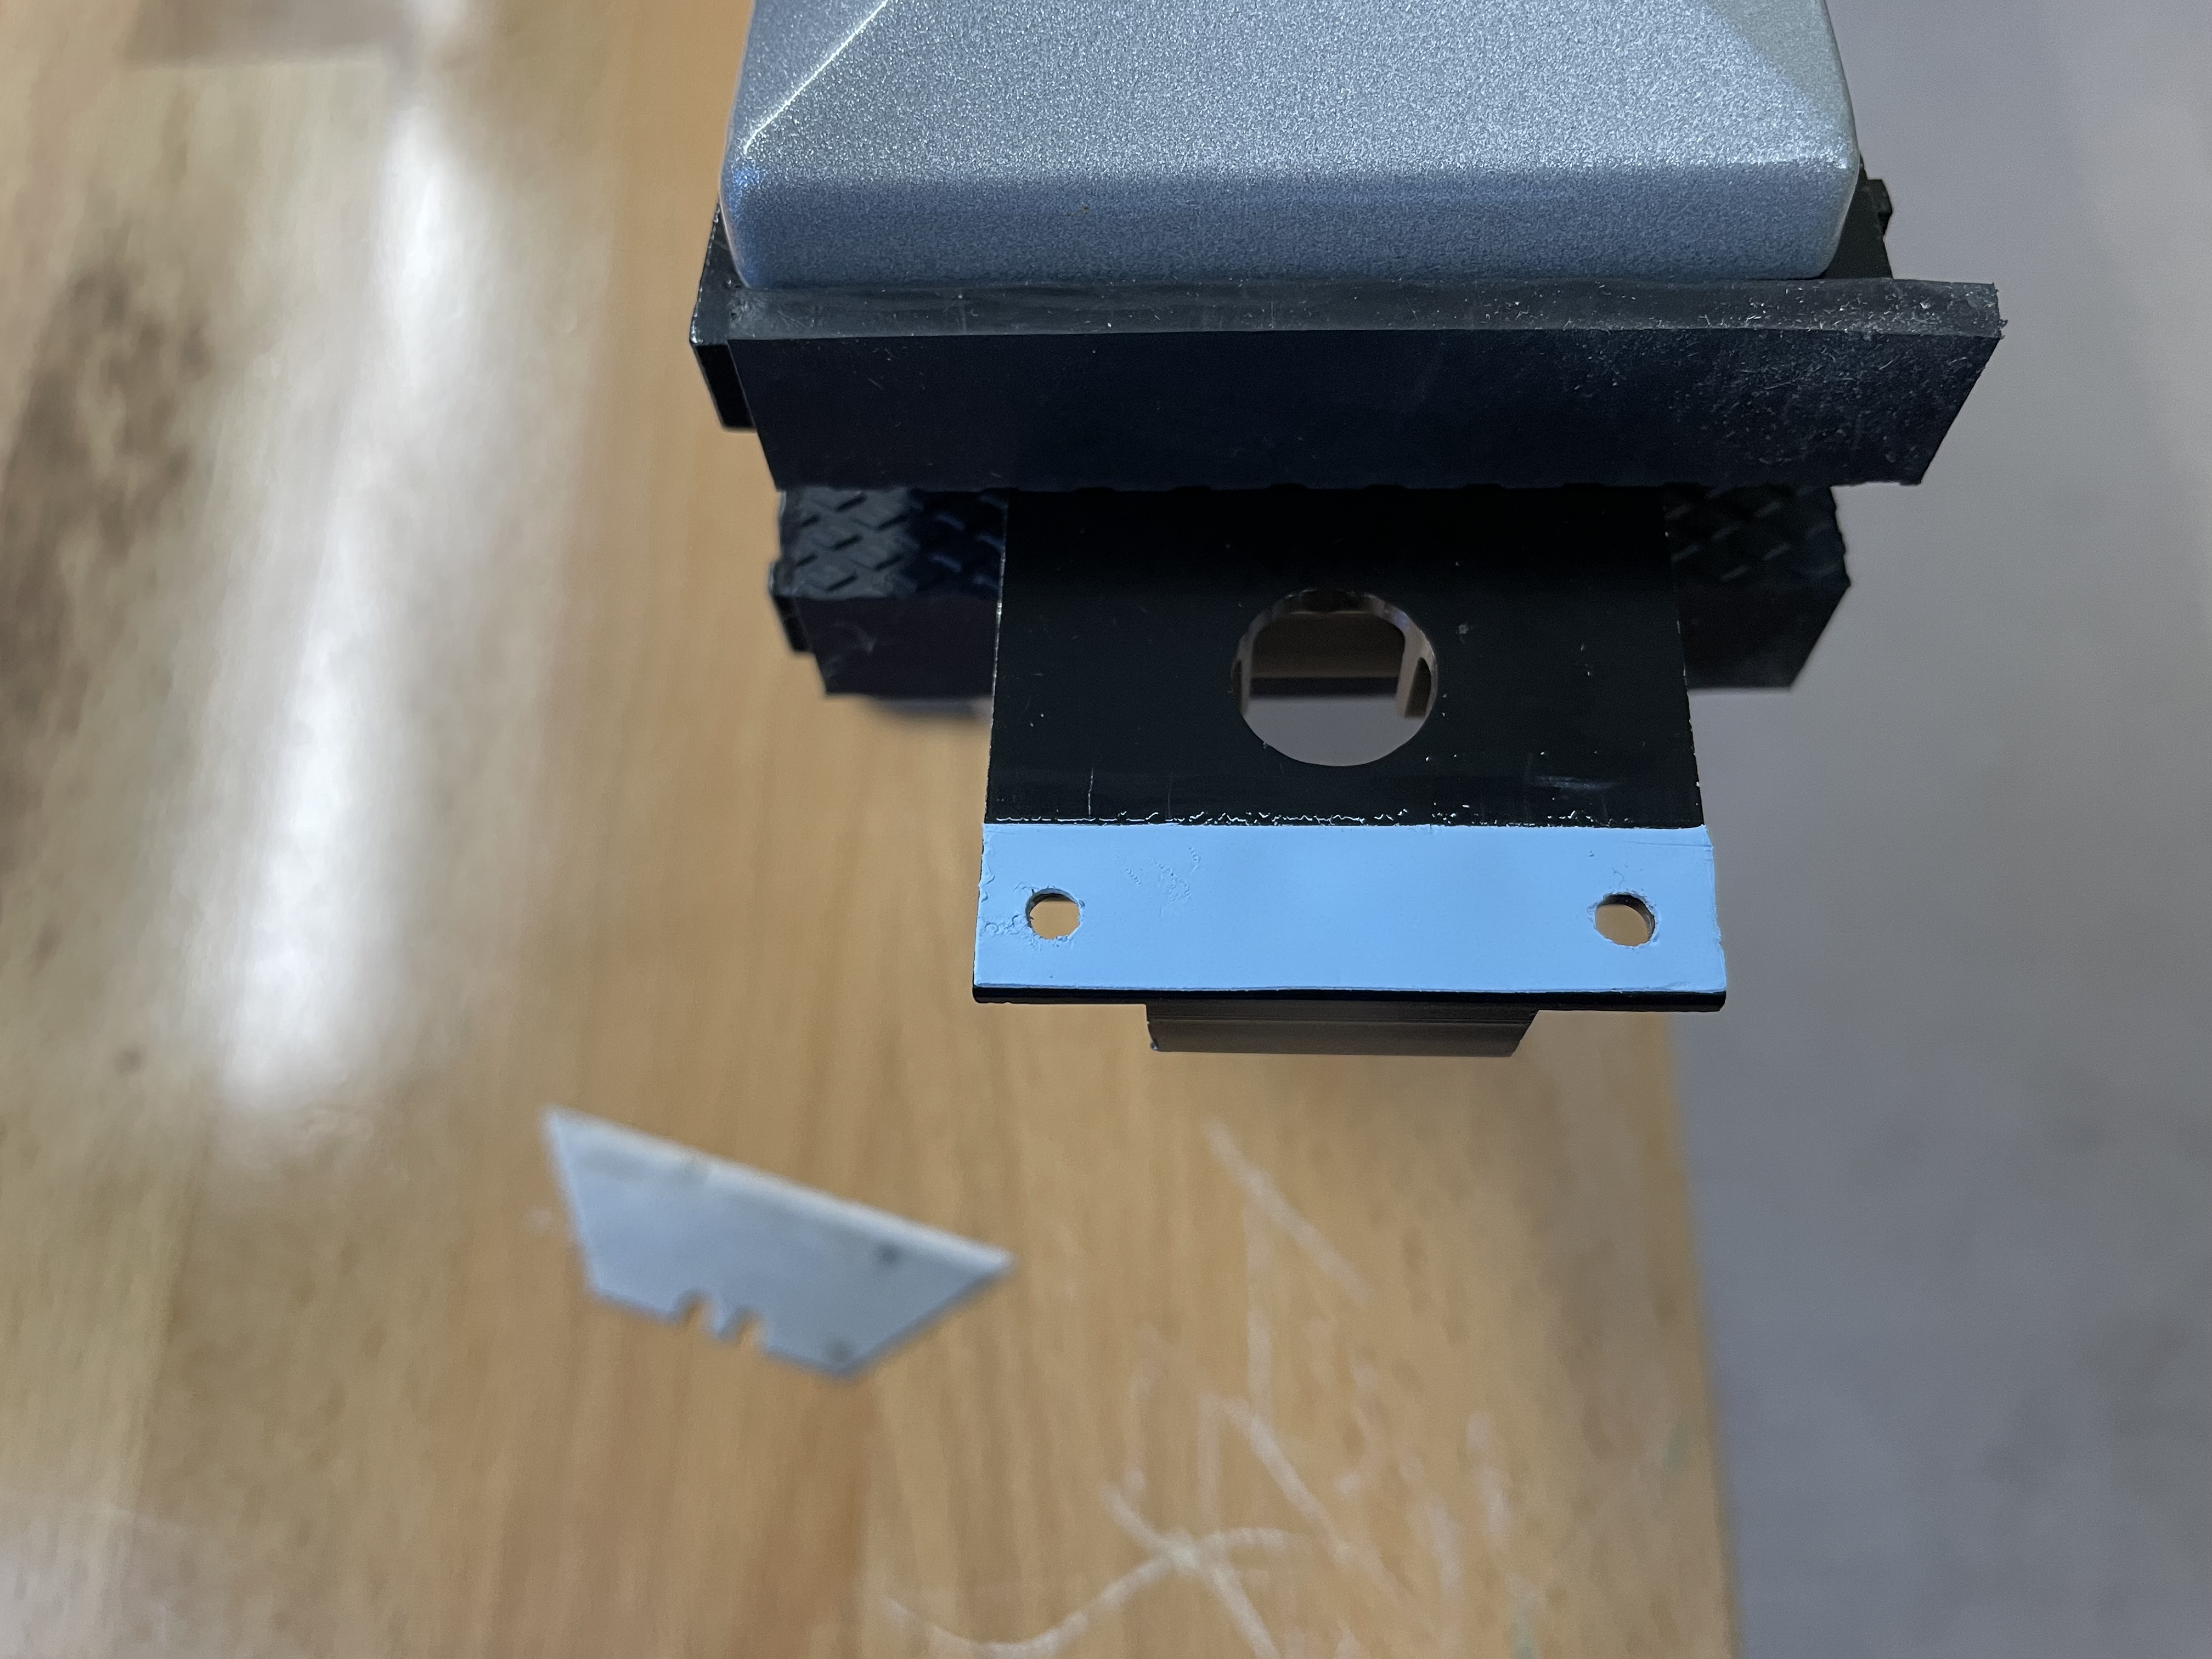
Old carriage plate on the left and the new thicker one on the right.# |
|
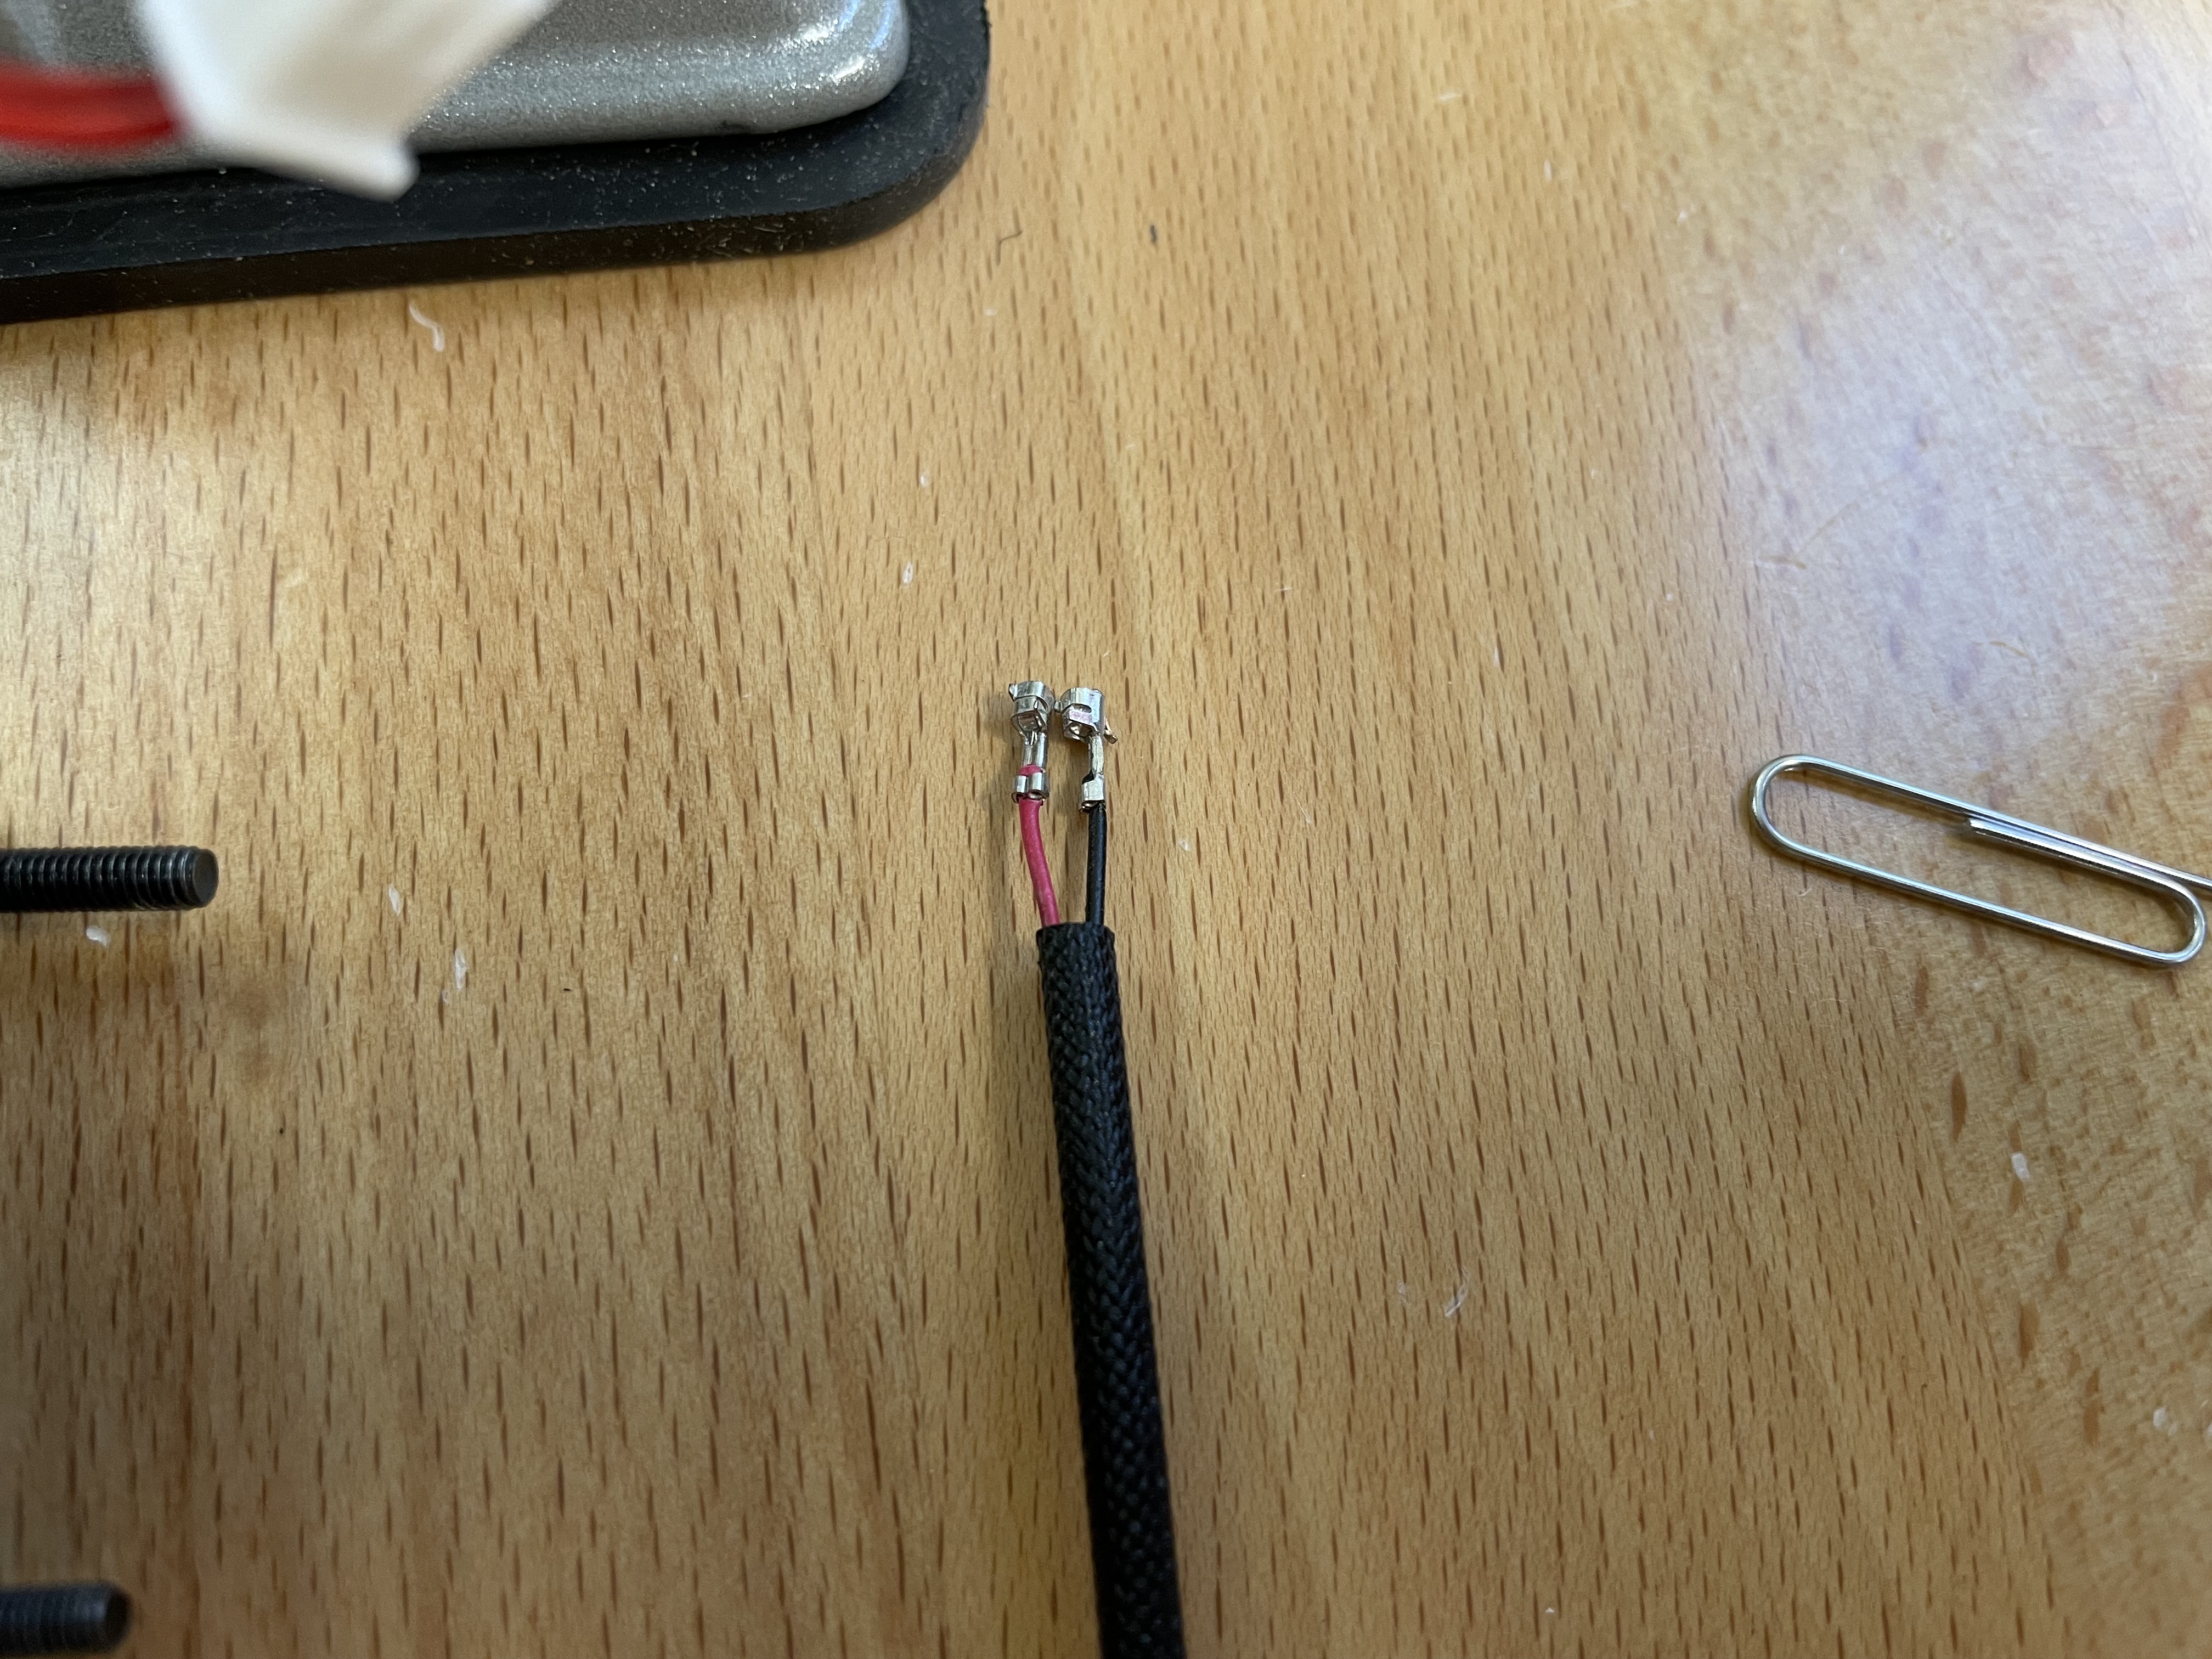
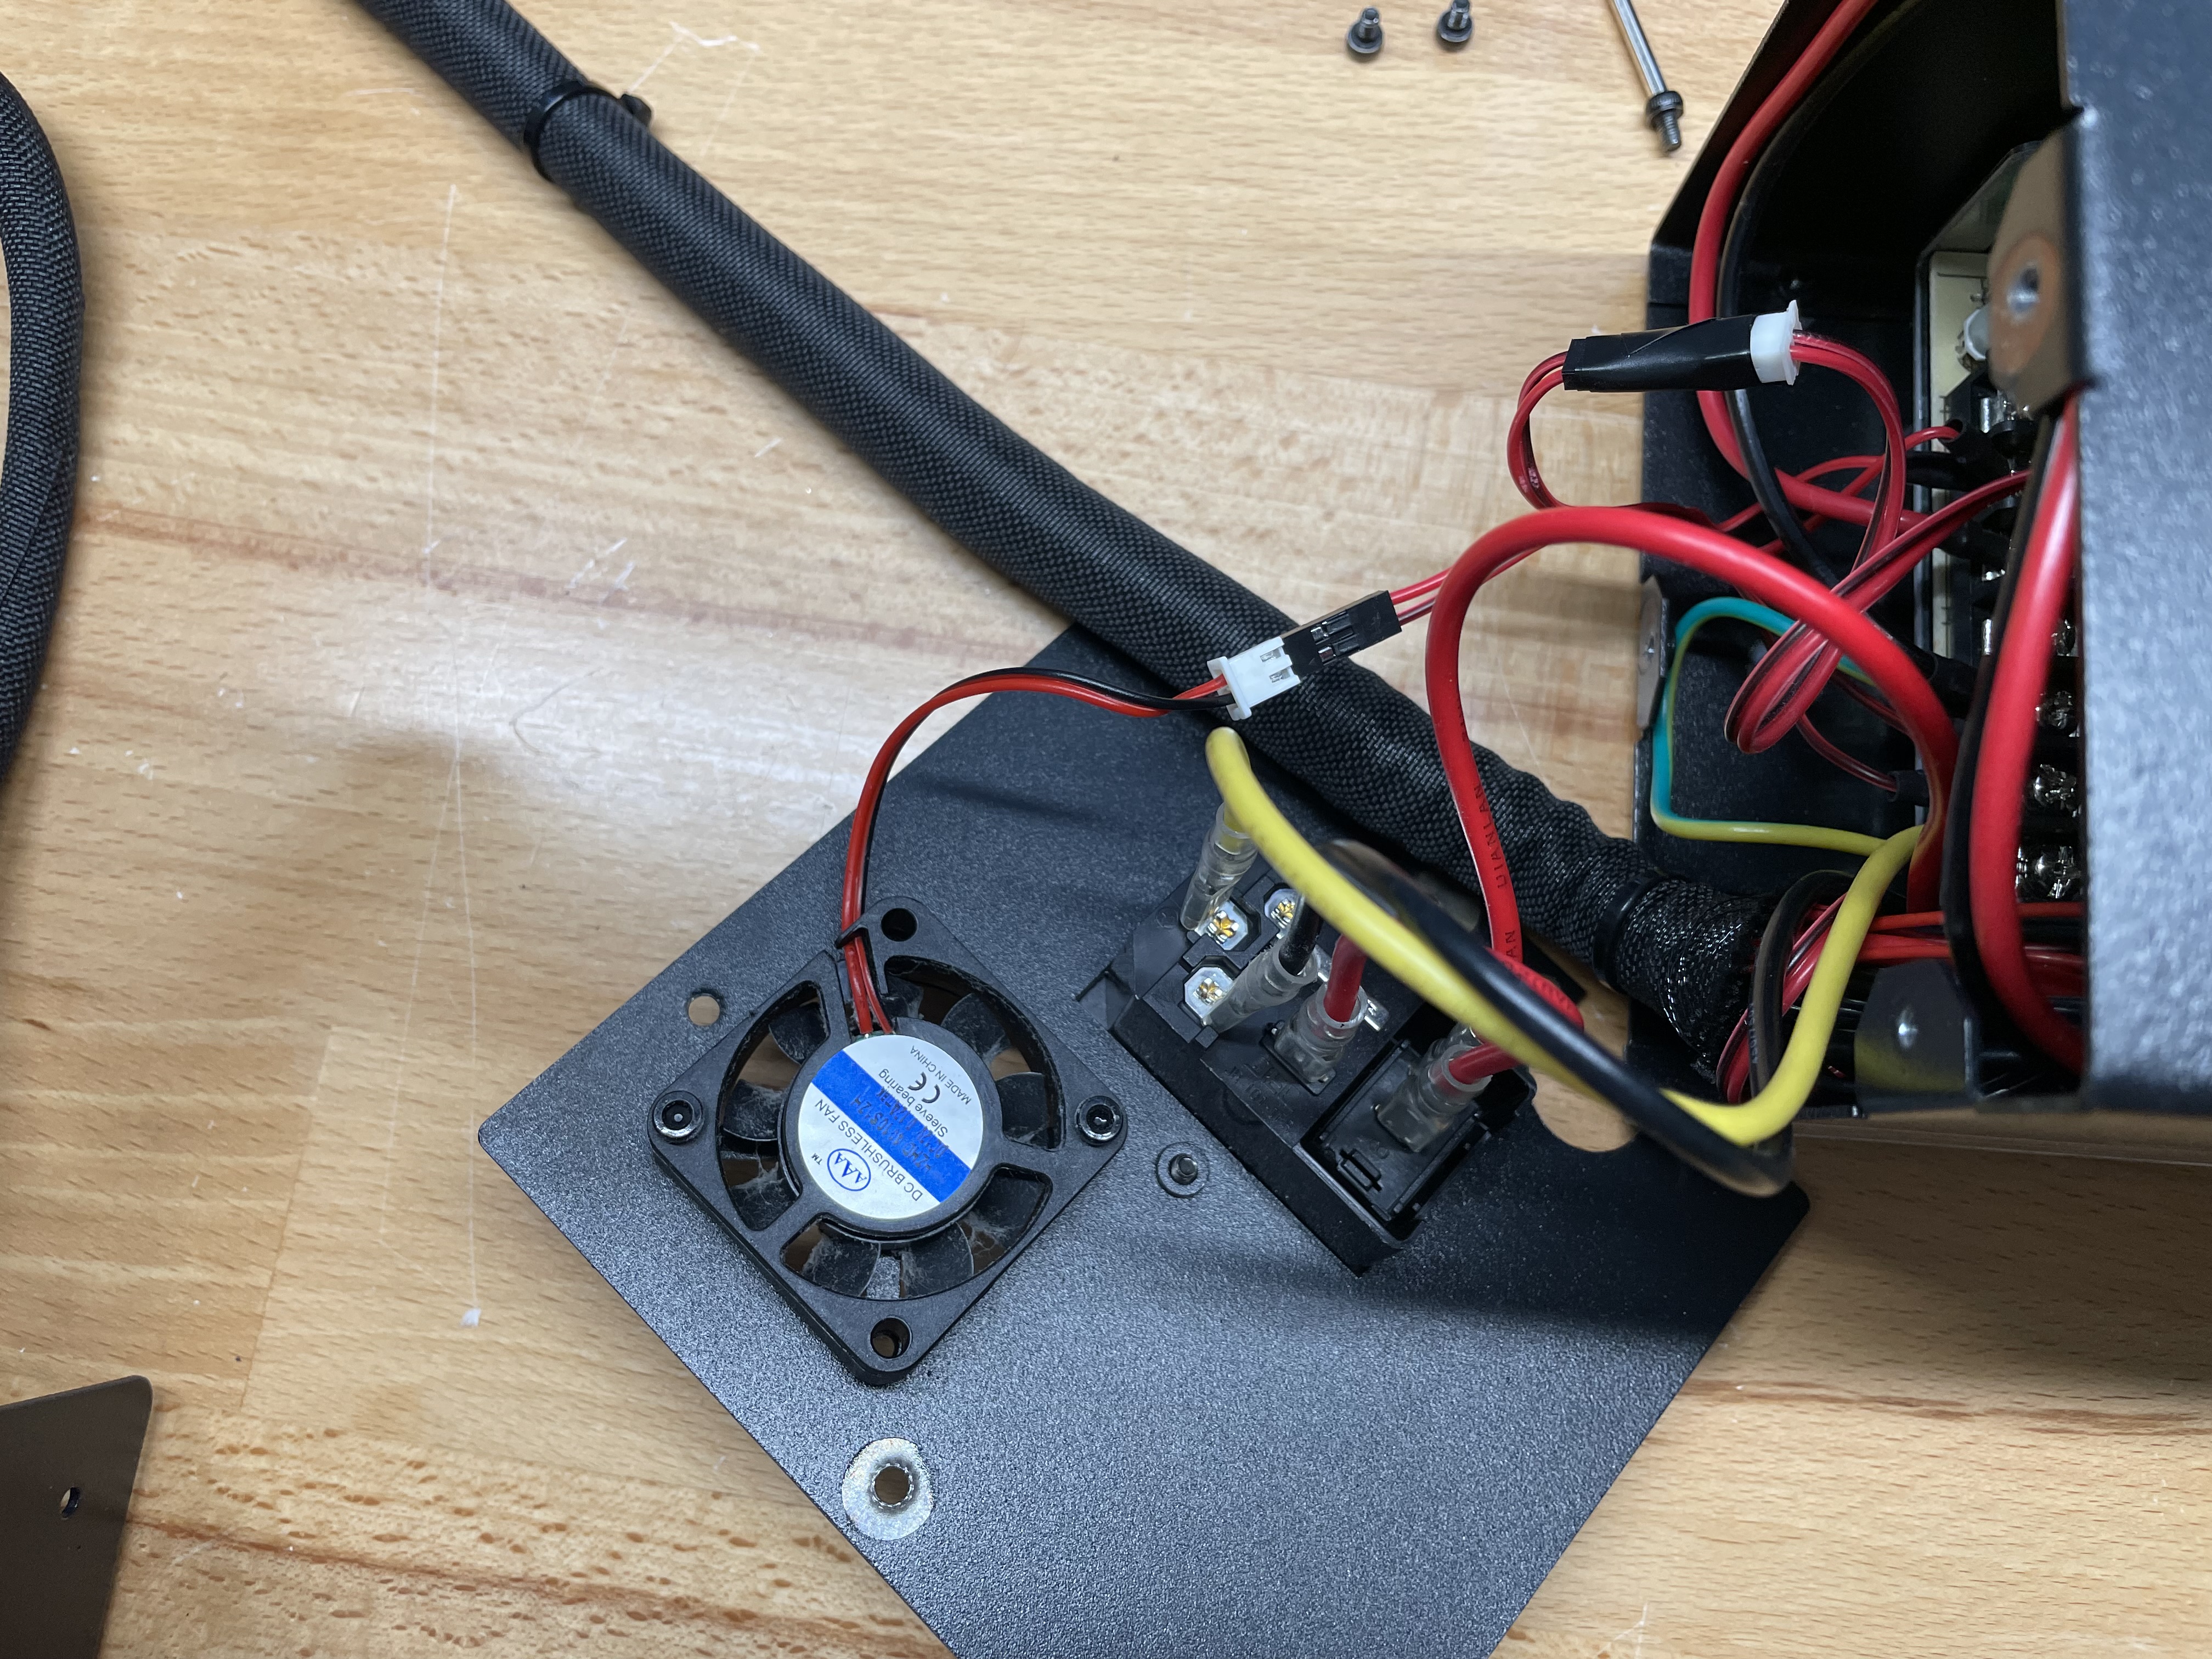
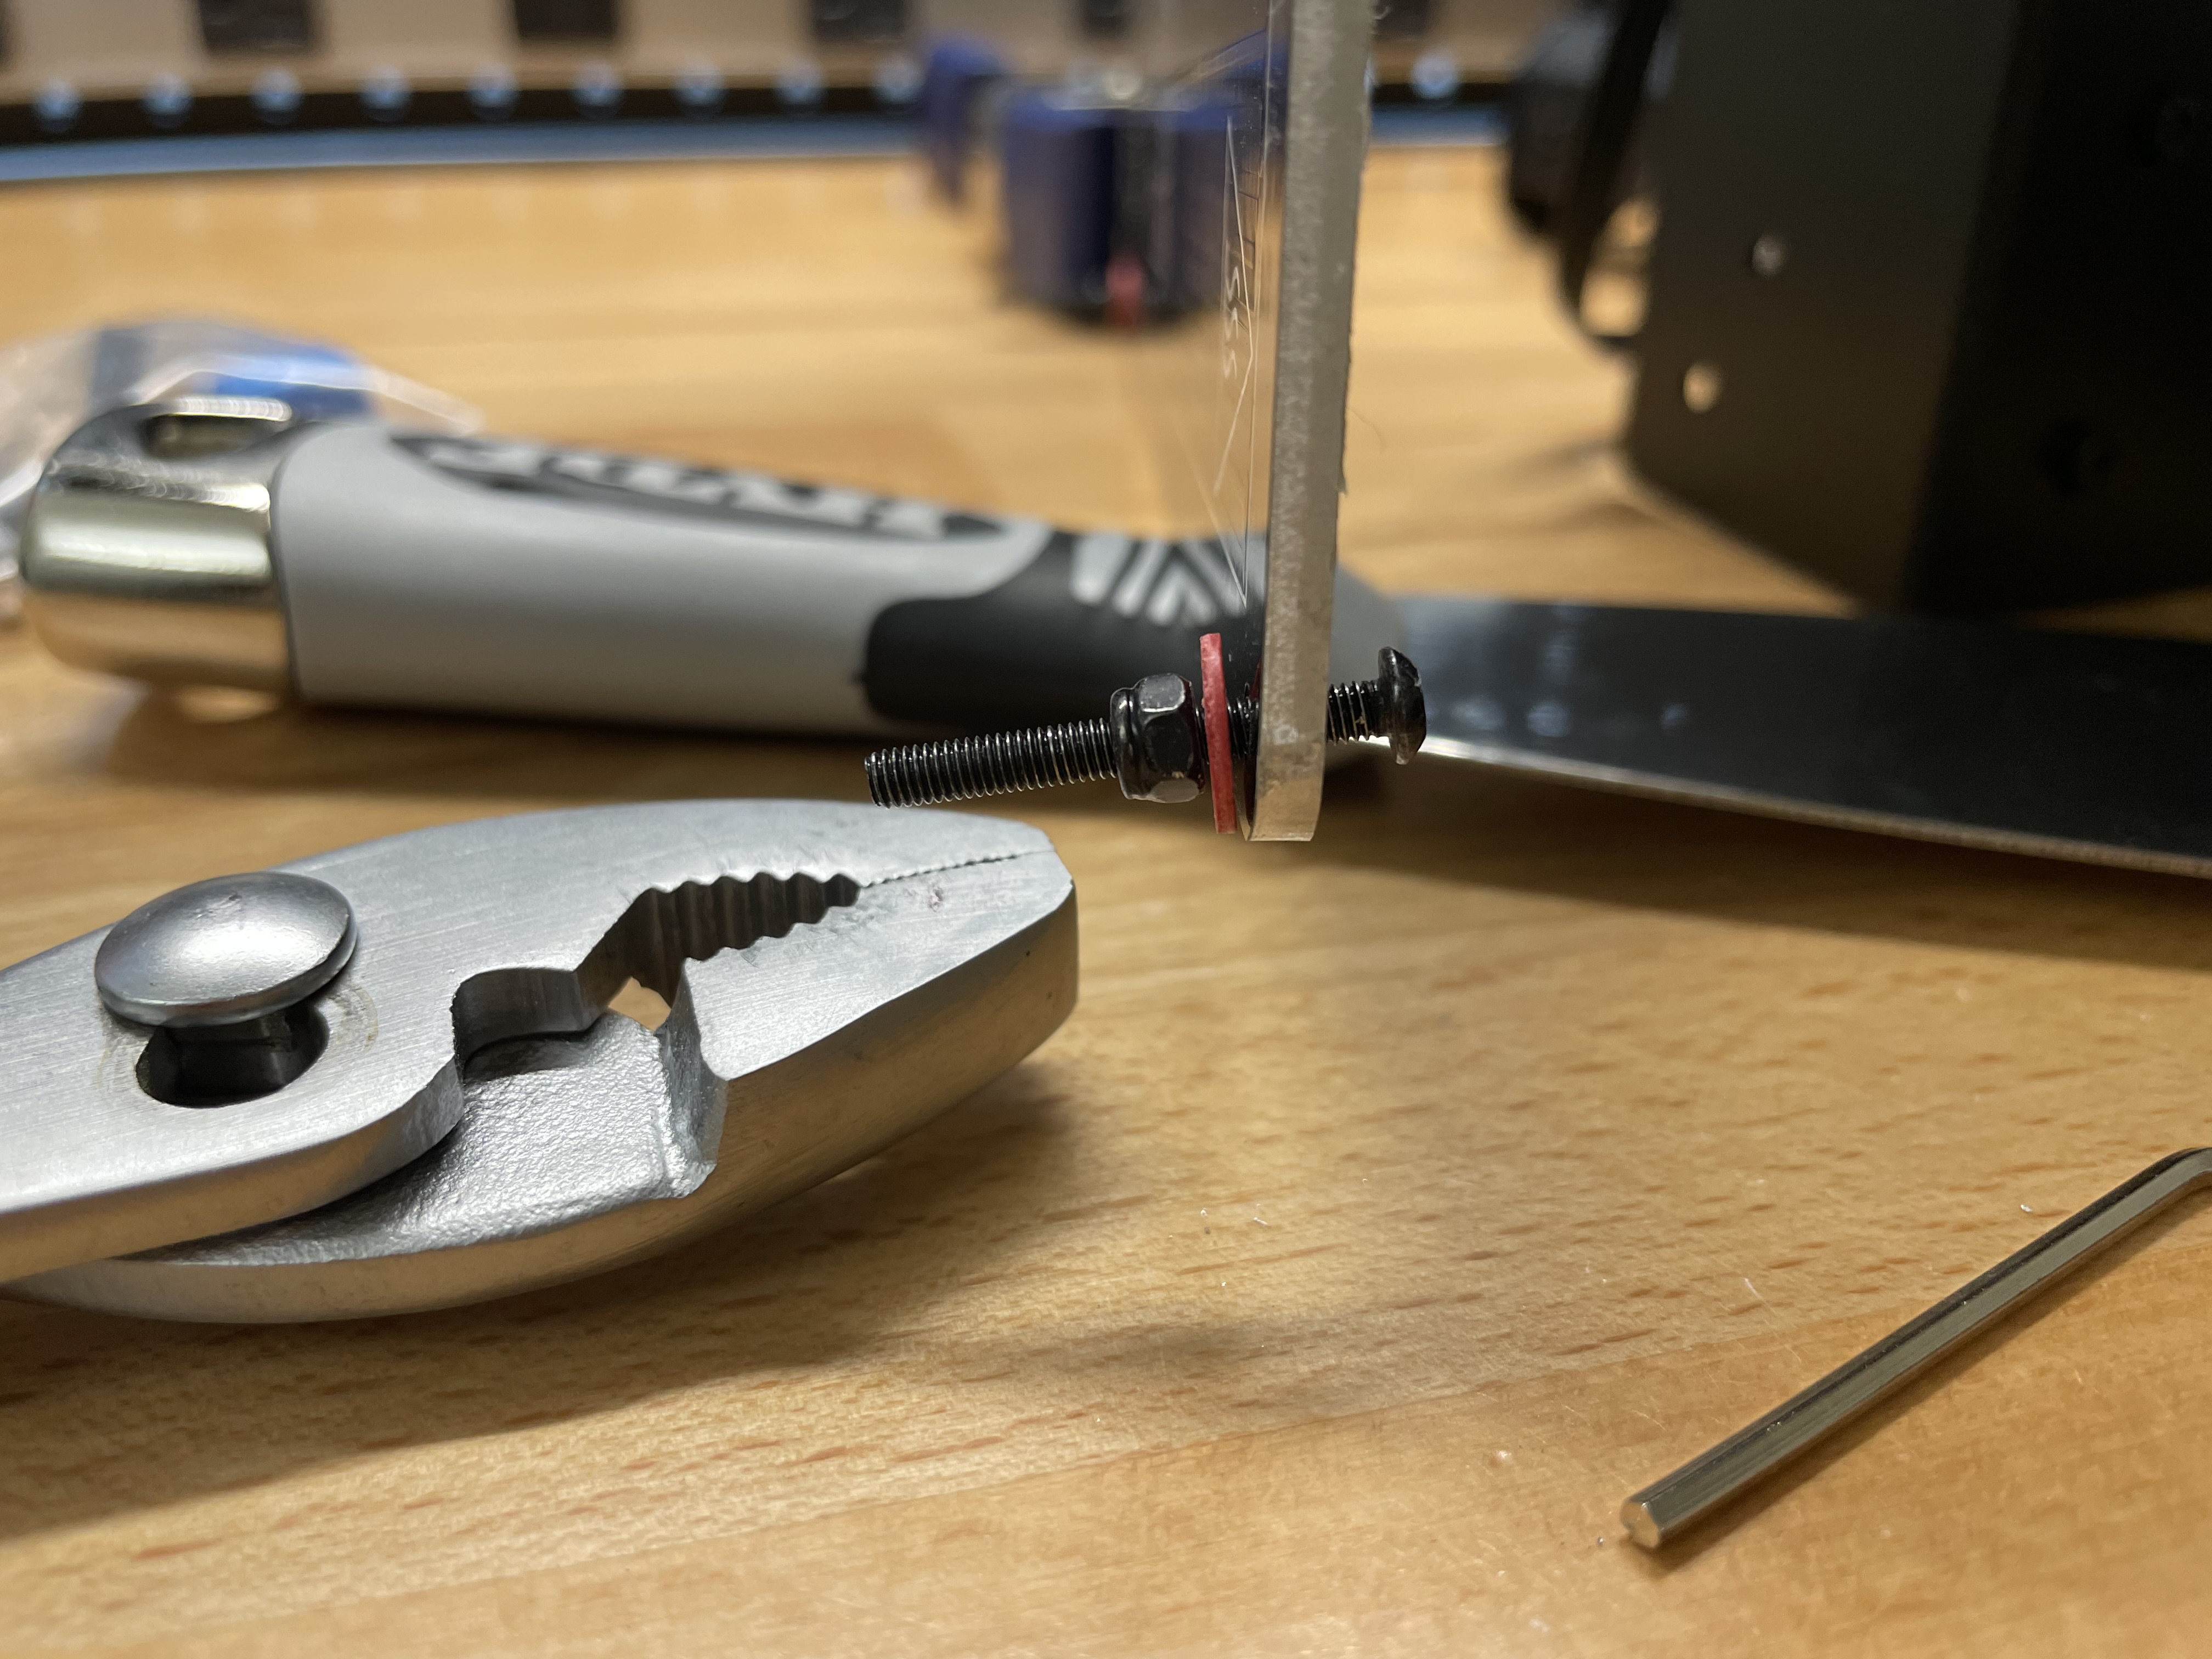
Crimped new terminals on the shortened fan cable.# |
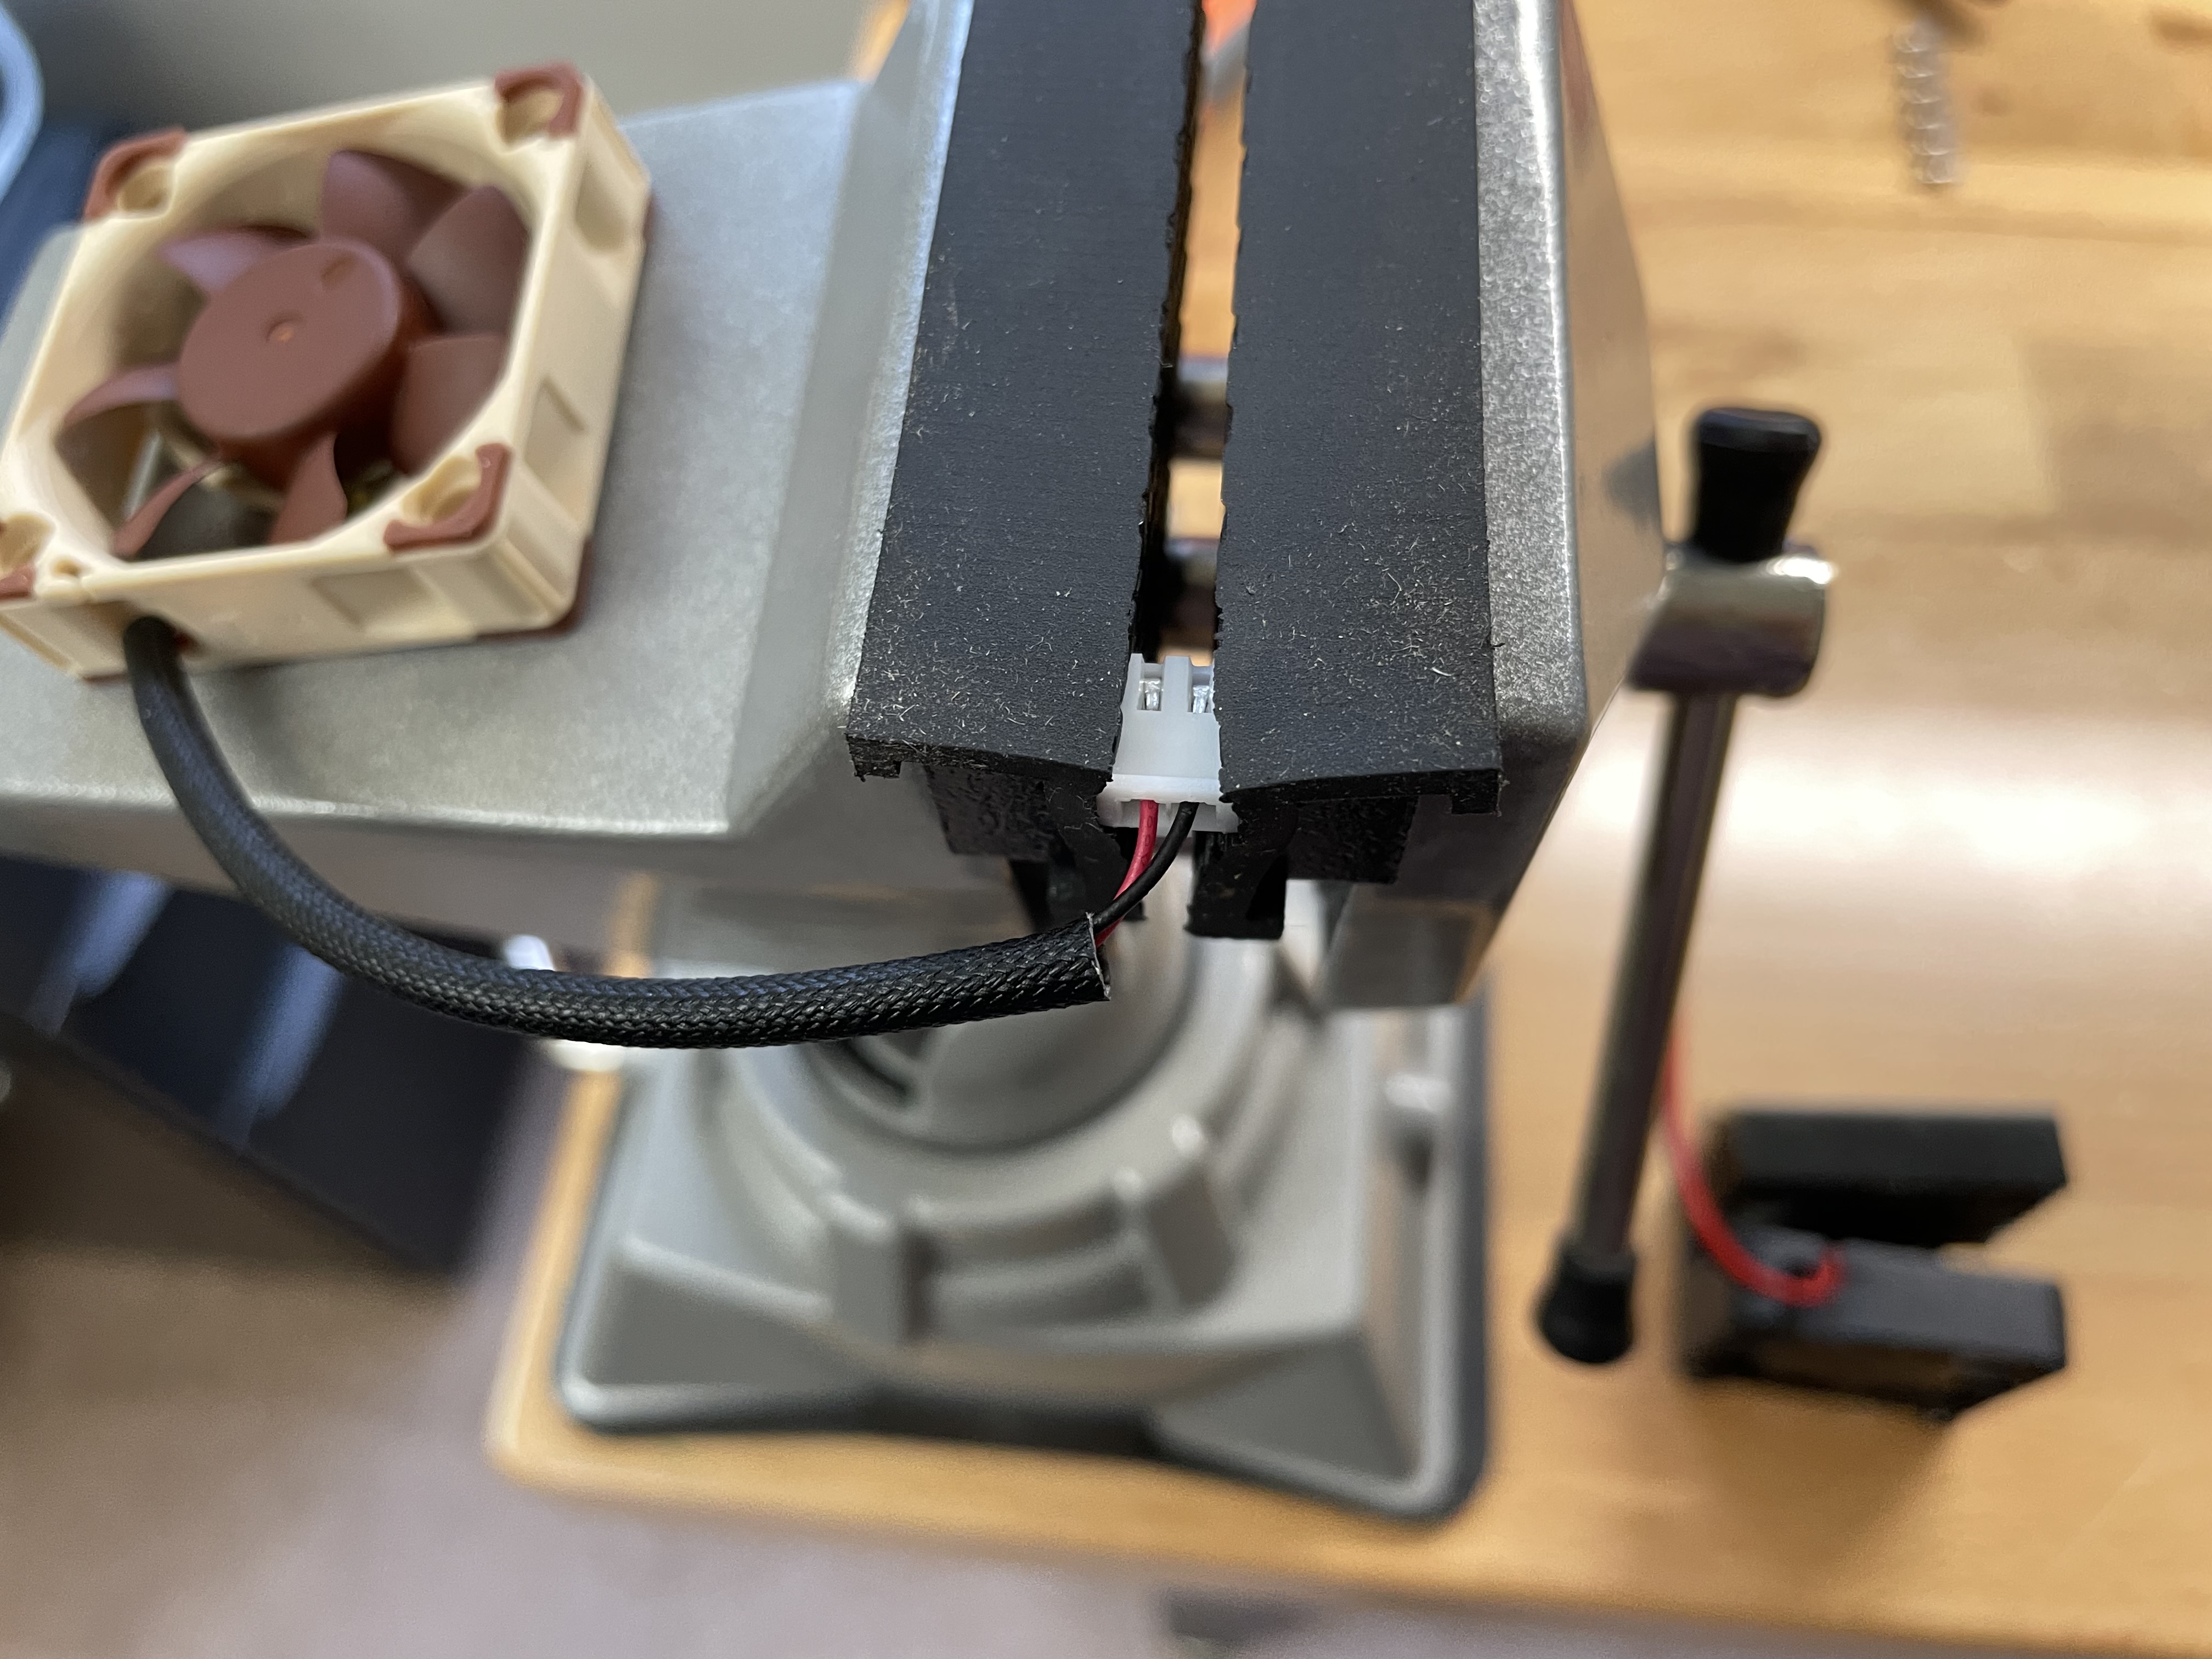
I pushed the terminals into the connector using a paper clip to avoid kinking the thin wires.# |
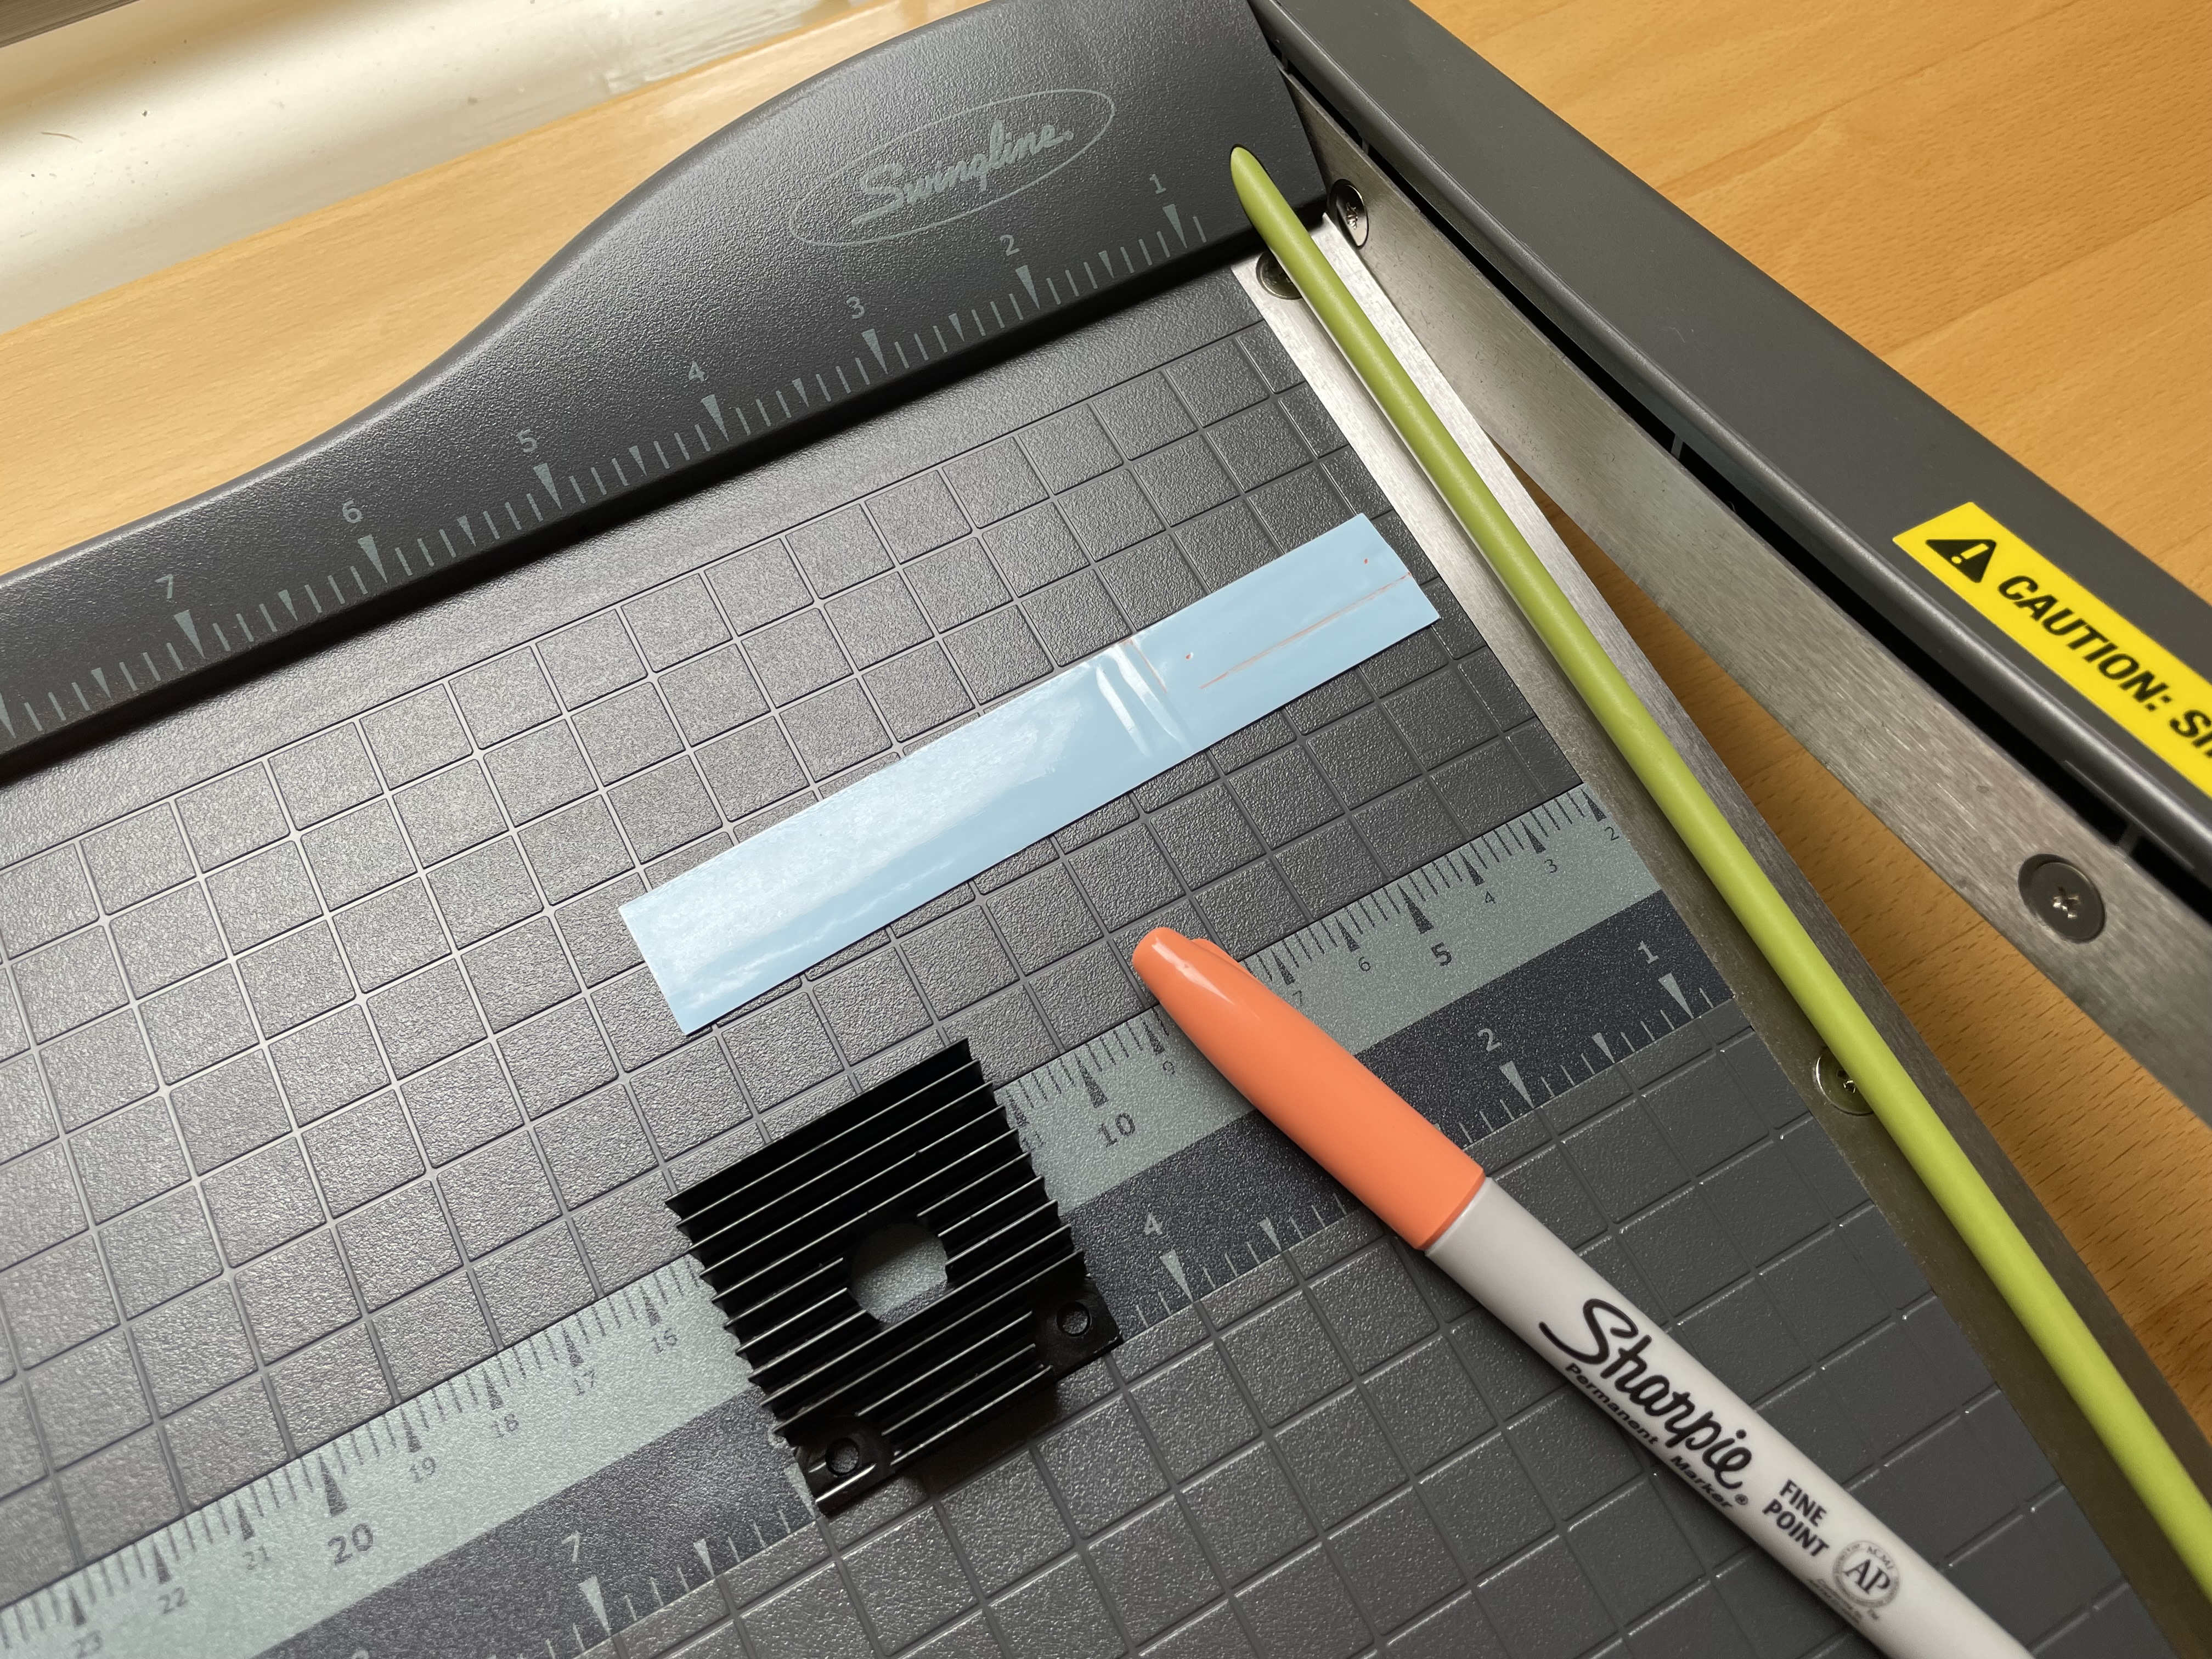
ARCTIC thermal pad about to get chopped up.# |
Applied it to the heat sink and cut out holes for the screws before threading the screws in.# |
Didn’t want excess thermal pad material to get jammed up in the extruder gearing so I trimmed it some more.# |
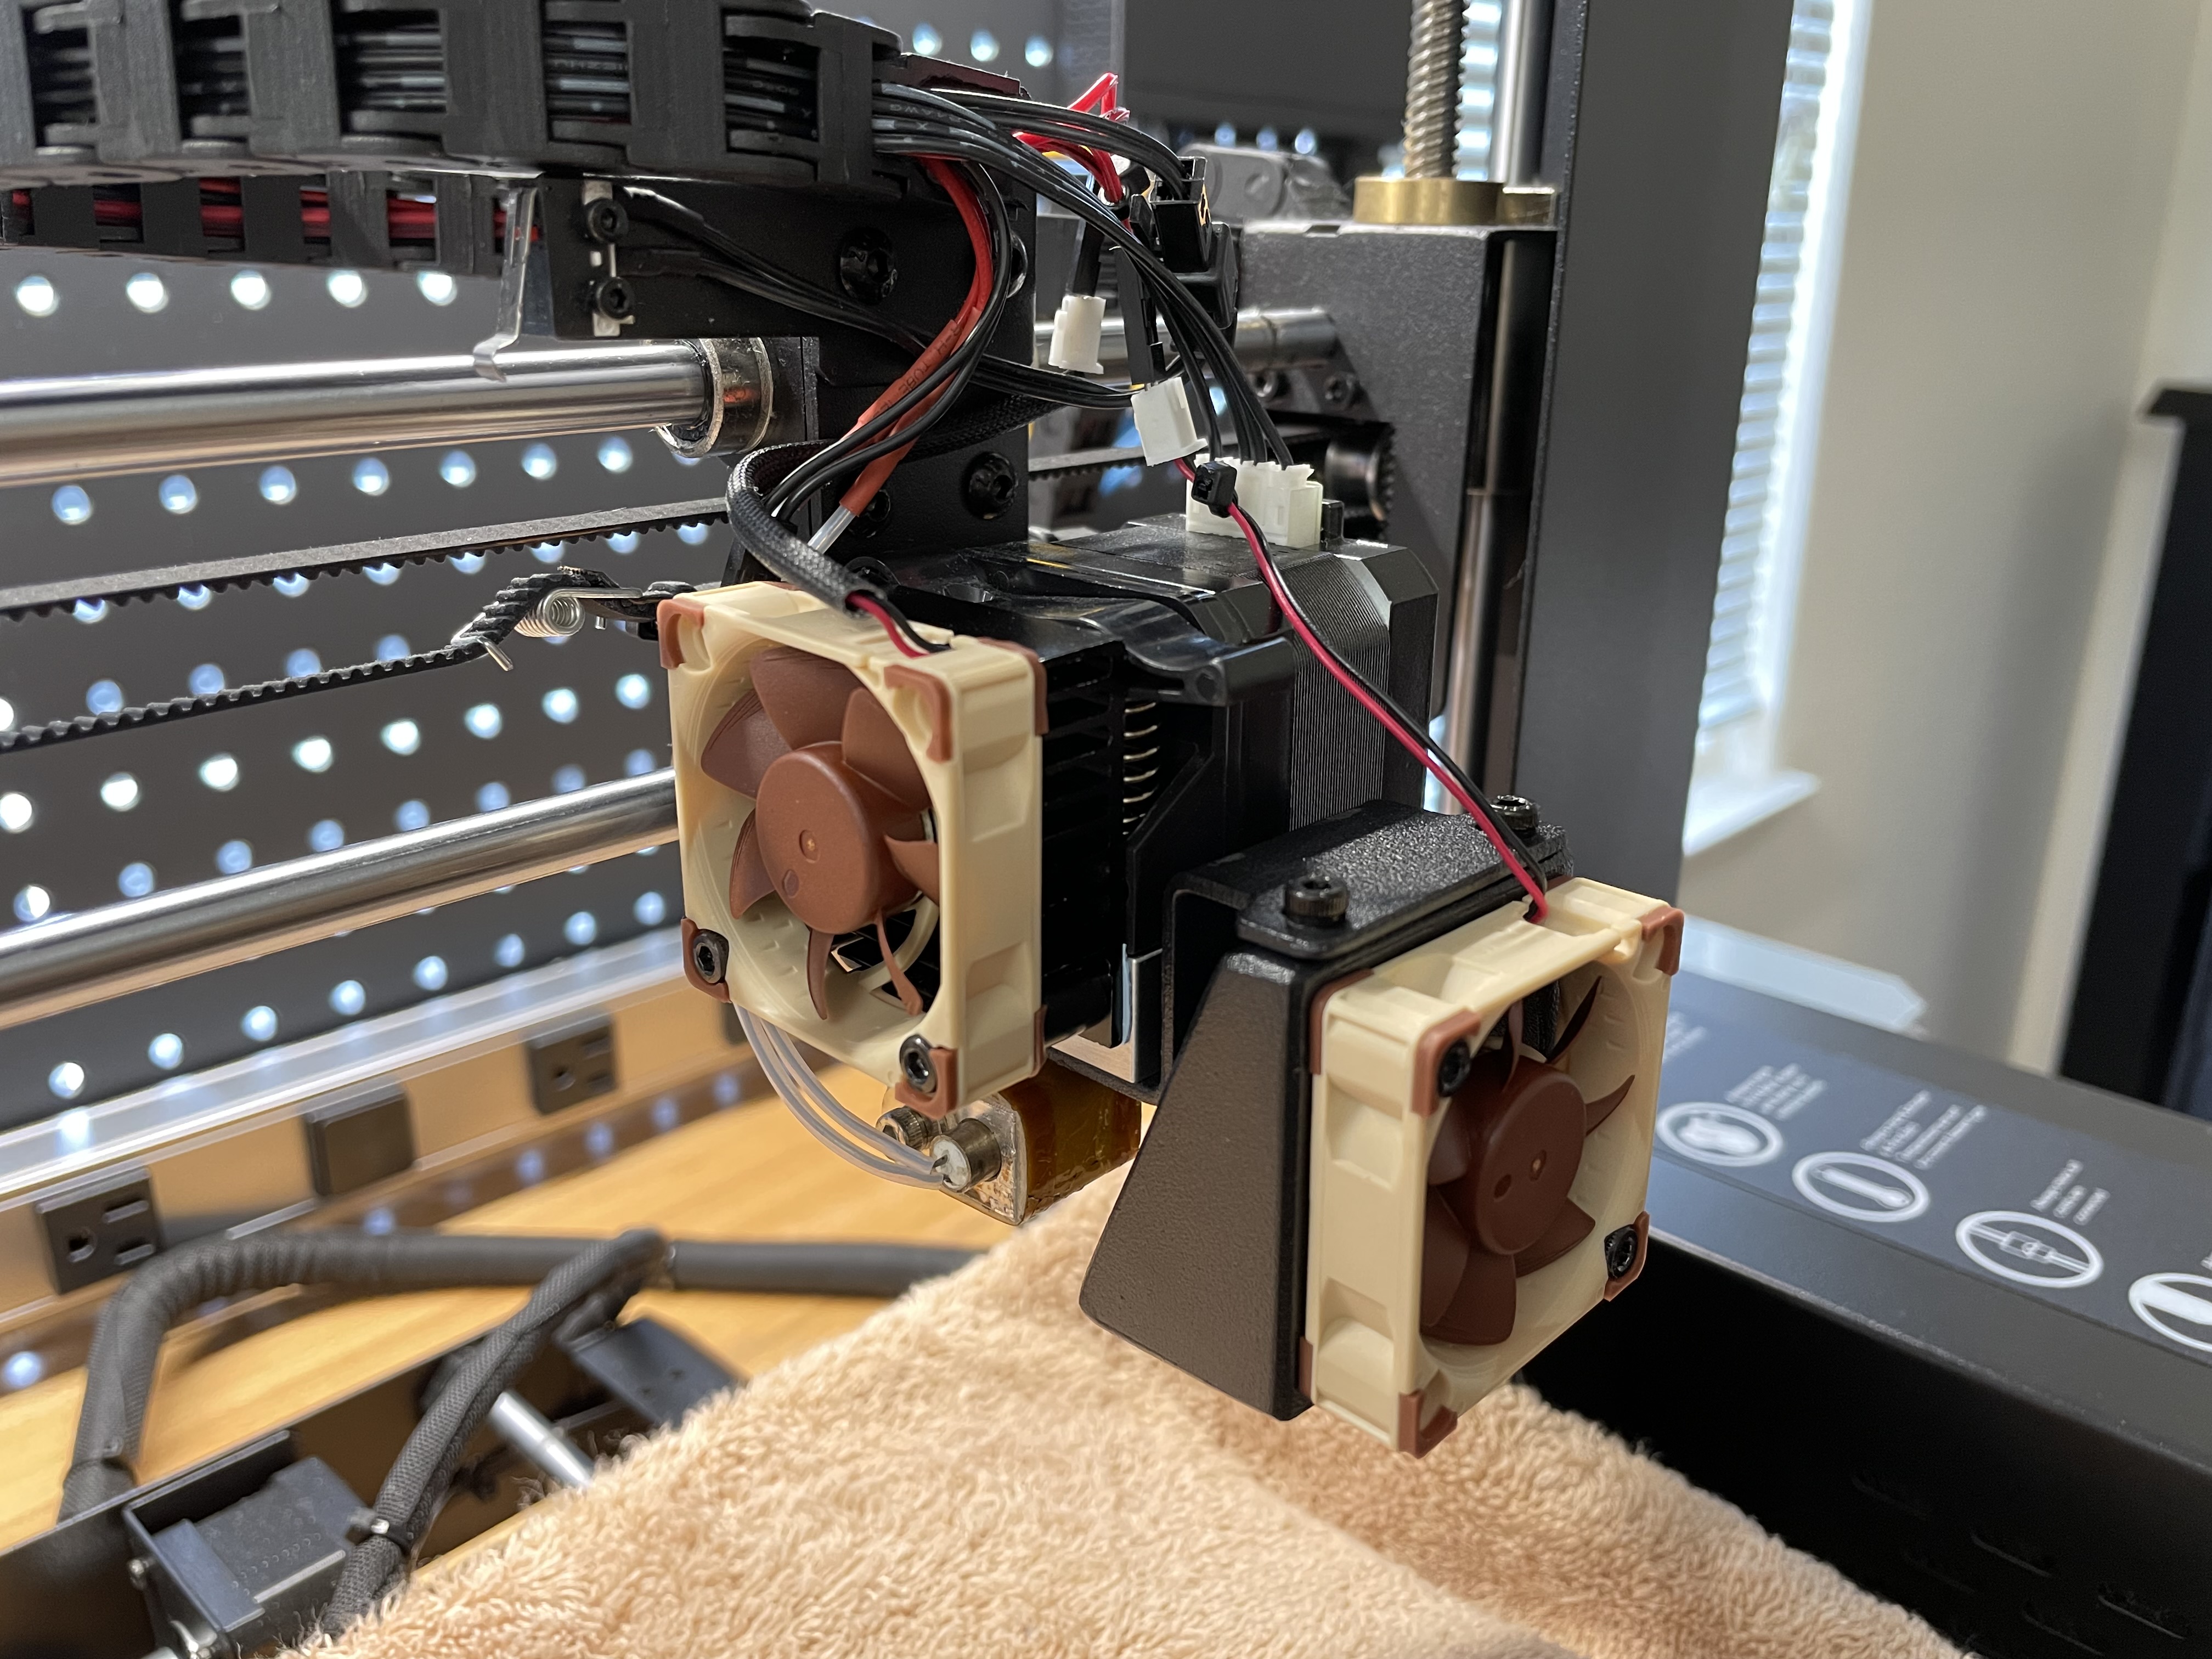
Extruder re-assembled.# |
Original noisy fan.# |
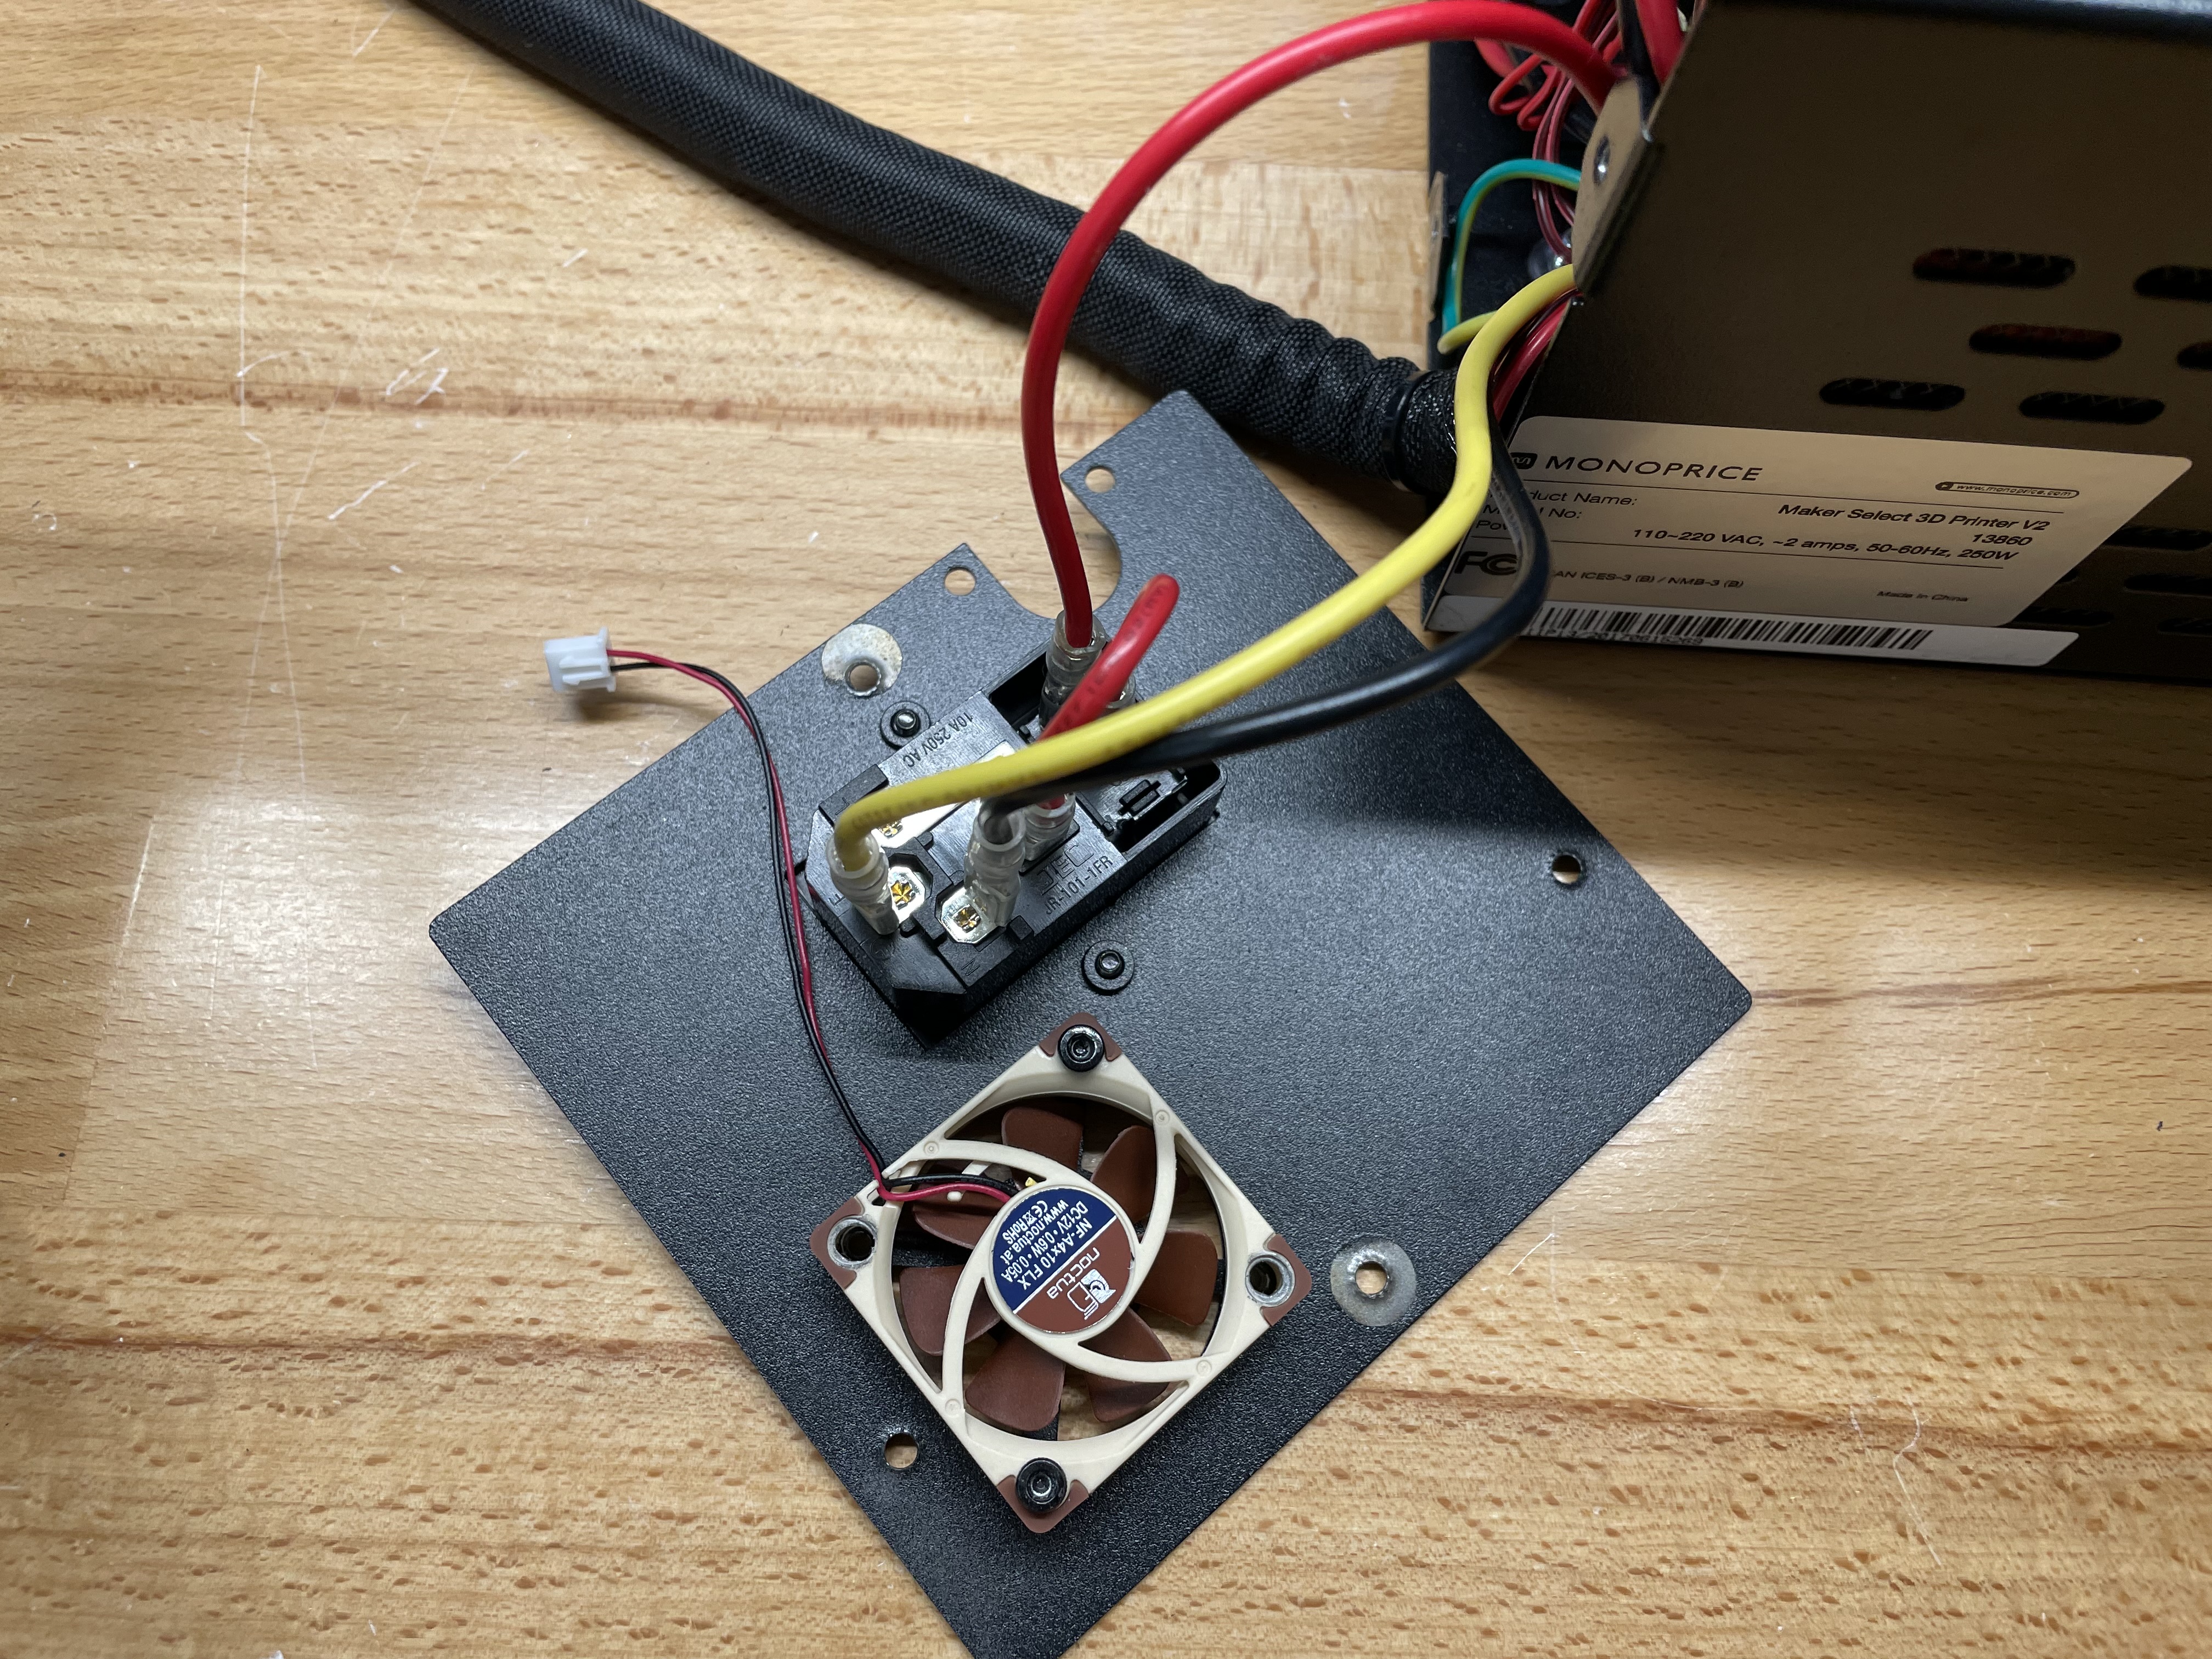
New quieter fan.# |
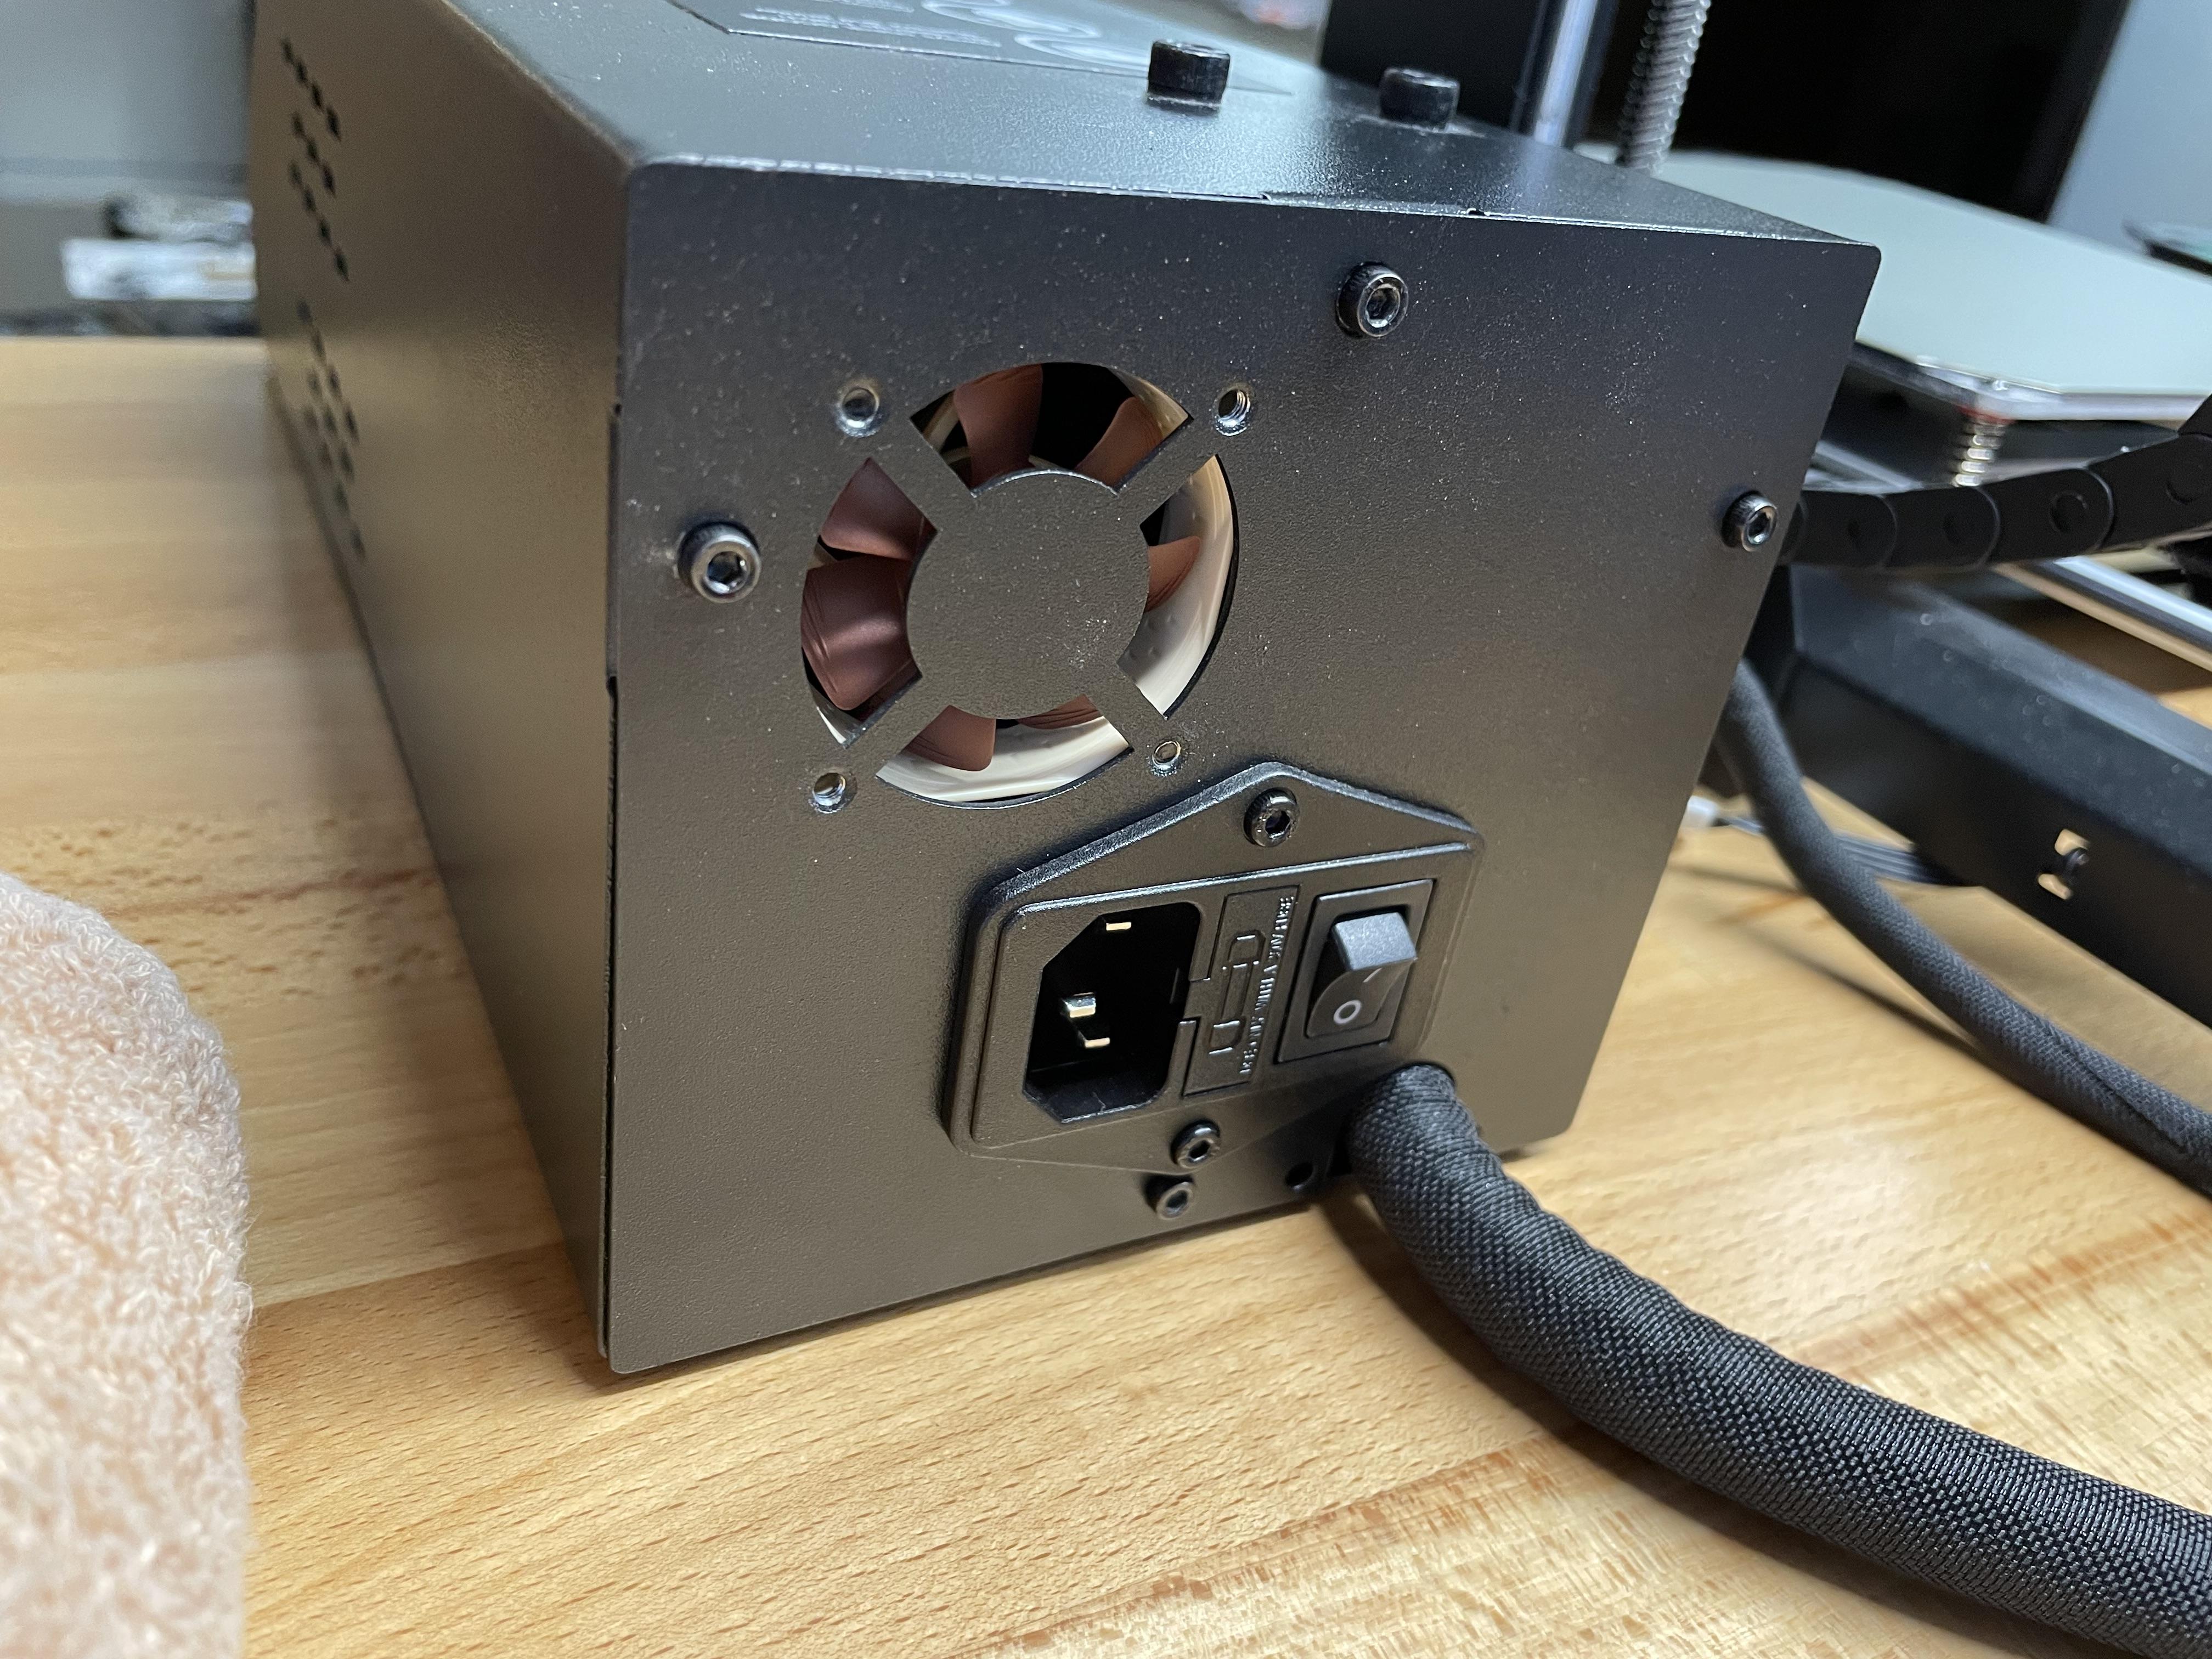
Presto!# |
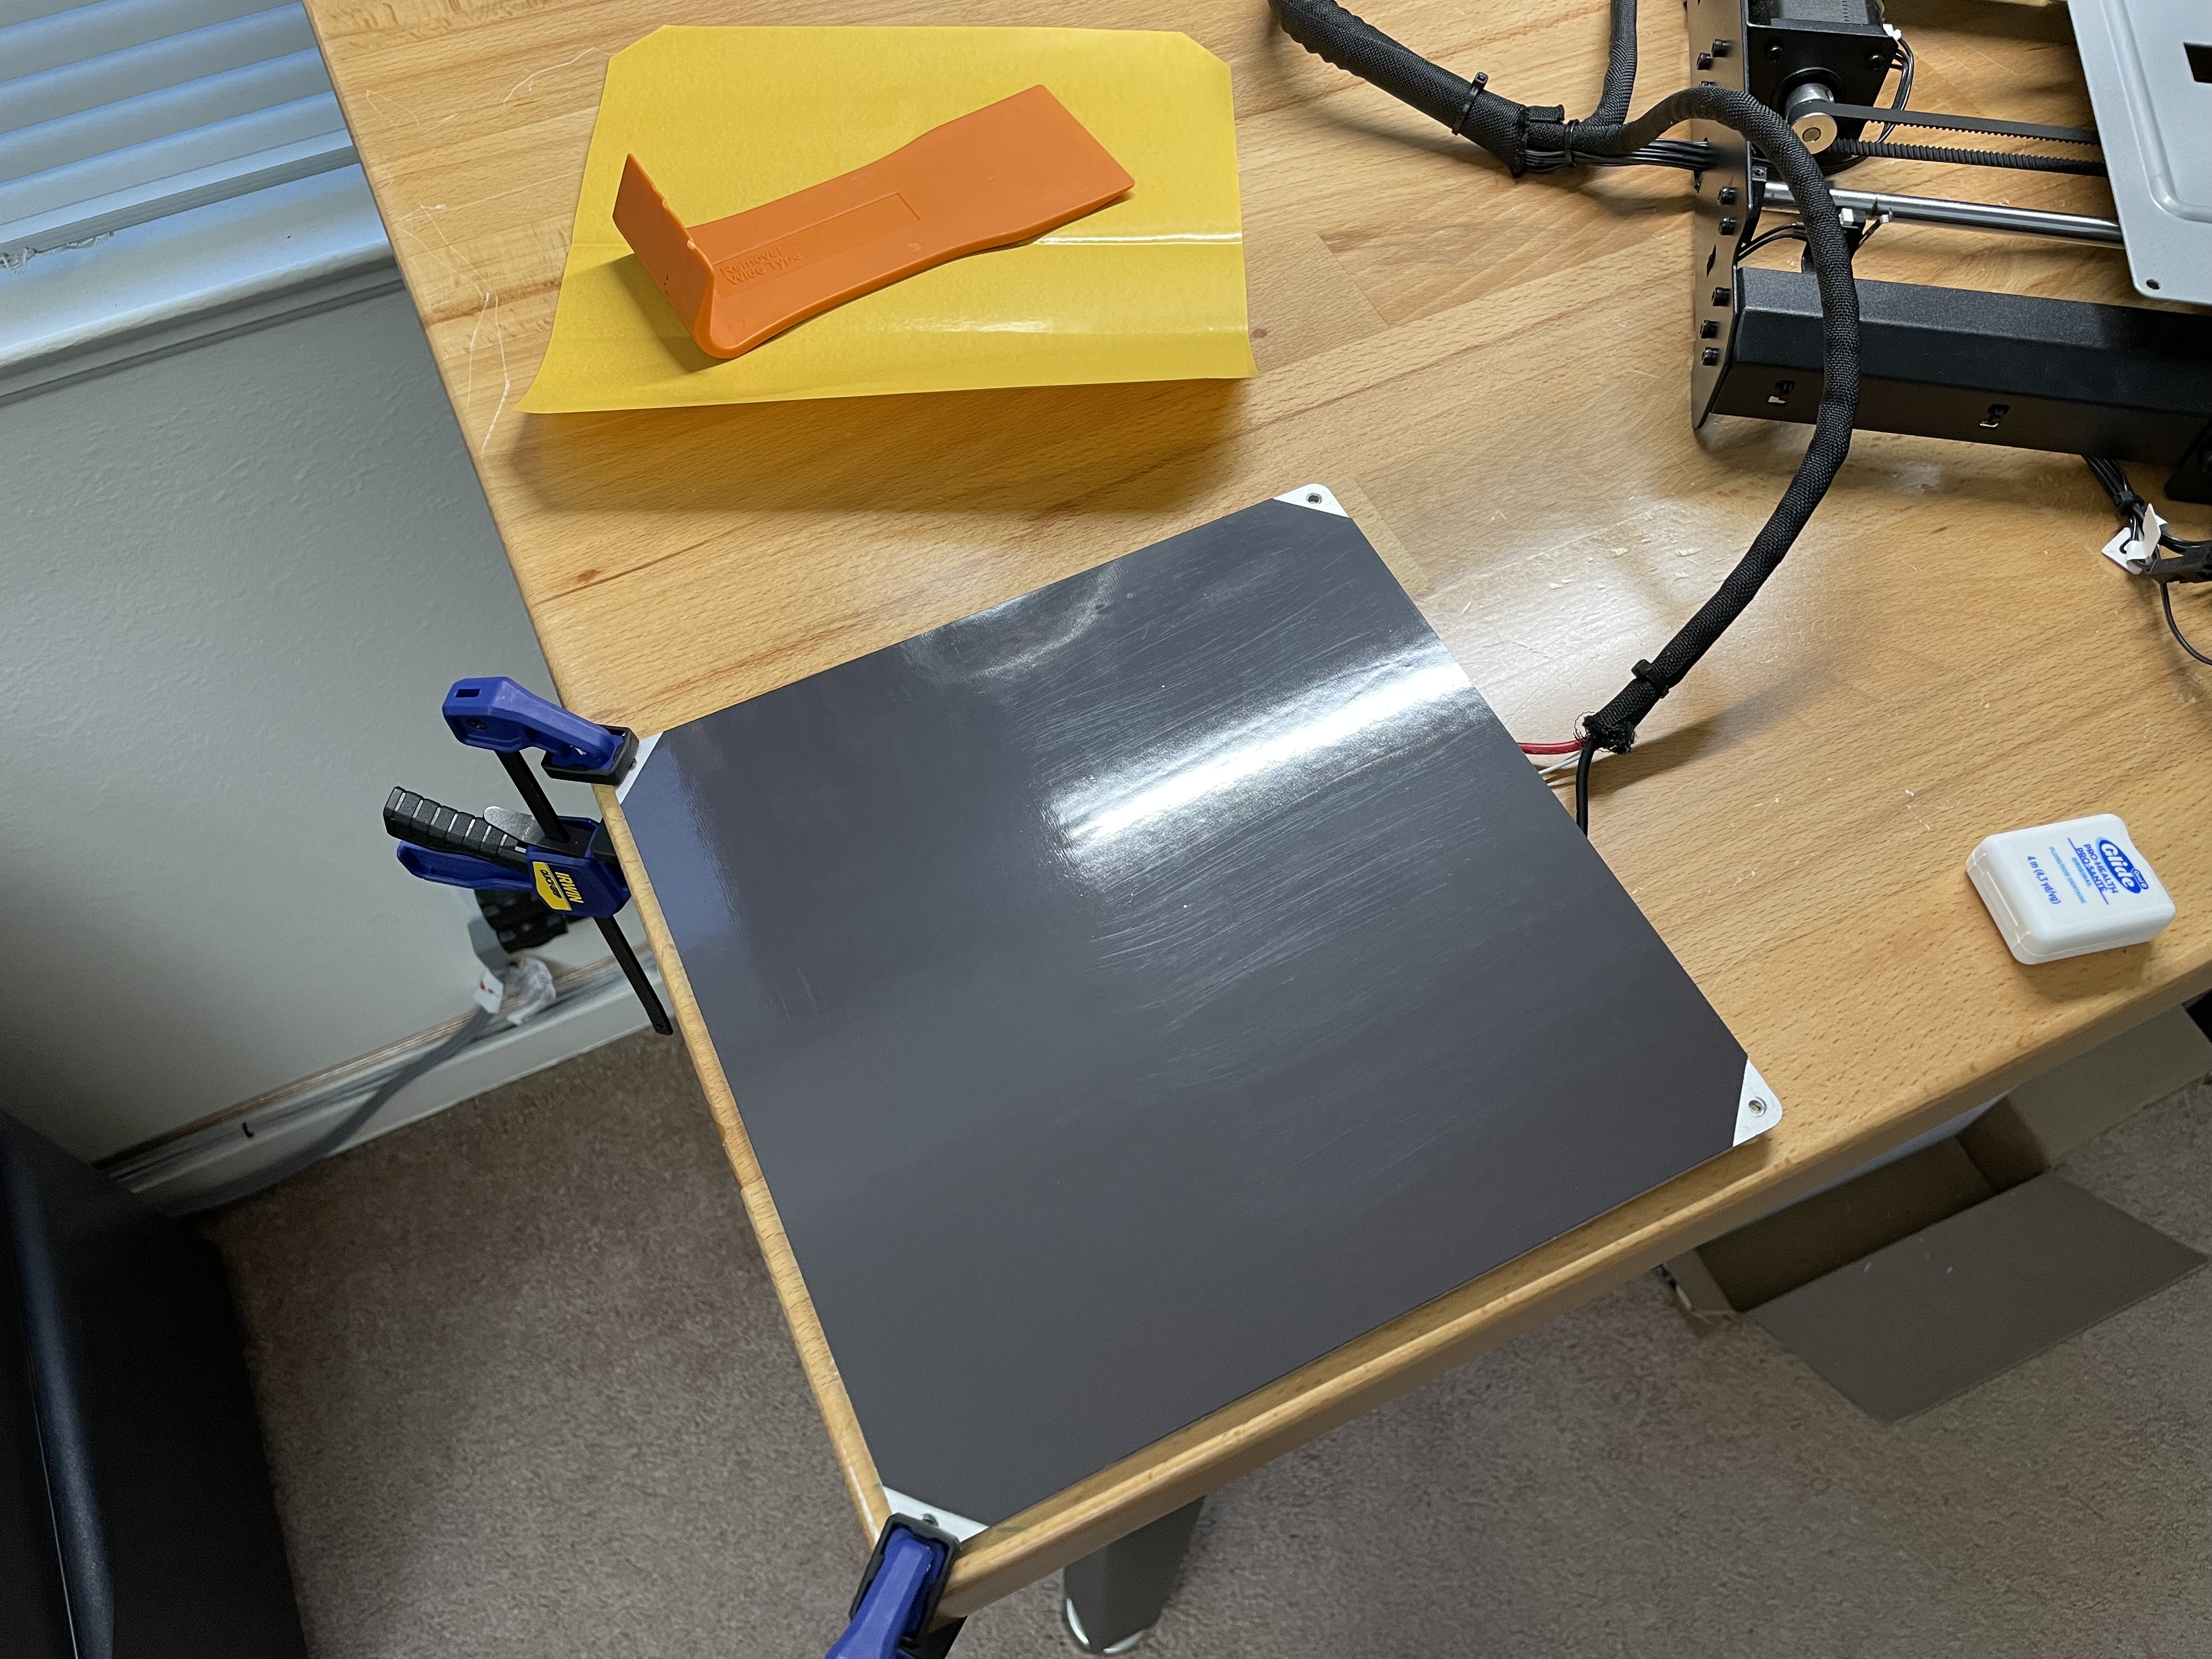
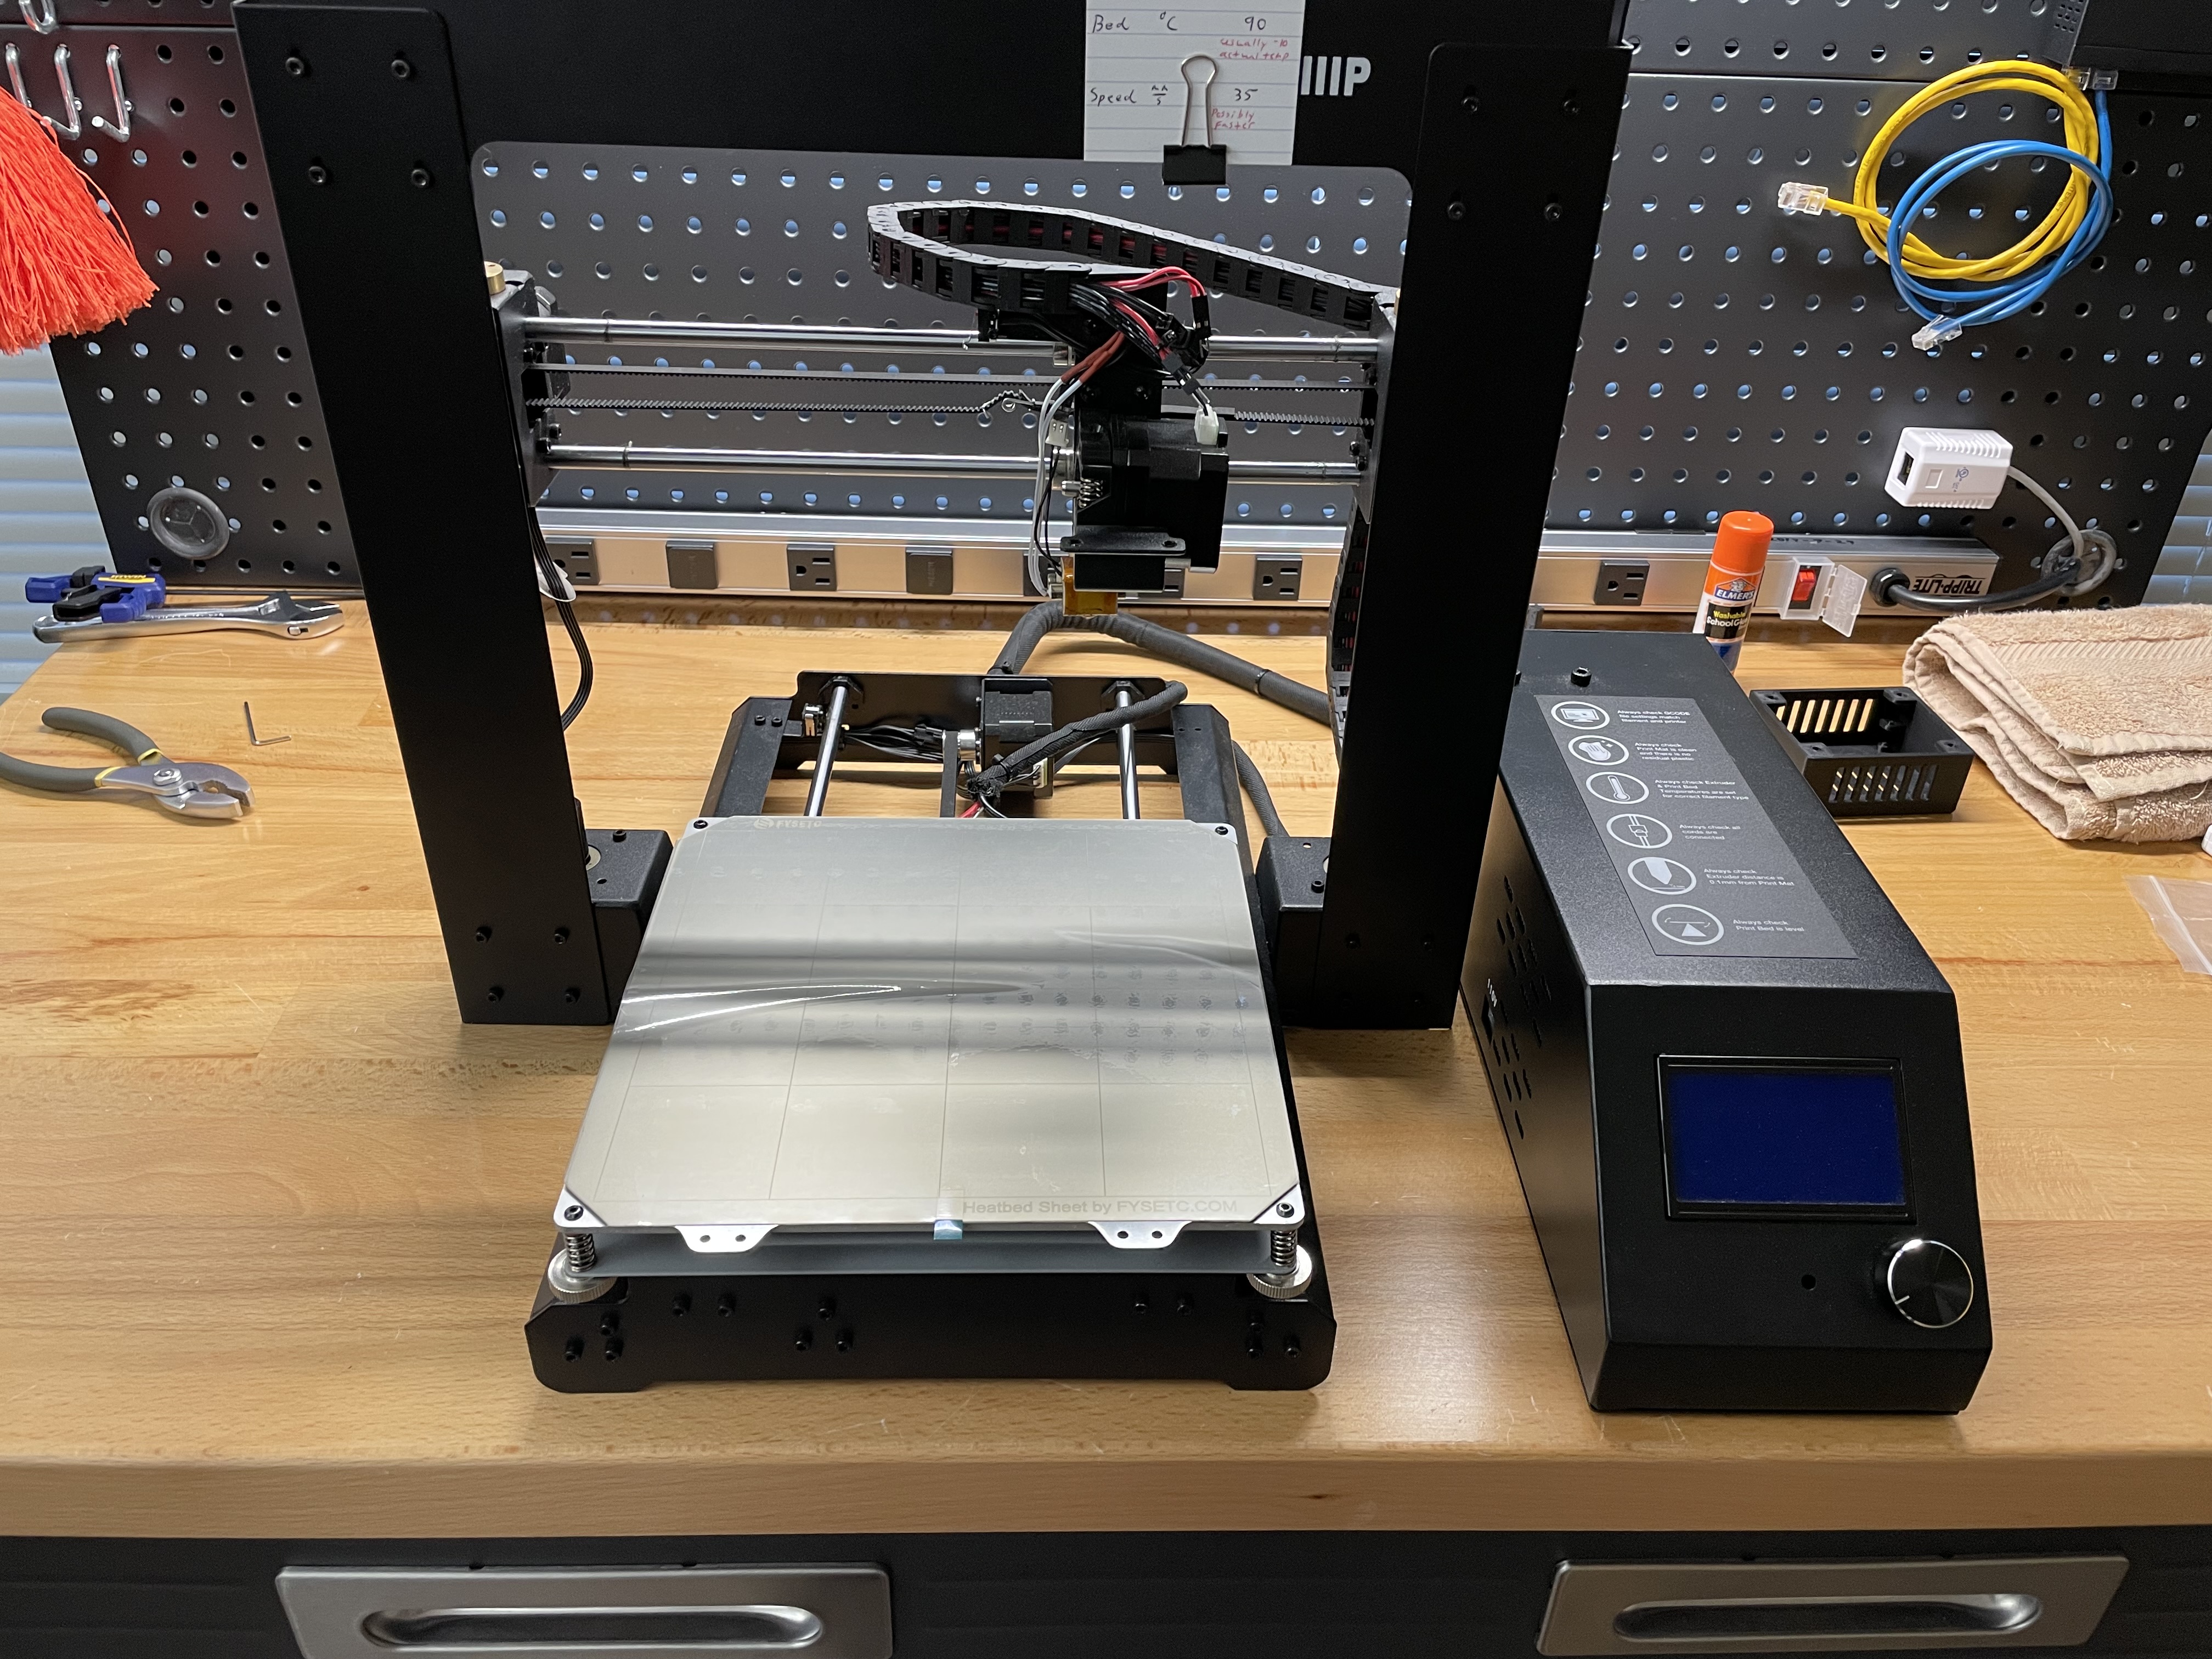
Oct ‘21 Magnetic Build Plate#
I’ve been using a 220x220mm Borosilicate Glass Bed placed on top of the BuildTak sheet that came with my printer along with glue stick with some success. This upgrade replaces all that with a magnetic steel sheet which has a layer of PEI on it.
Items needed:
Isopropyl alcohol (I used 91%) to remove adhesive residue
Gloves (I used nitrile gloves) to prevent adhesive from reconstituting on your fingers
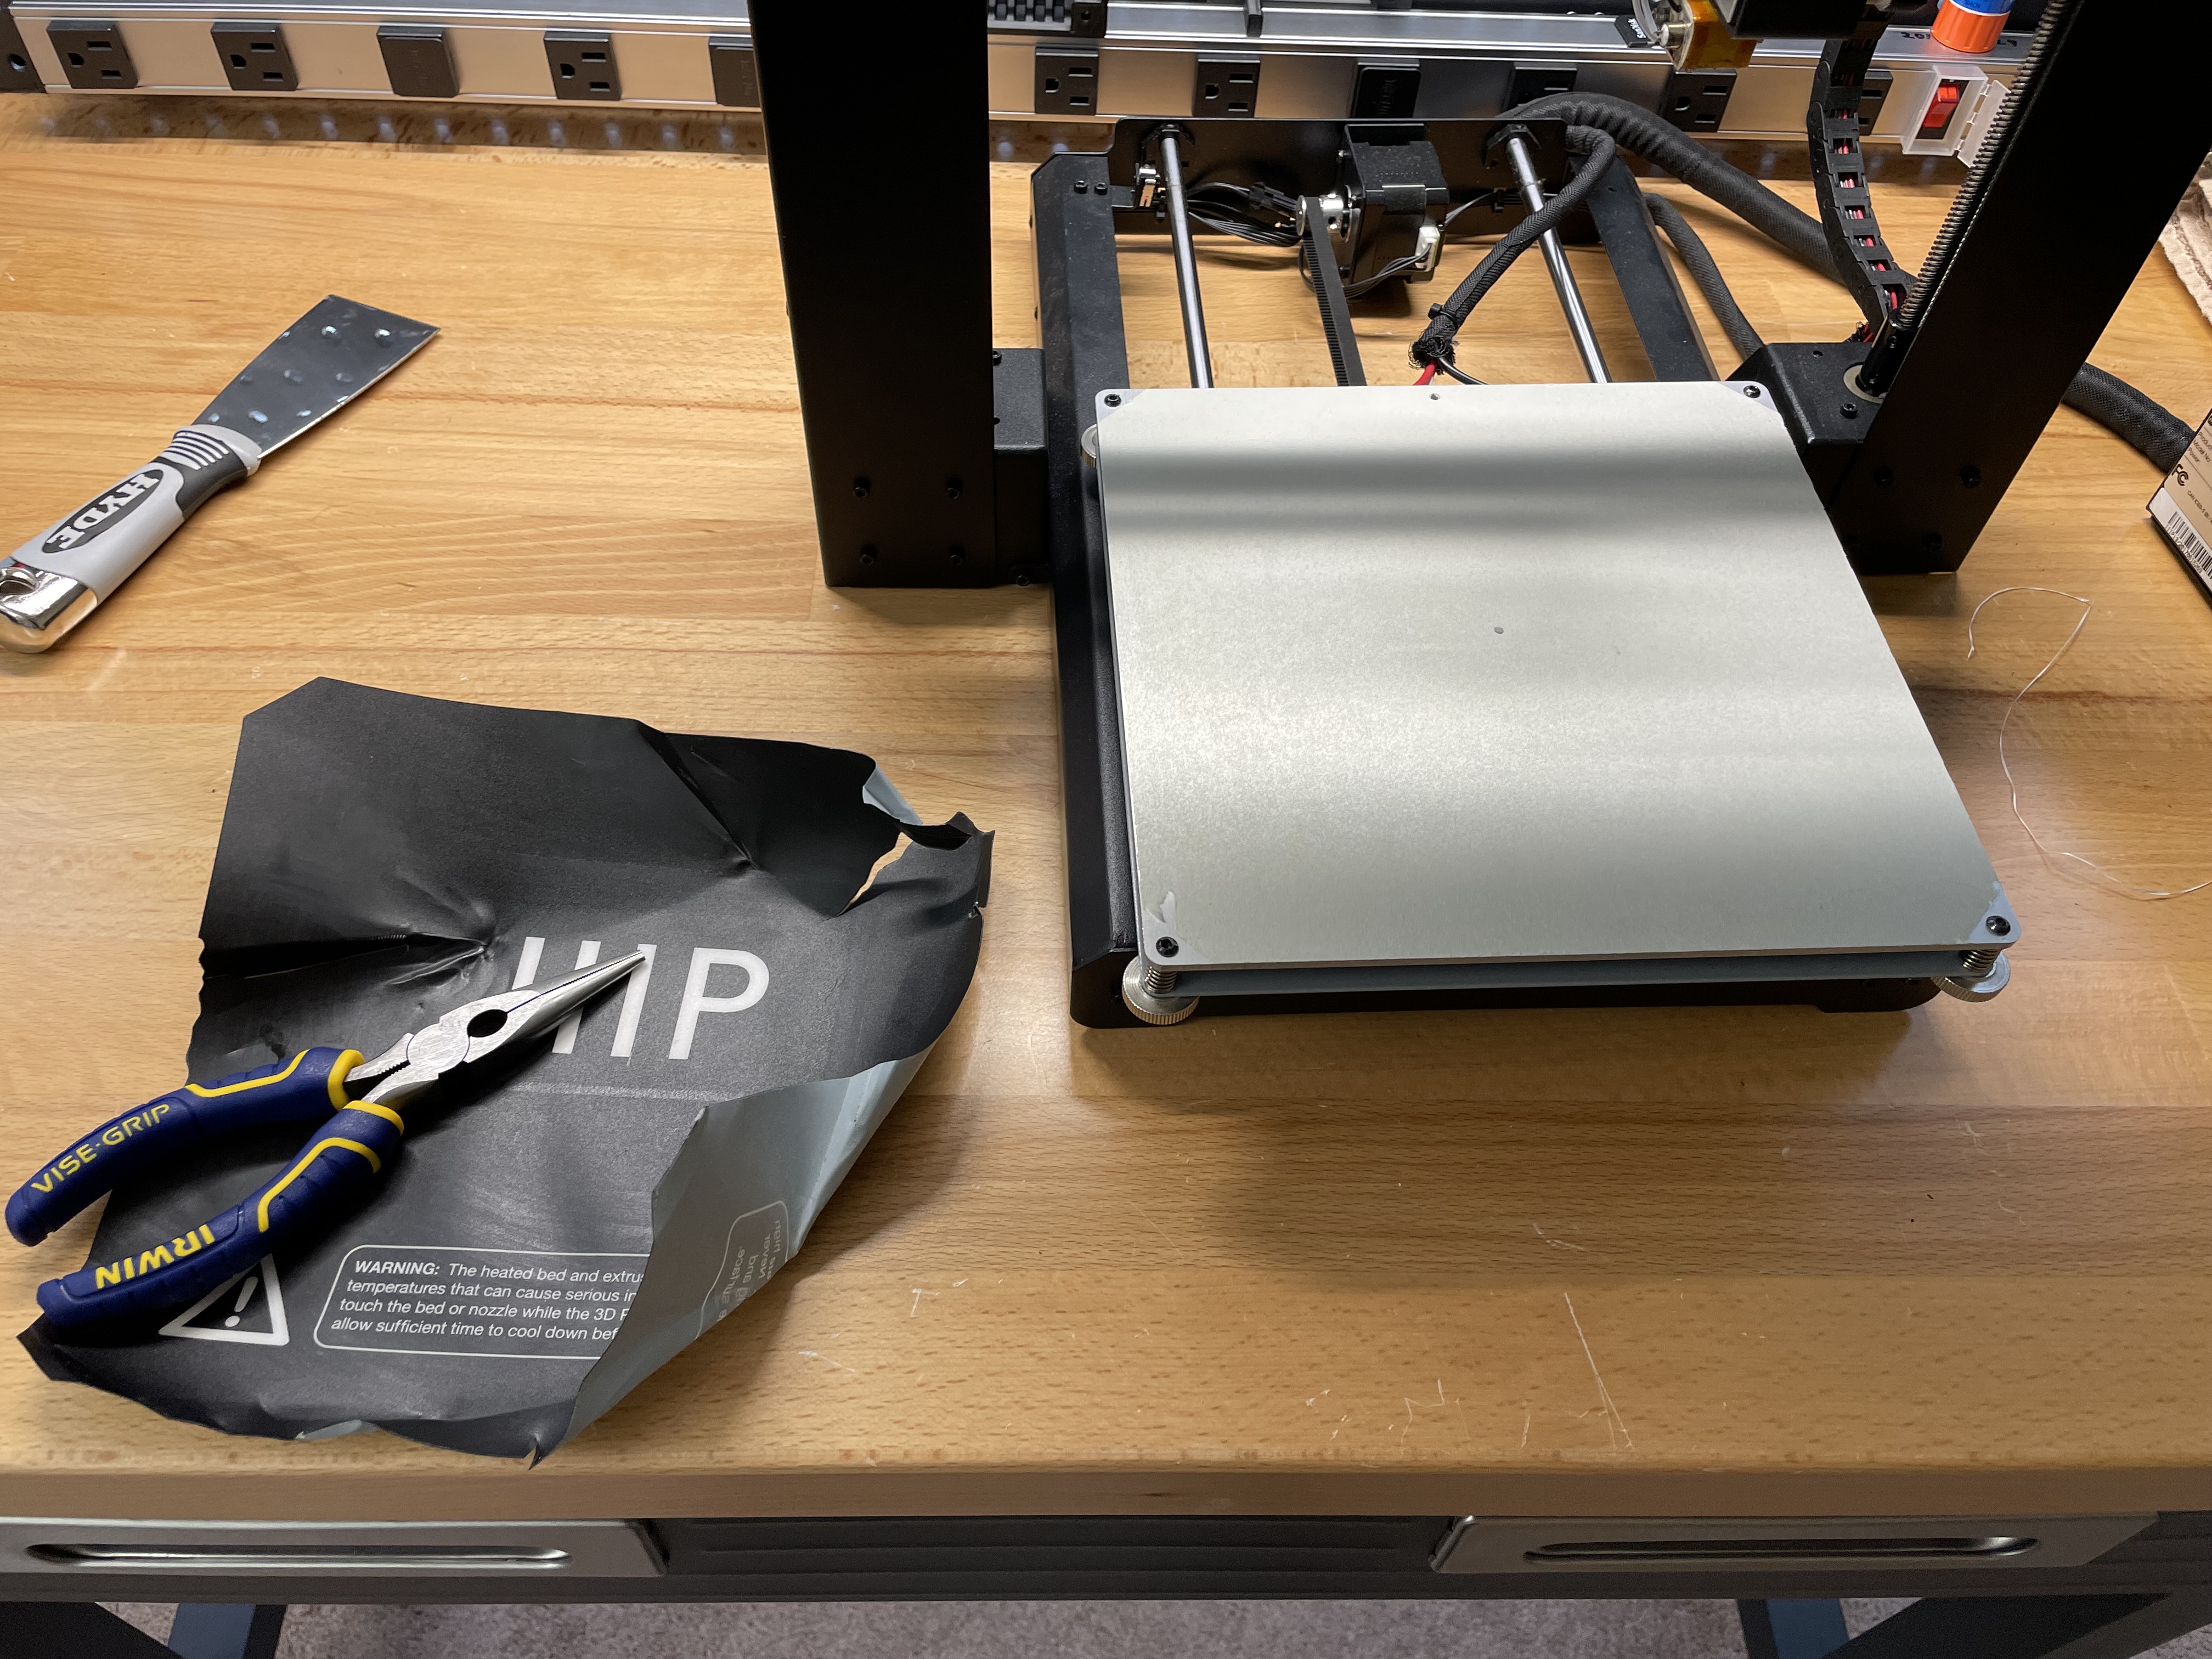
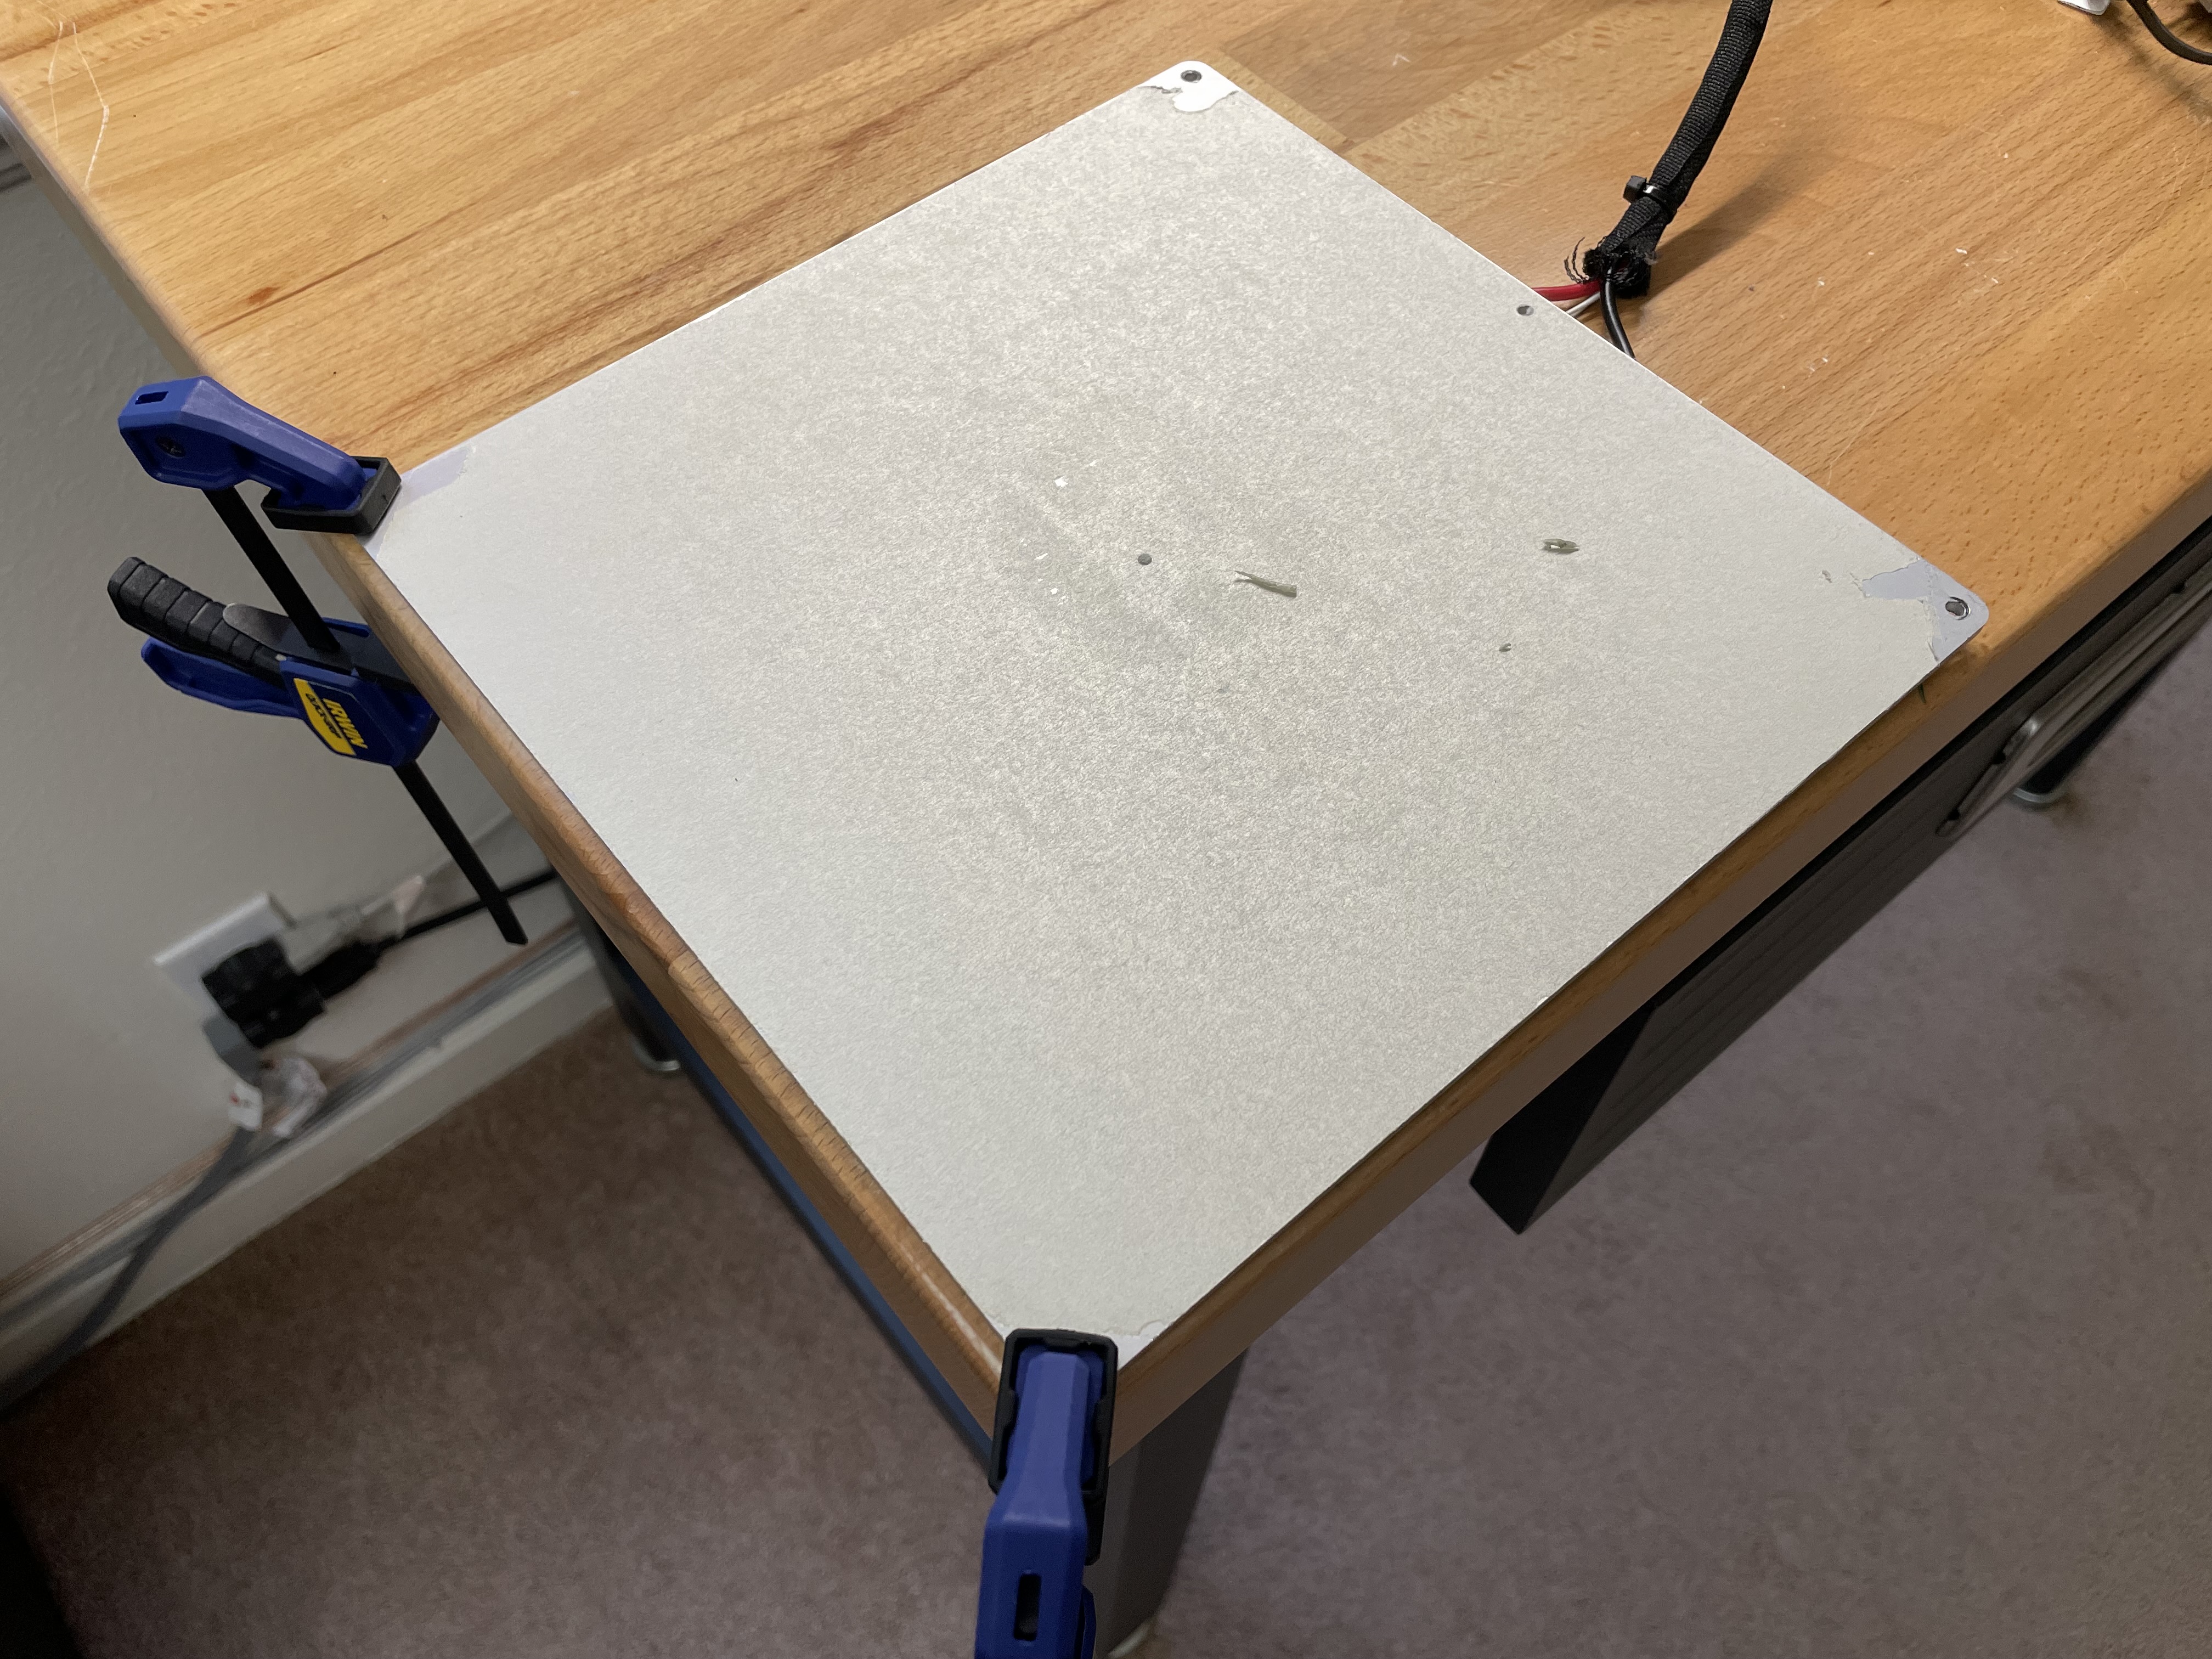
Removed the original BuildTak sheet from my Monoprice Maker Select v2.# |
First time I’ve seen the underside, neat.# |
|
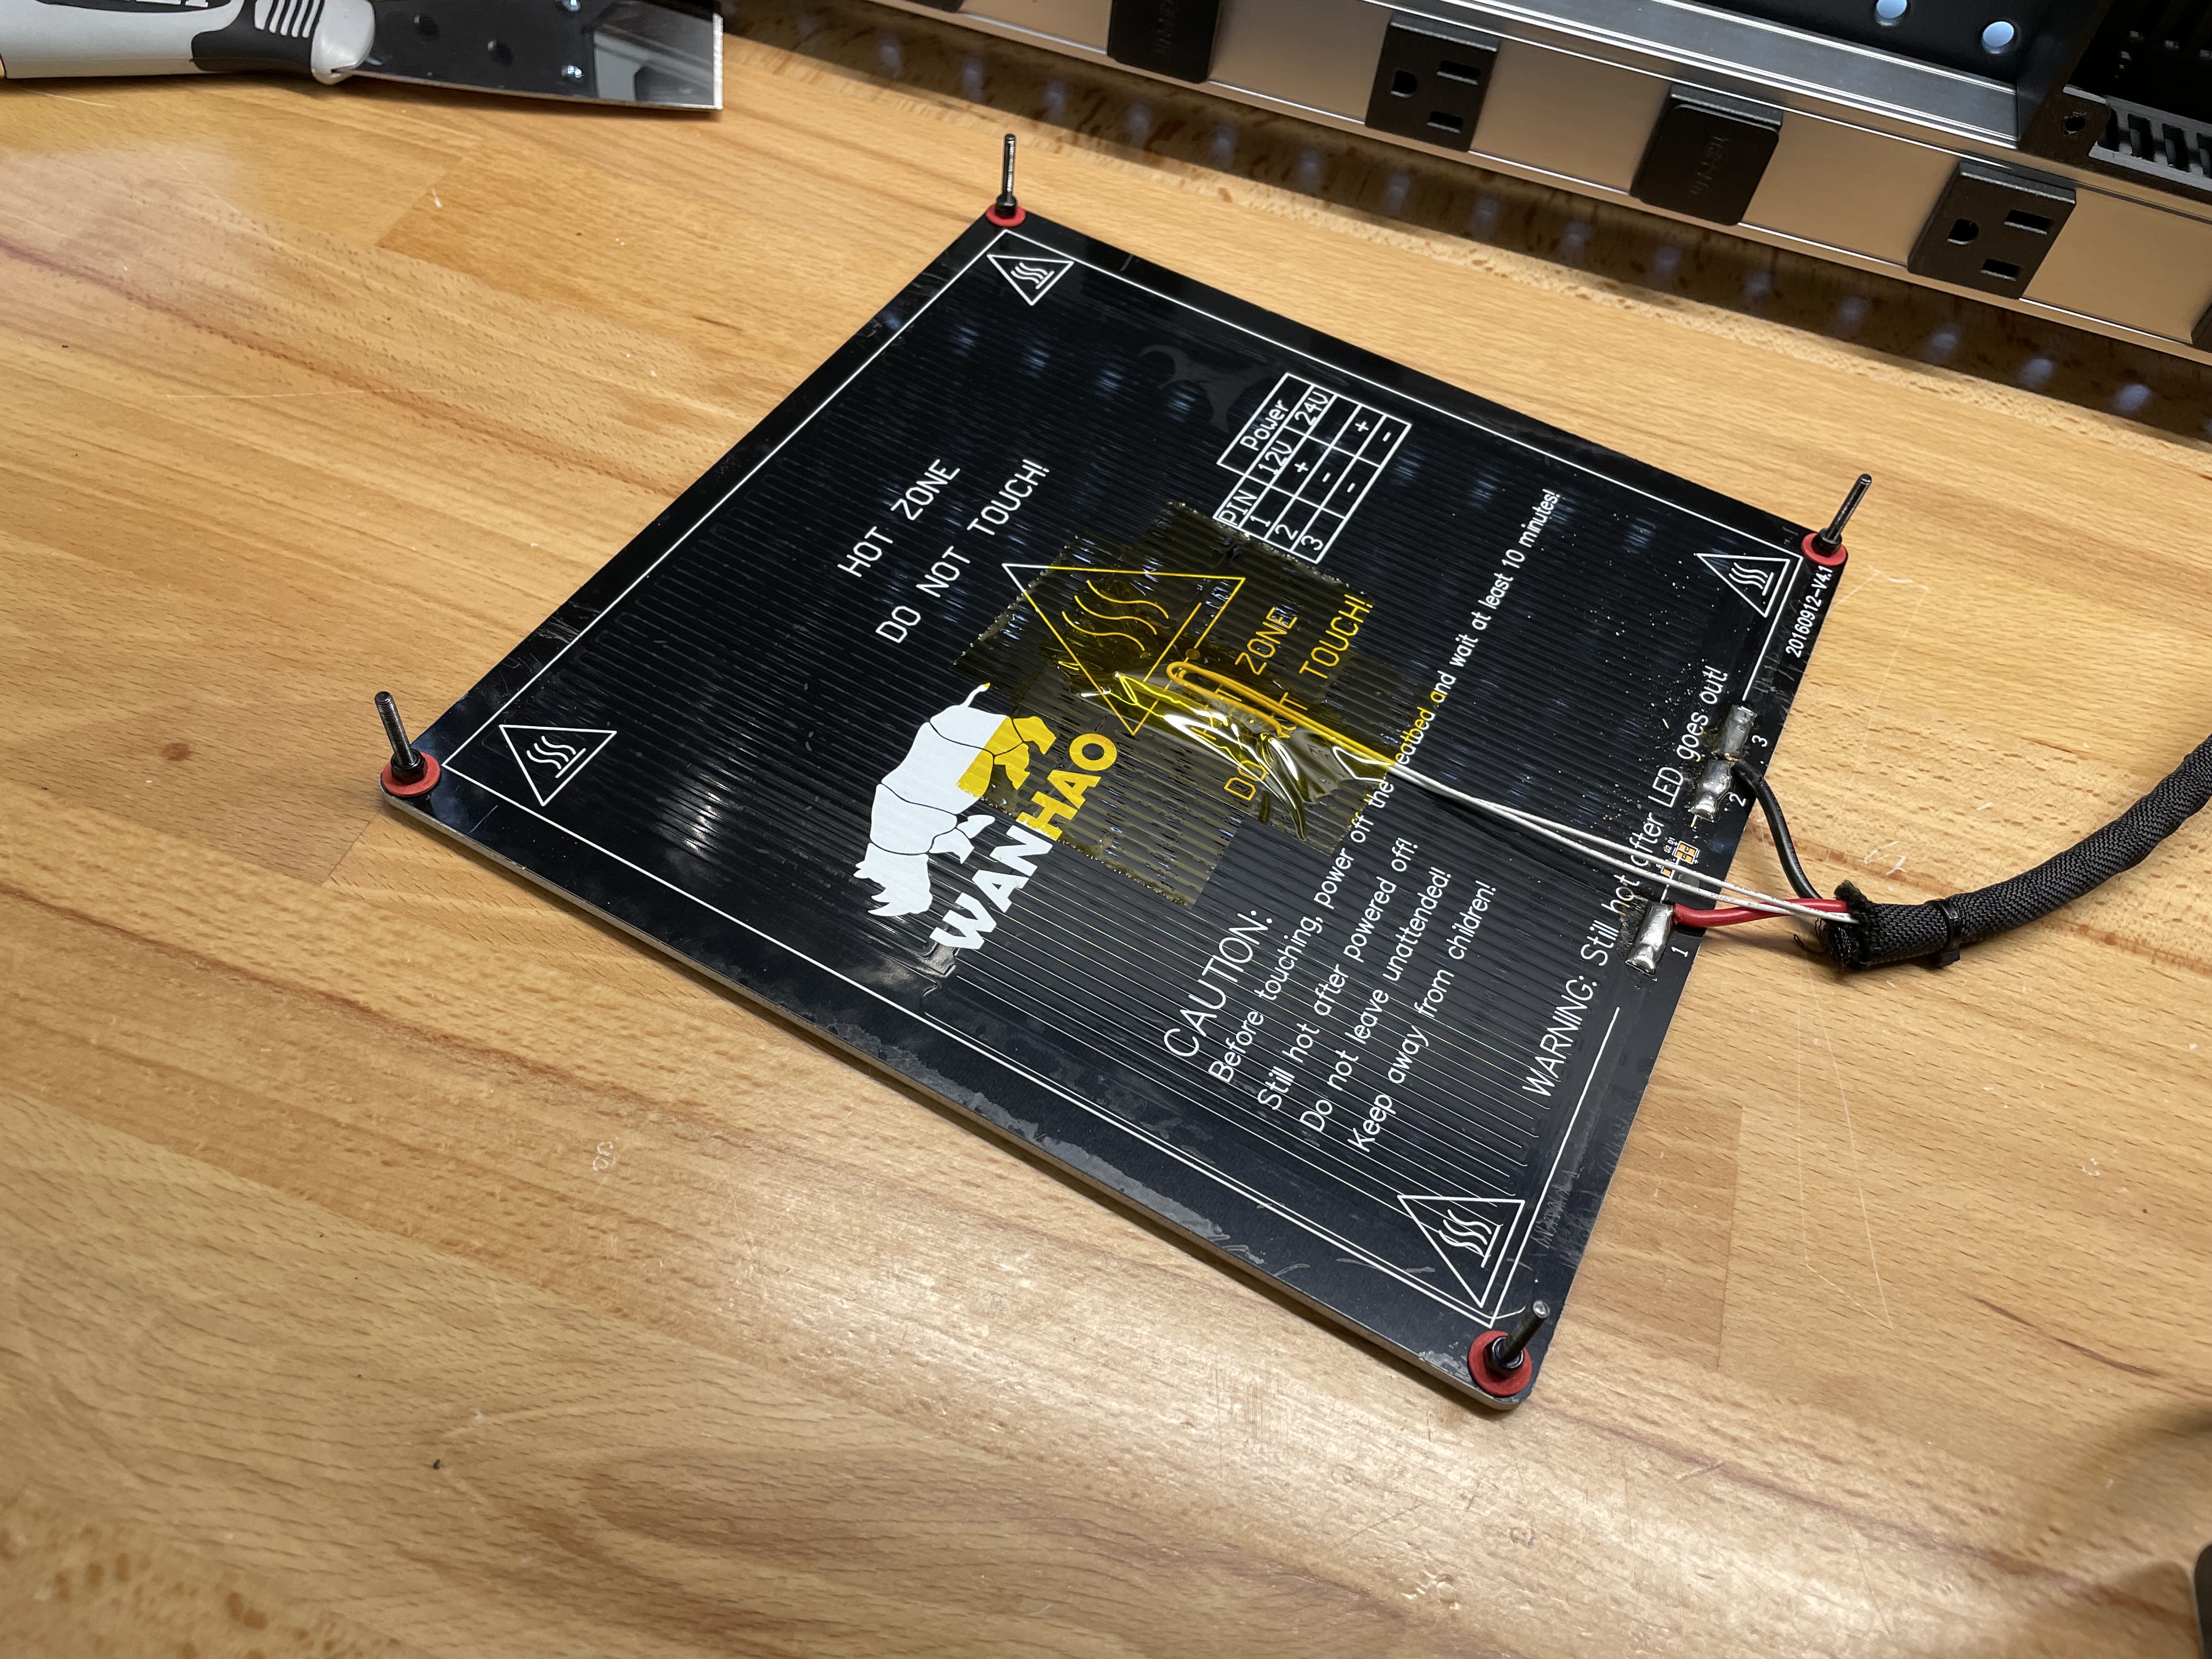
Need to get rid of the adhesive residue.# |
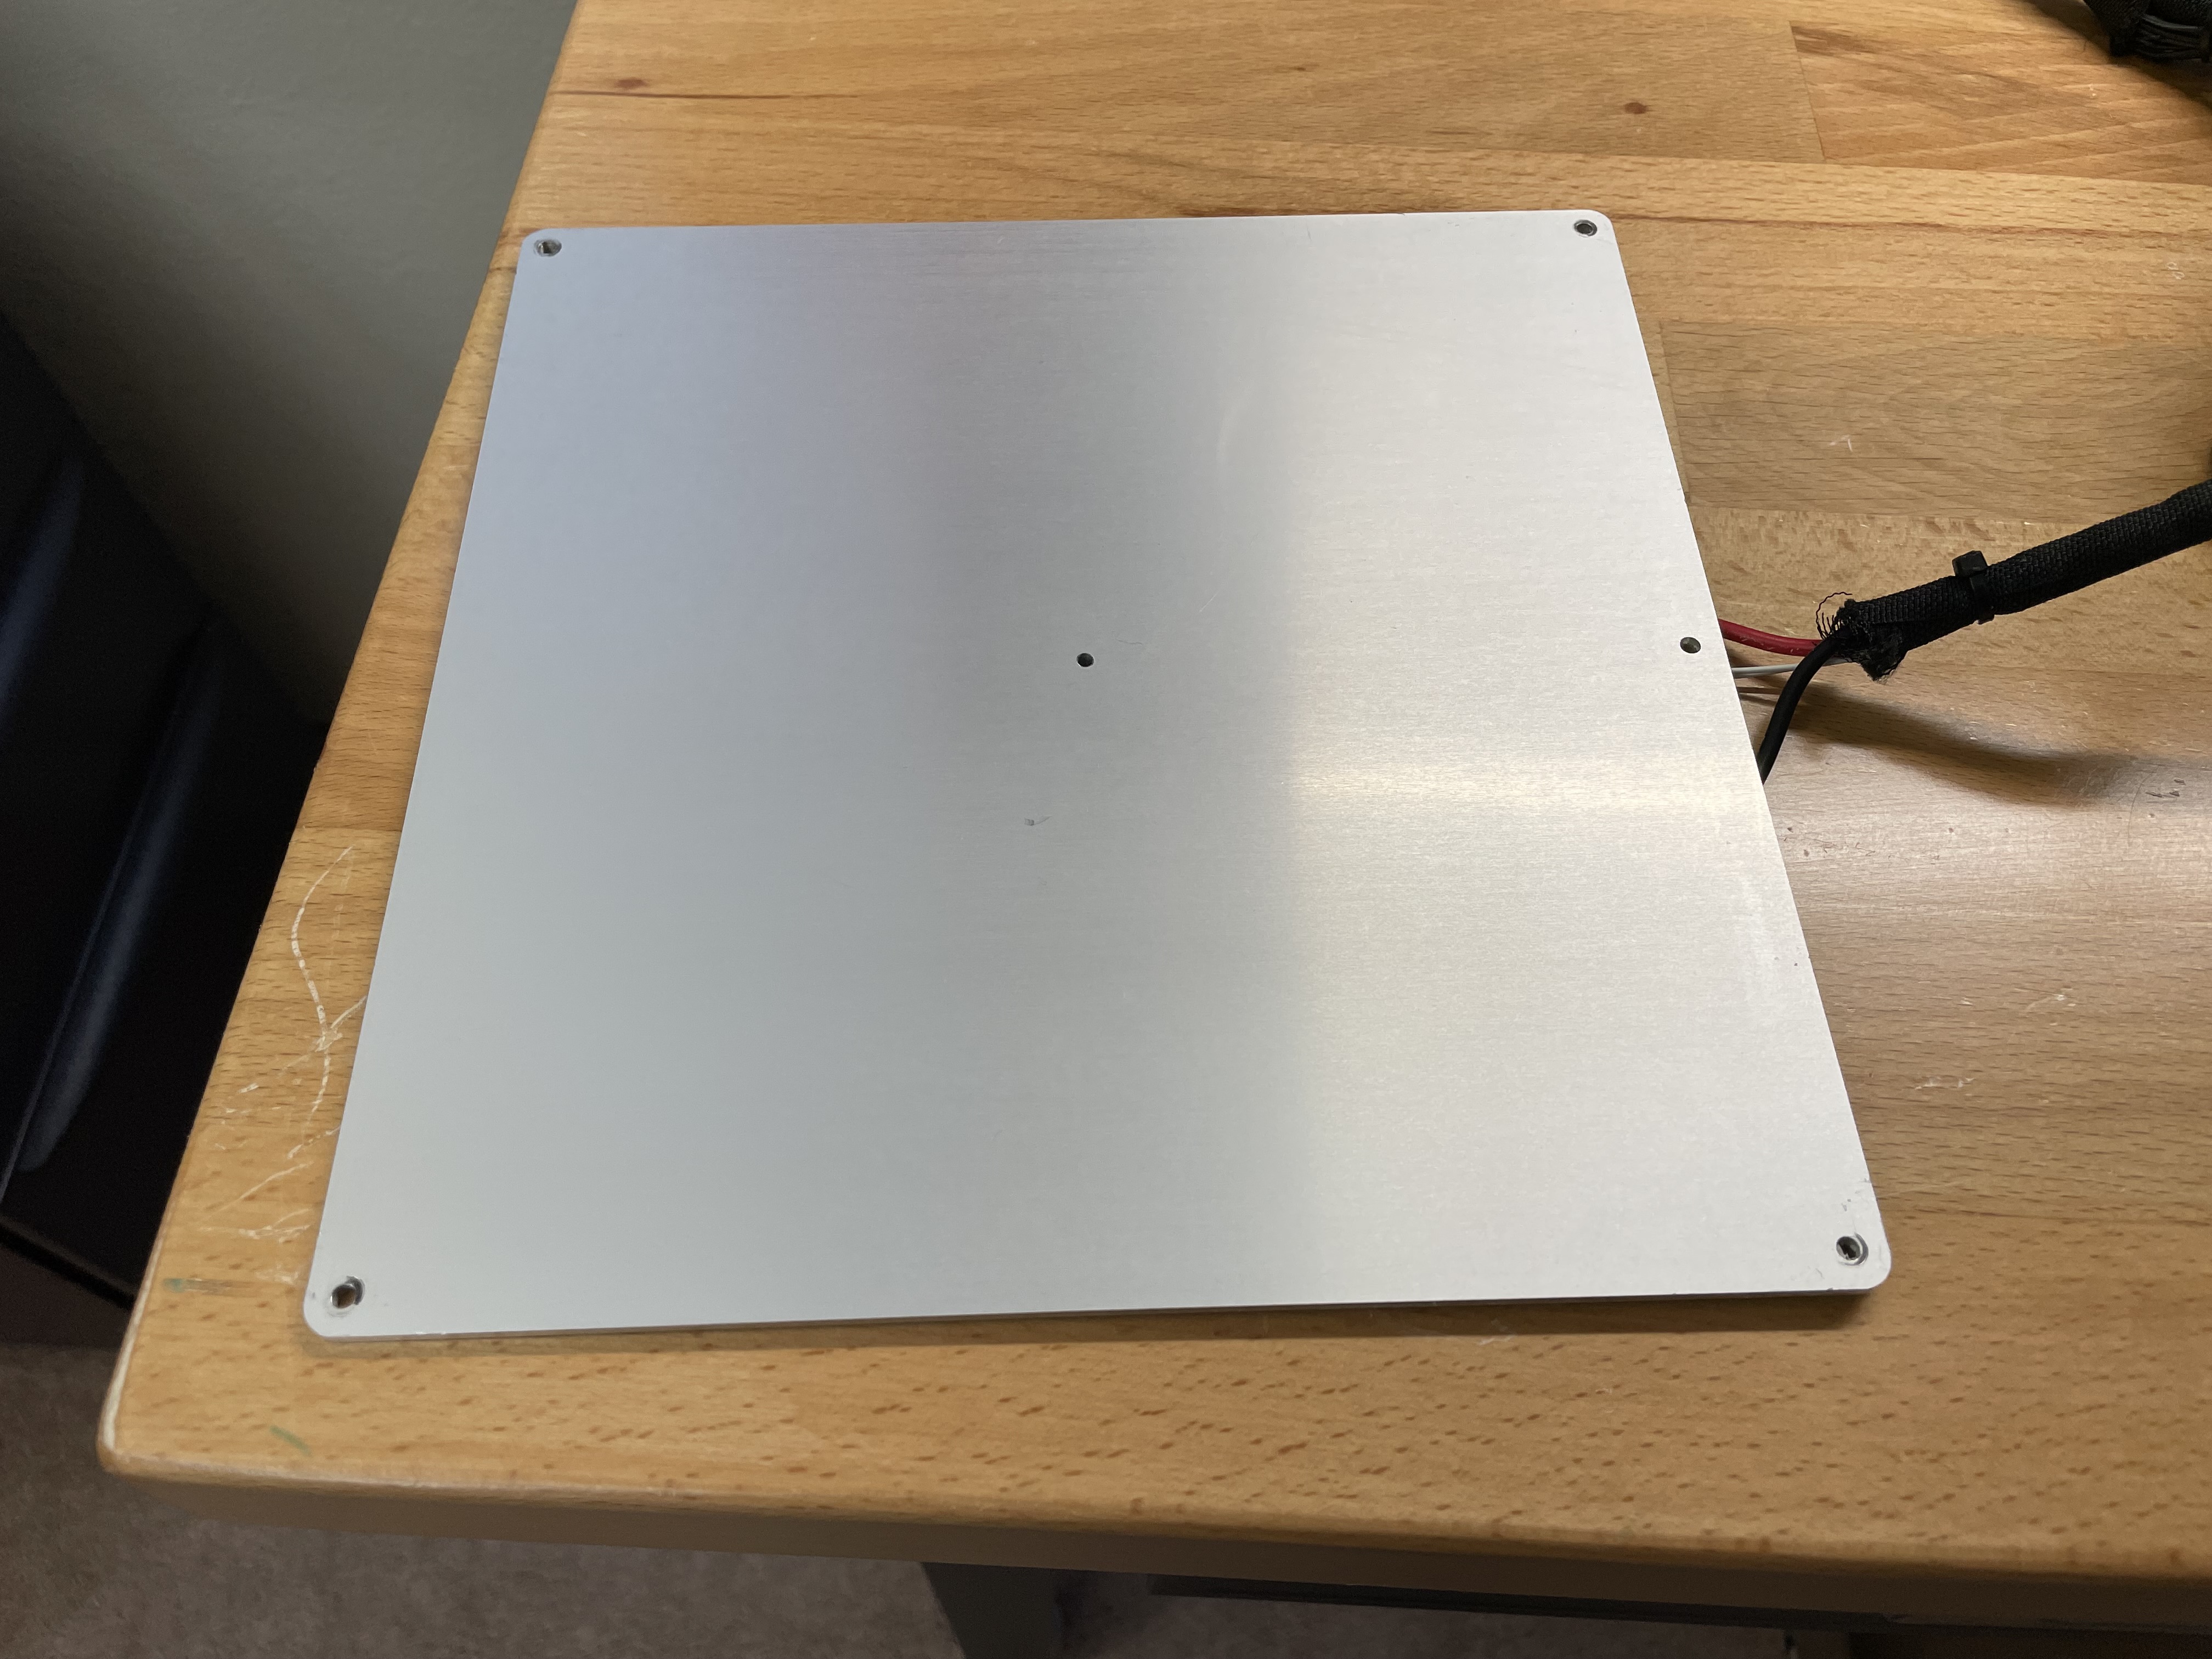
Got it off with some 91% isopropyl alcohol, paper towels, and nitrile gloves. Took about an hour.# |
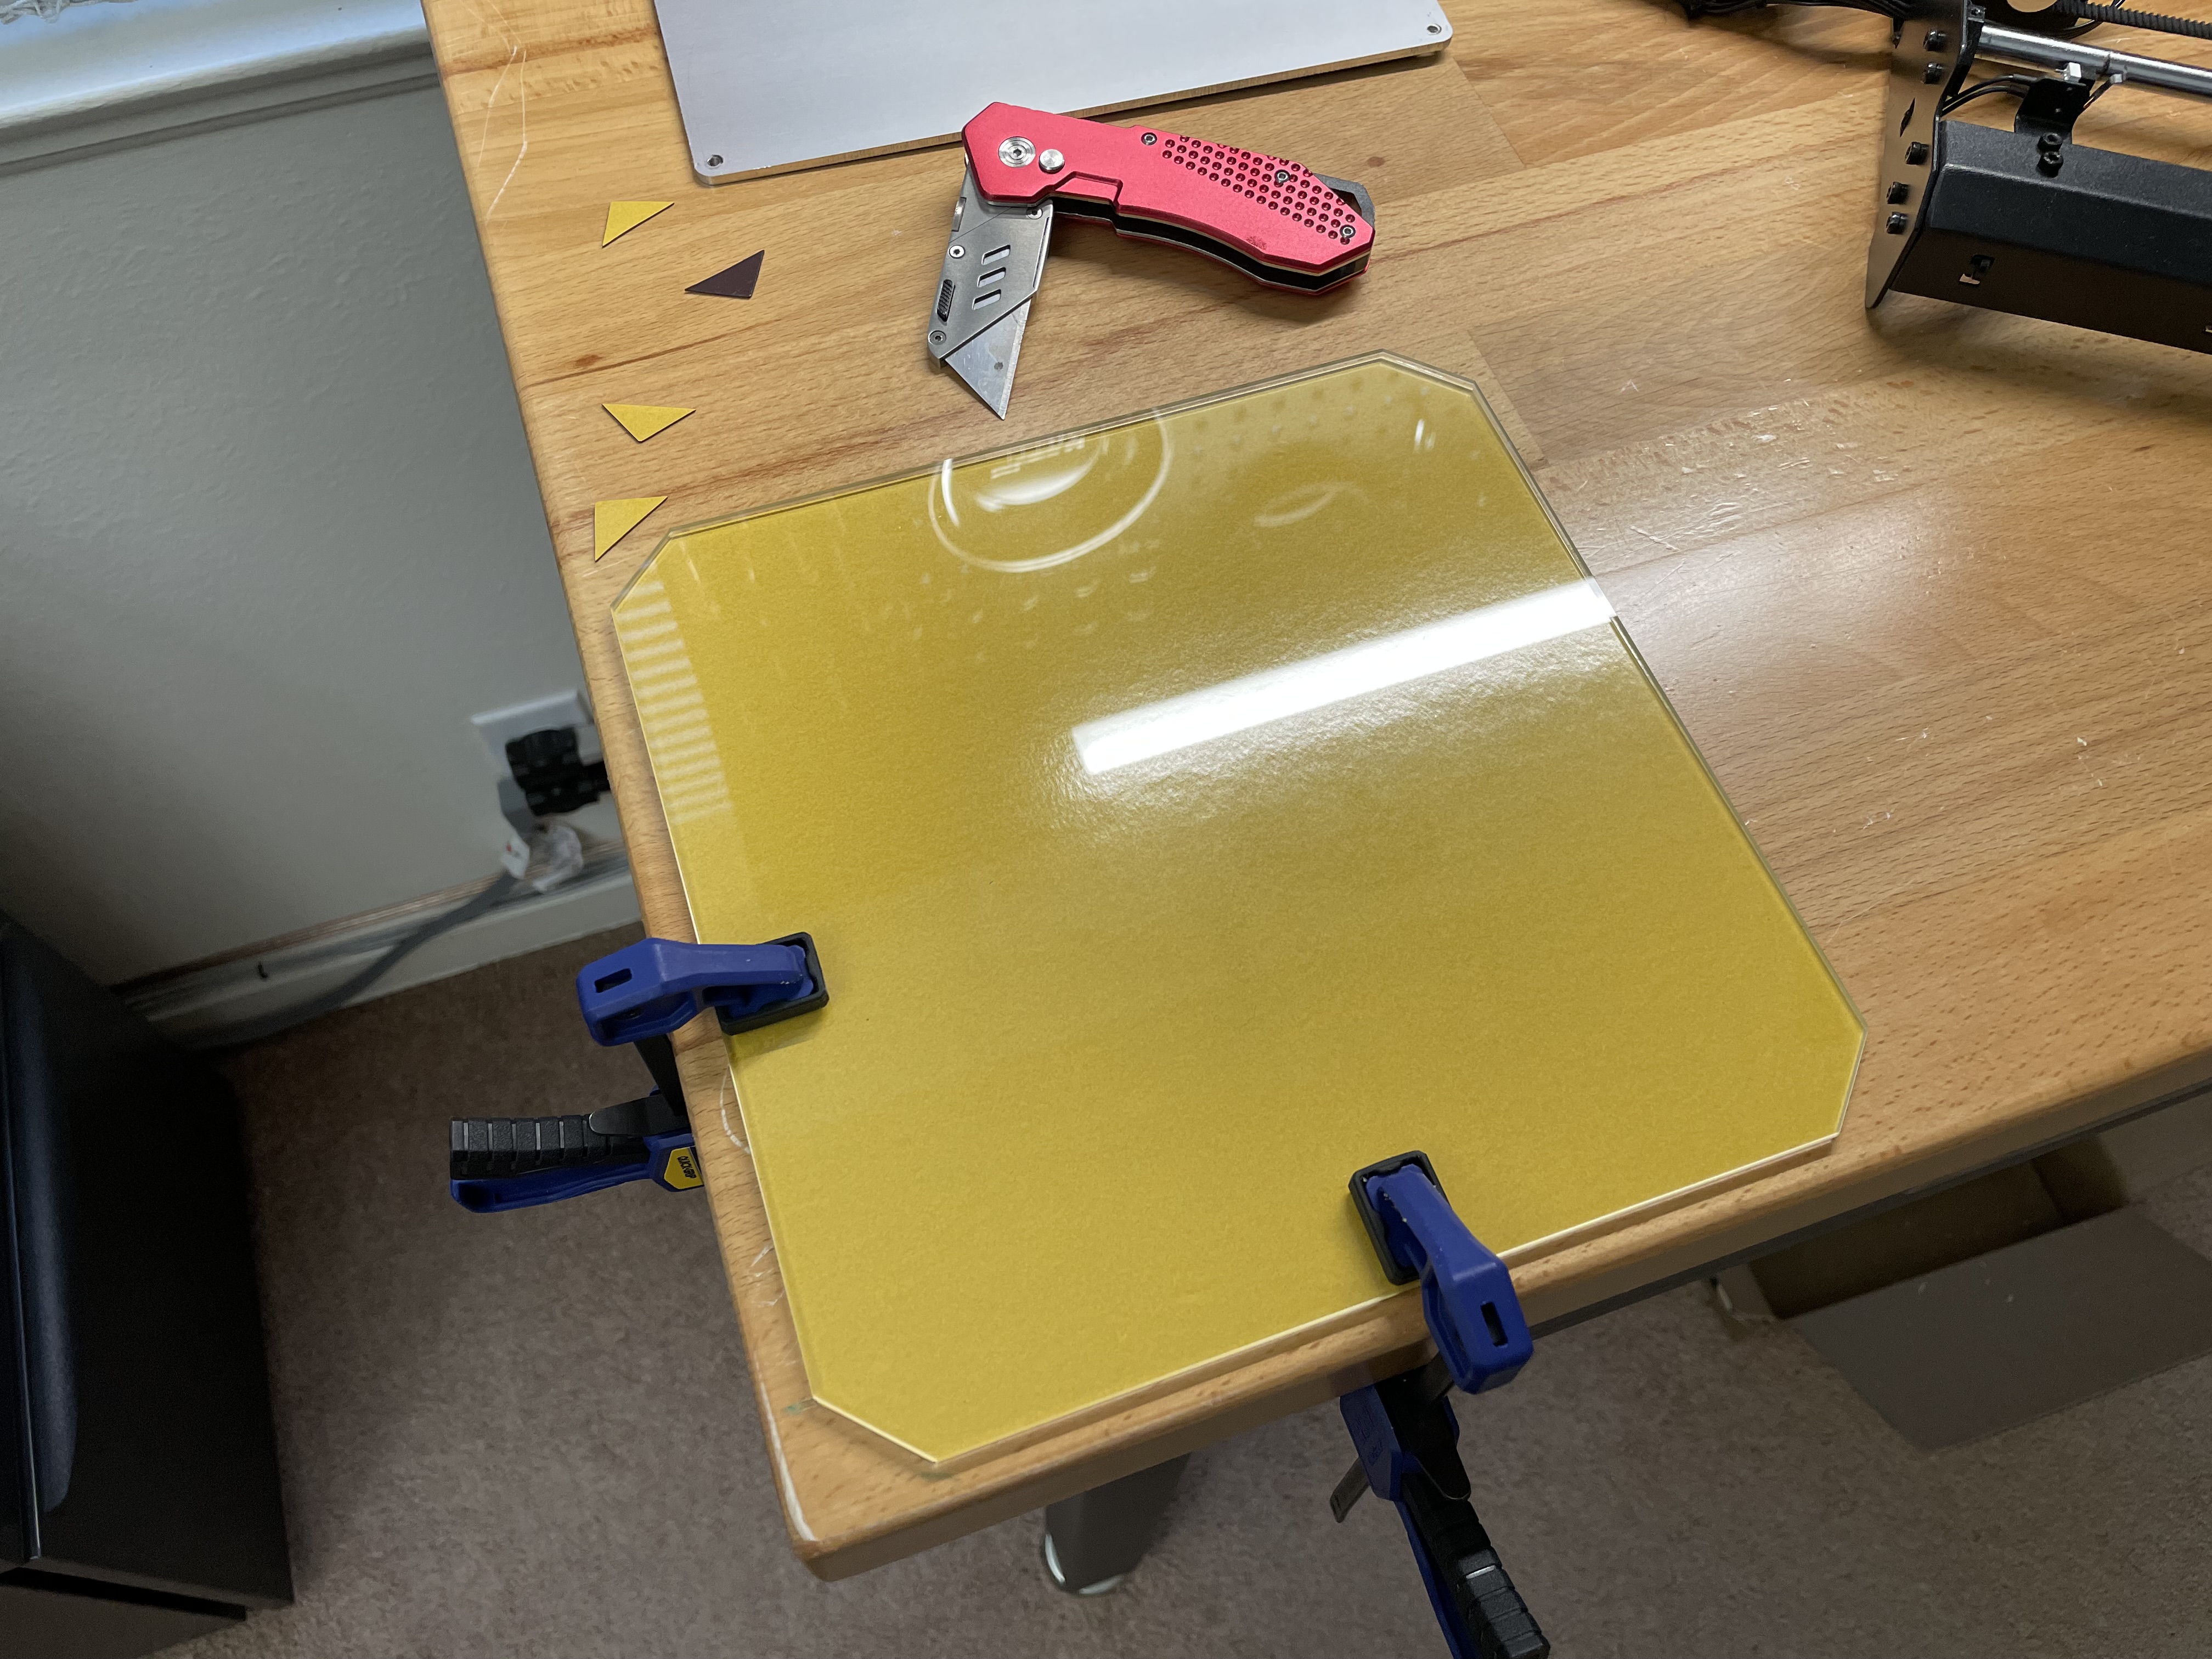
Used an old glass bed as a template to cut the corners off the magnetic sheet.# |
I thought those were bubbles but it feels flat to the touch.# |
Done!# |
Nice and flat. The magnet holds the plate very well in place.# |
https://www.reddit.com/r/3Dprinting/comments/qcfqpk/first_mod_since_buying_my_printer_in_2018/
Comments
comments powered by Disqus